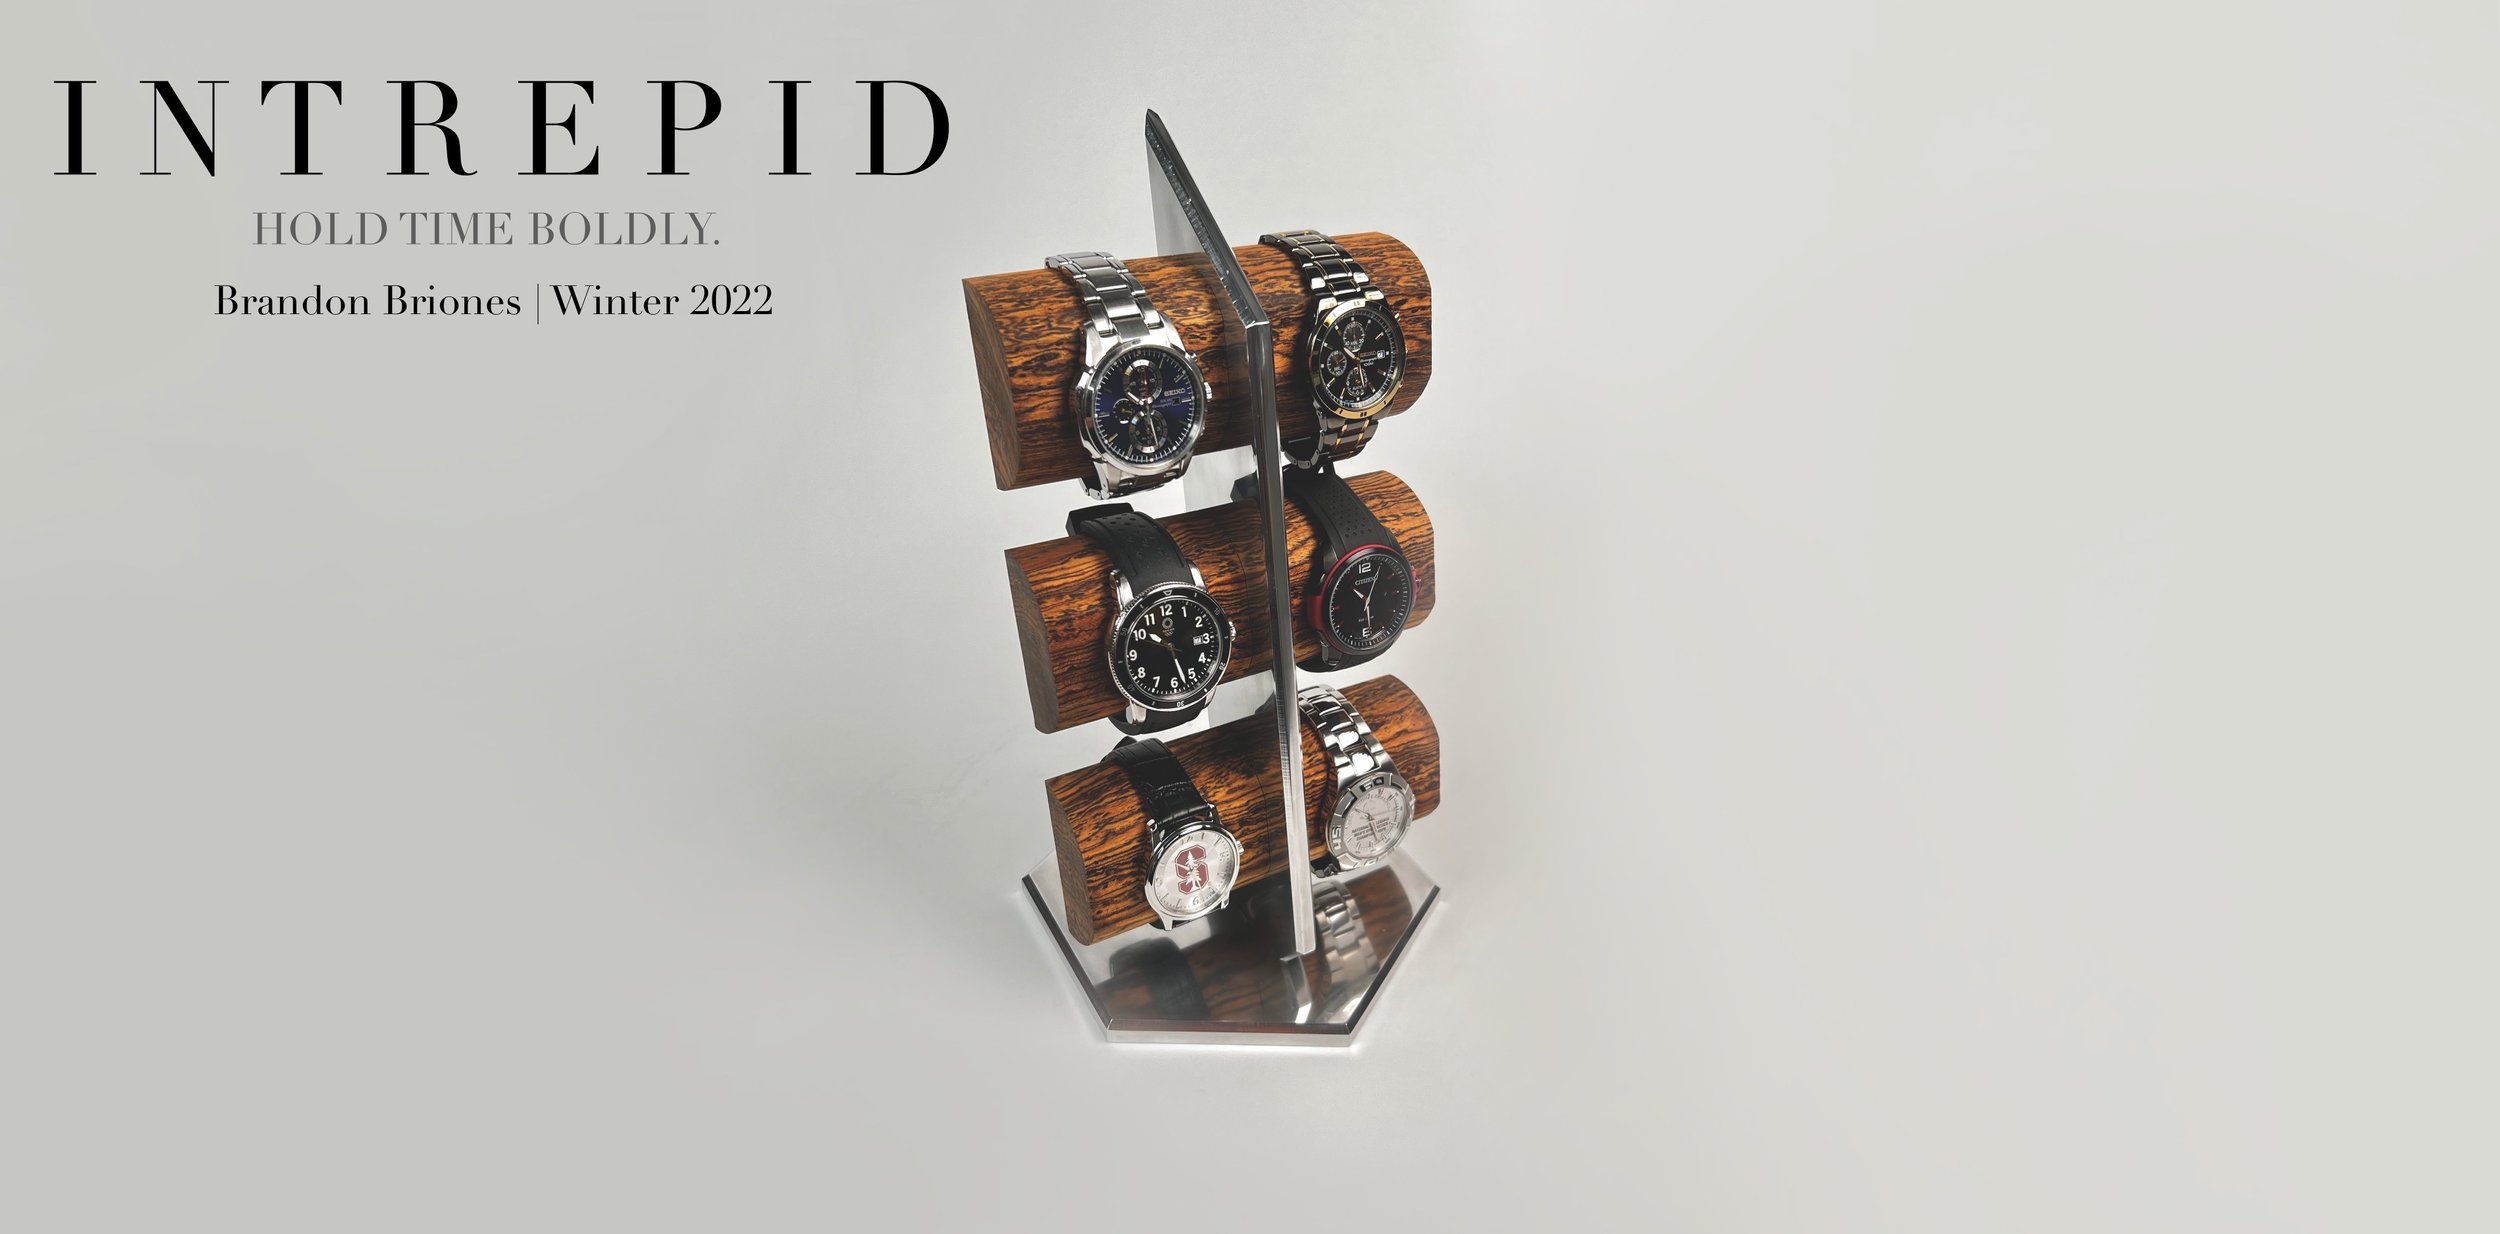
Intrepid Watch Display
Design Objective
“Watches mean more than what they are.”
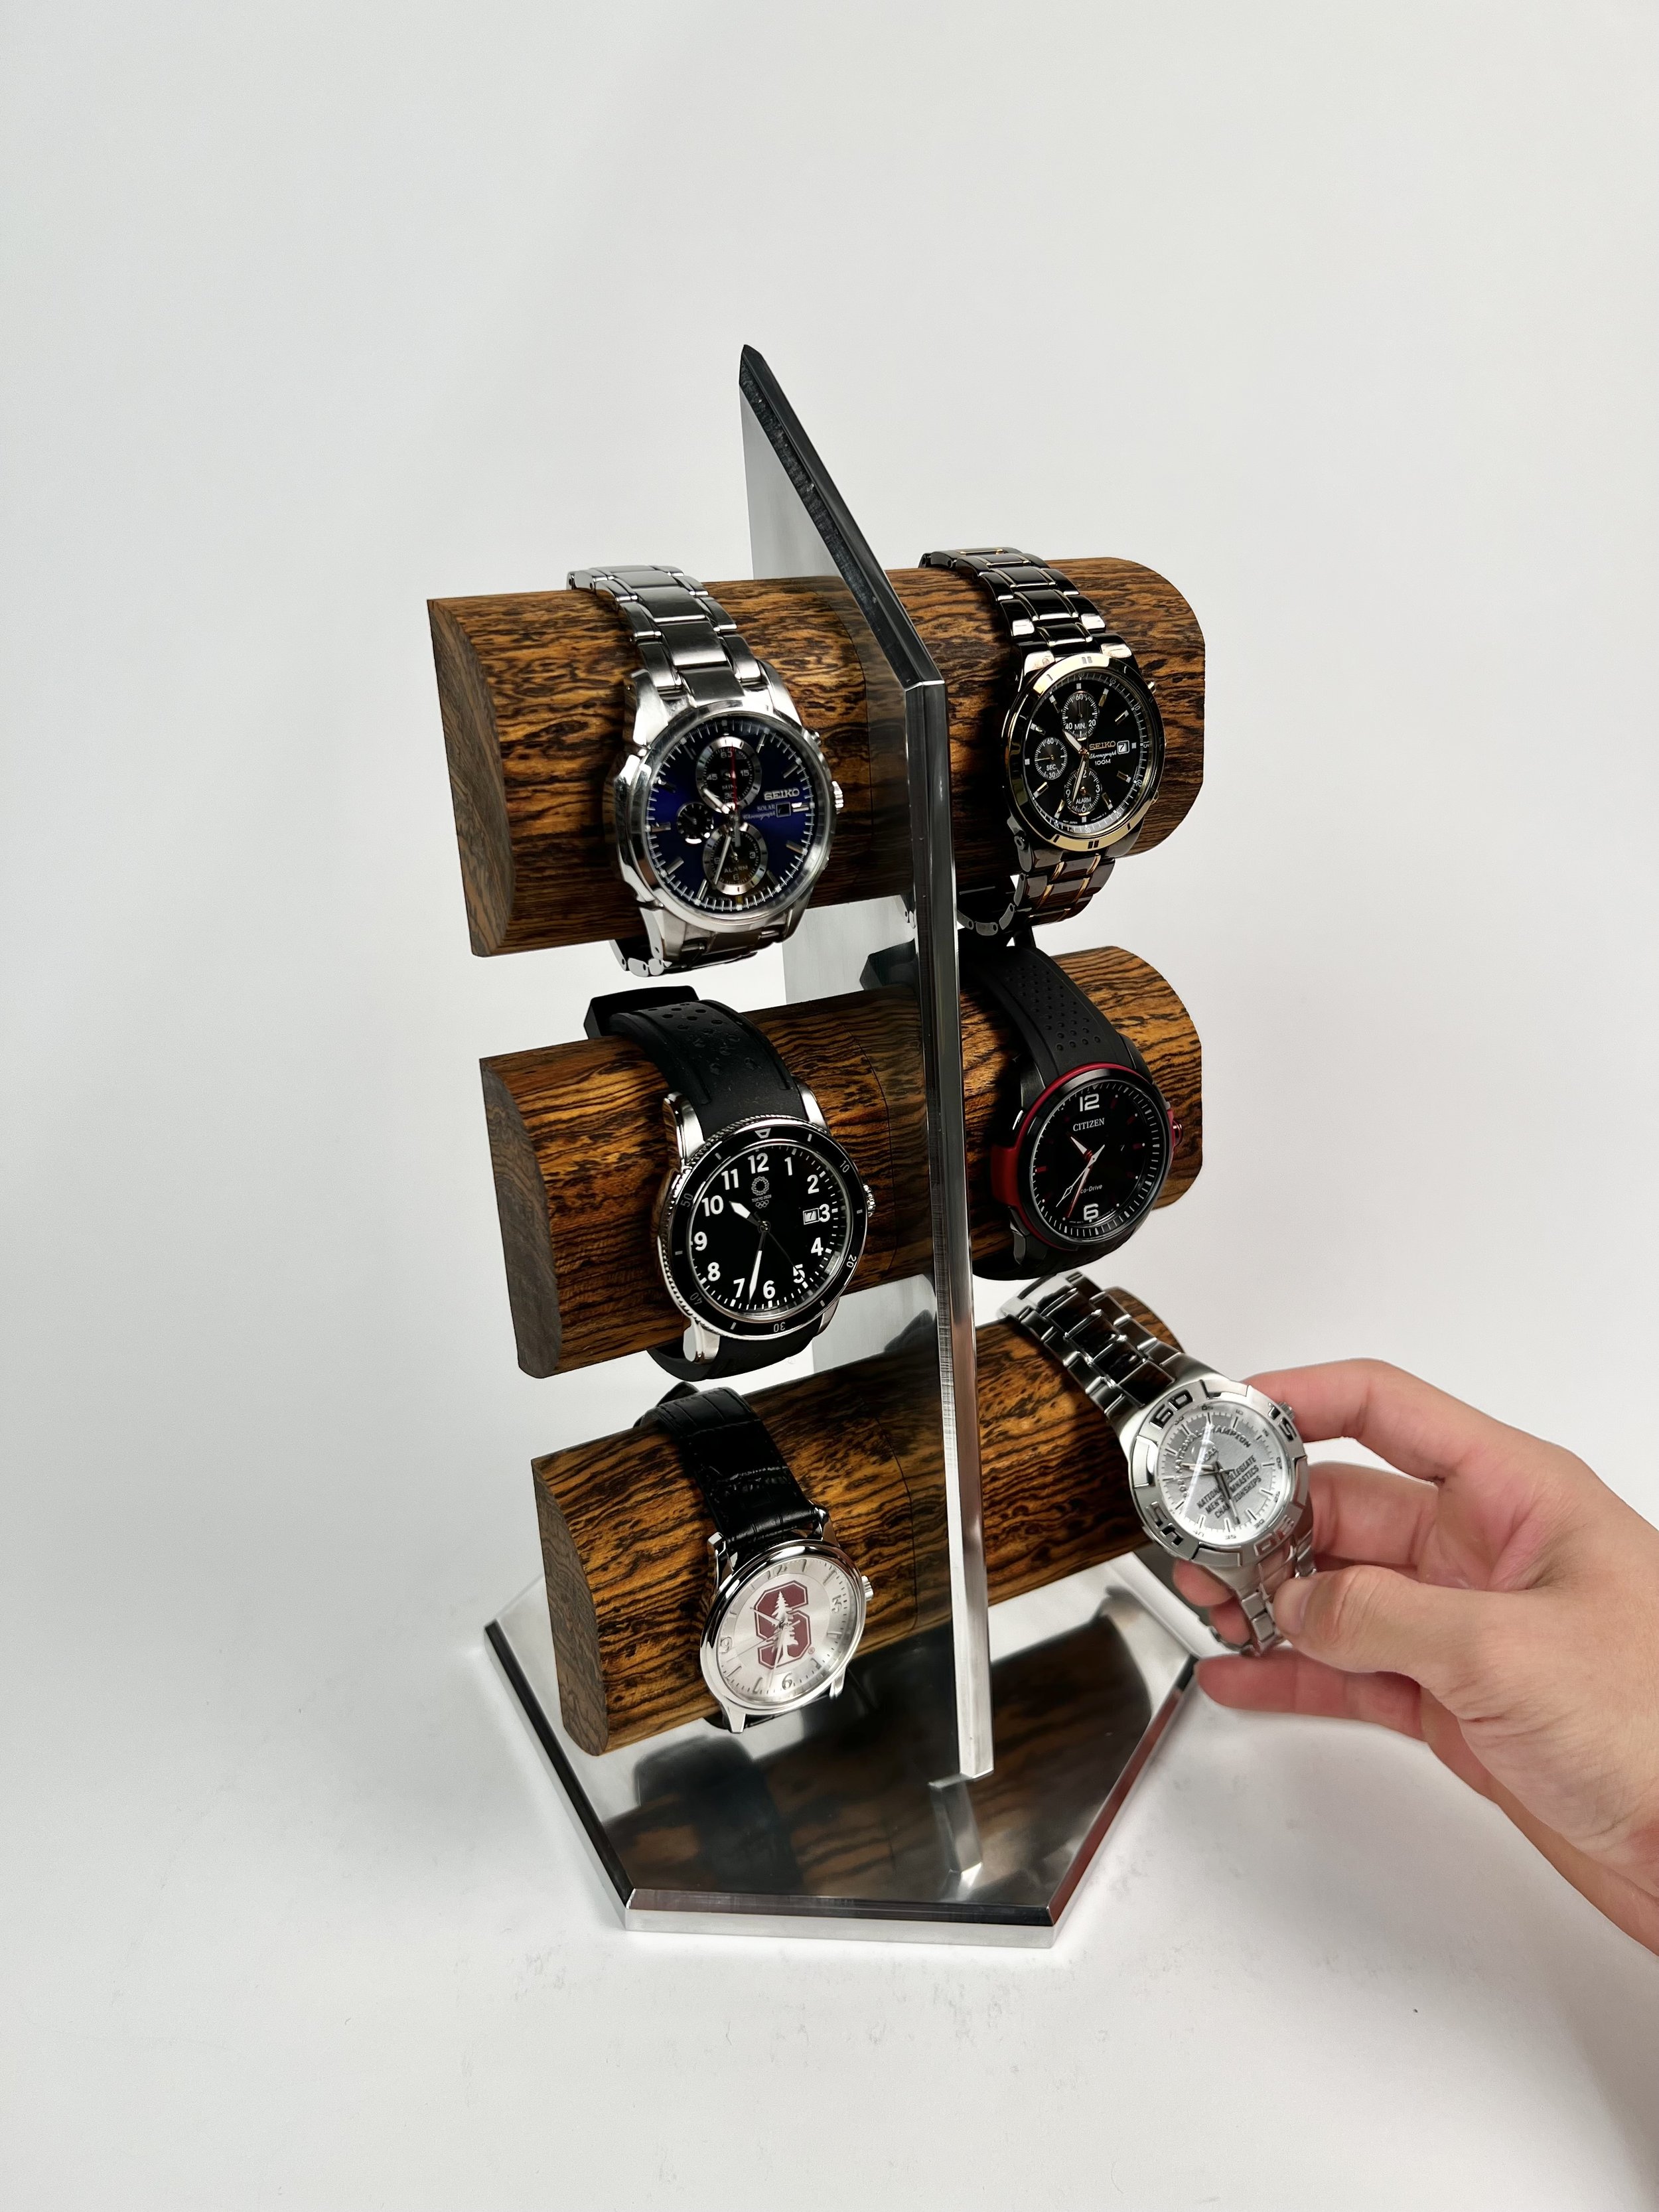
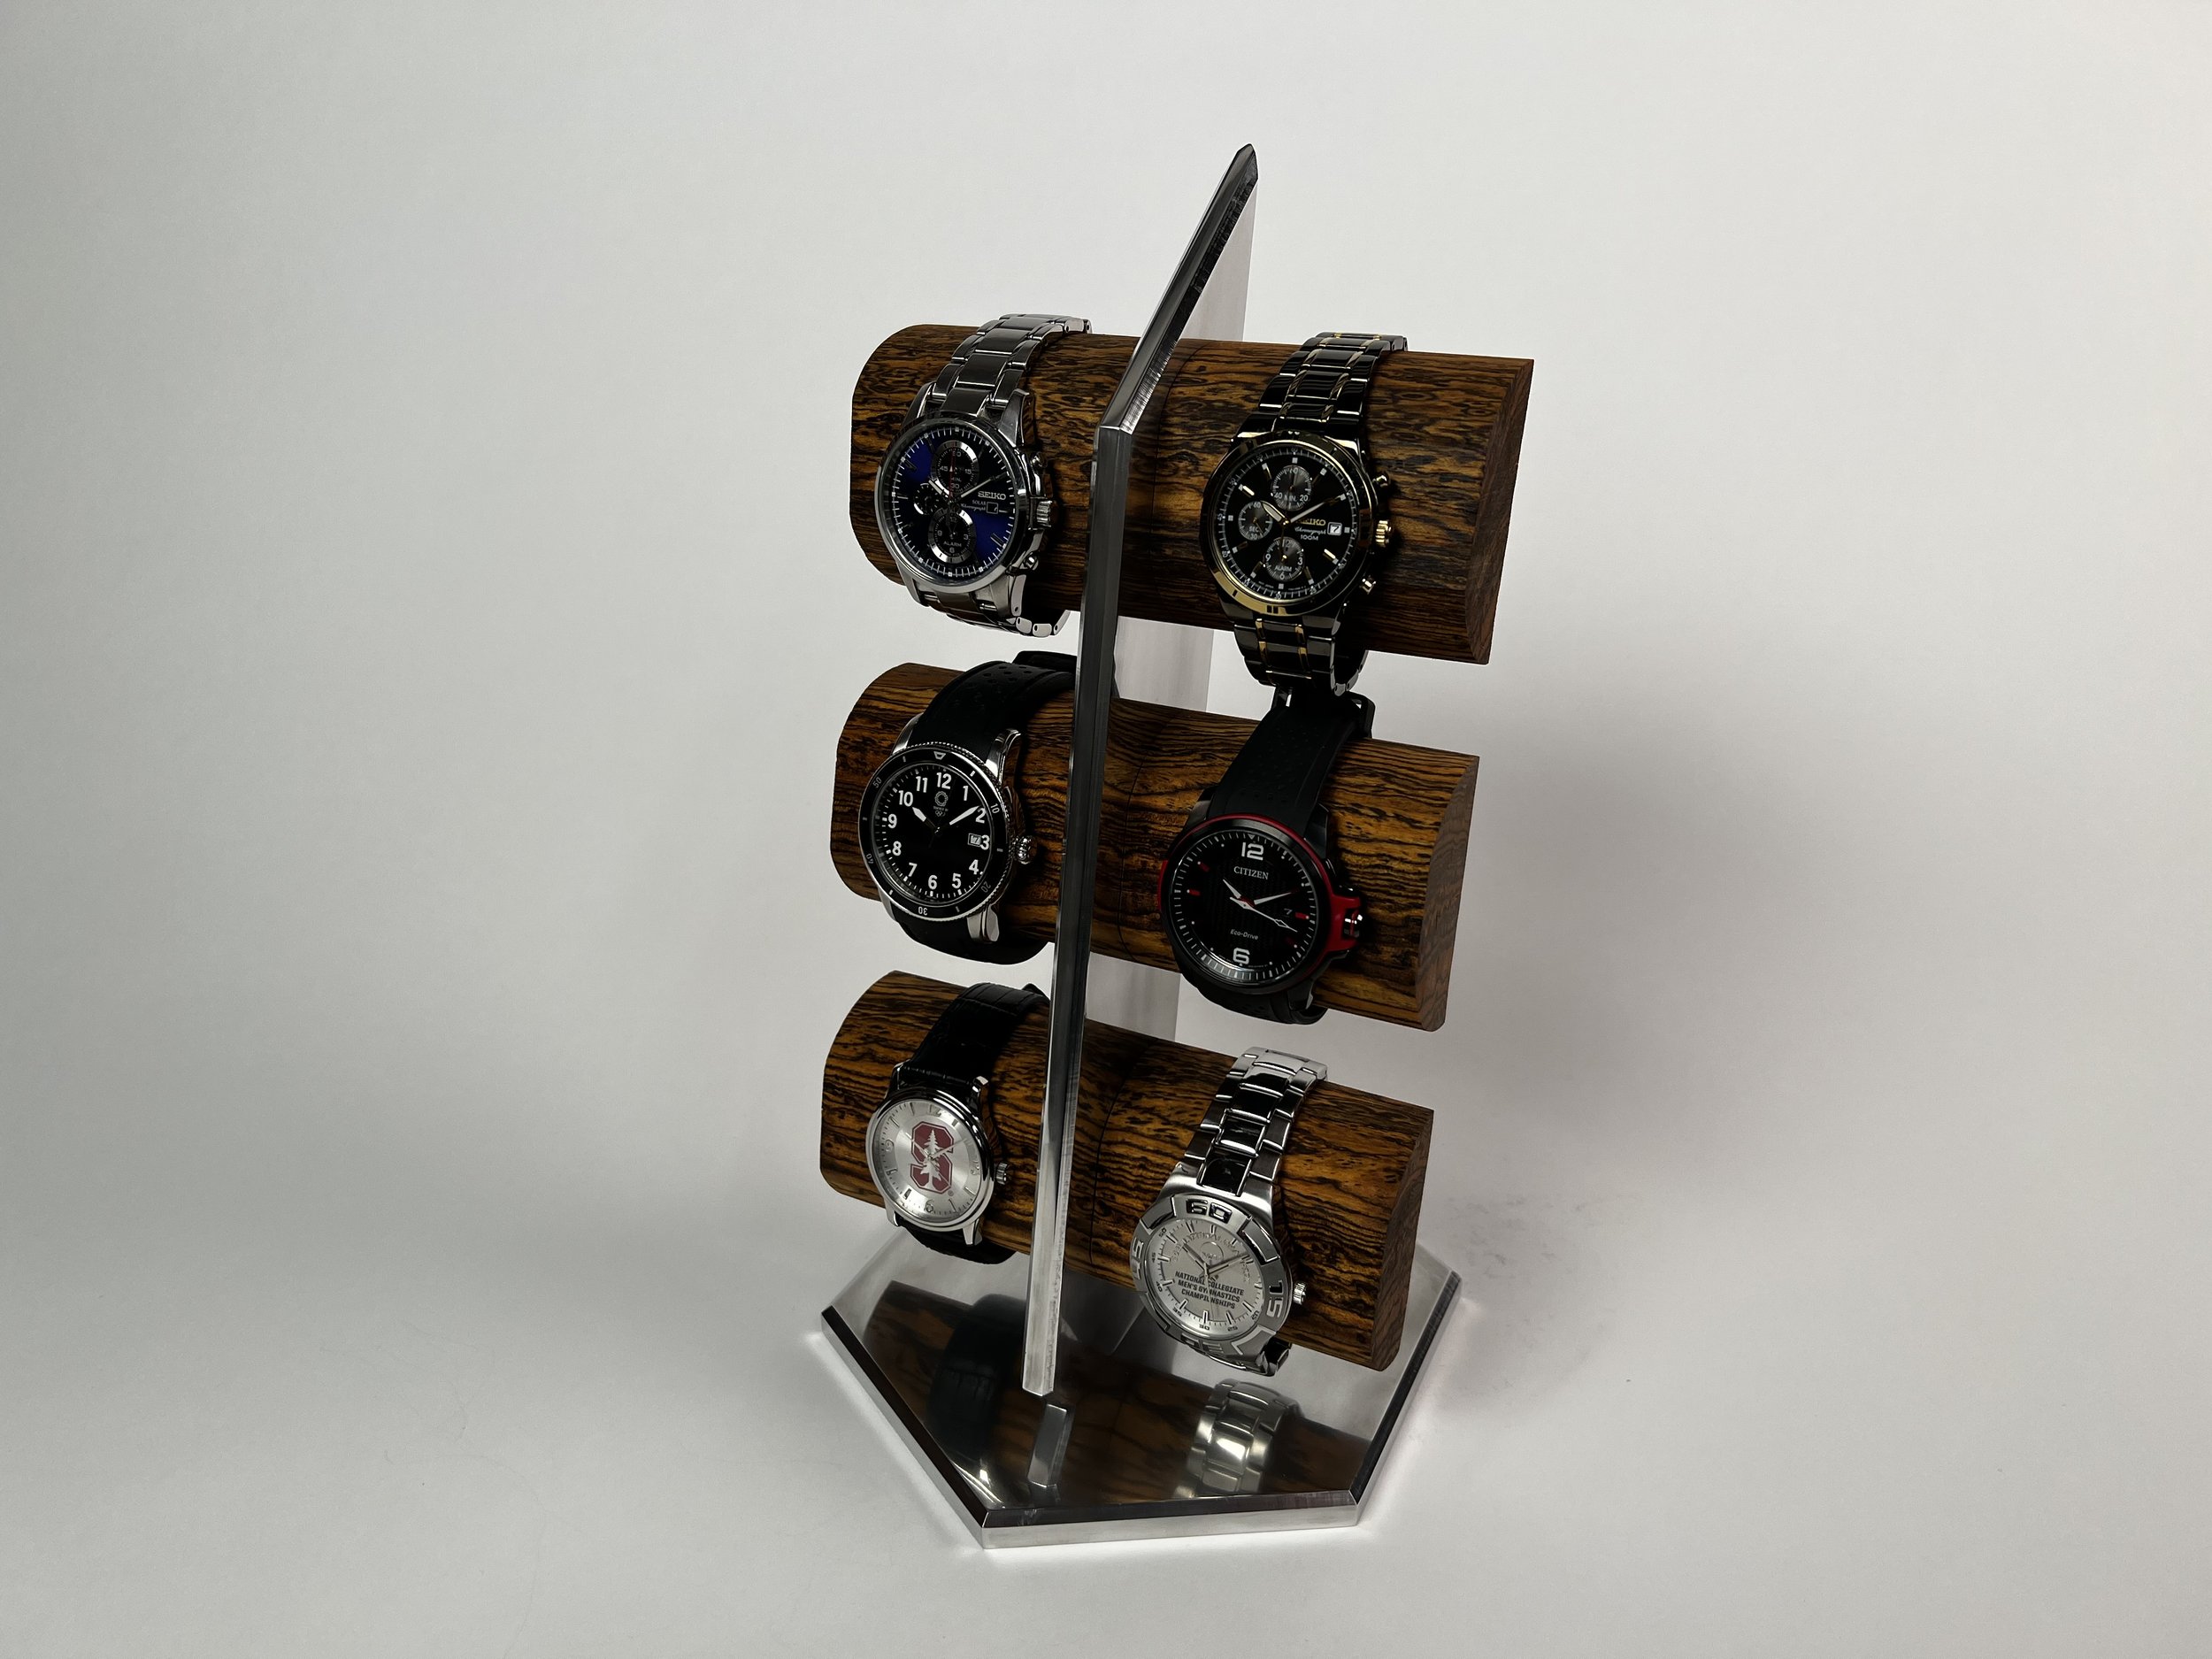
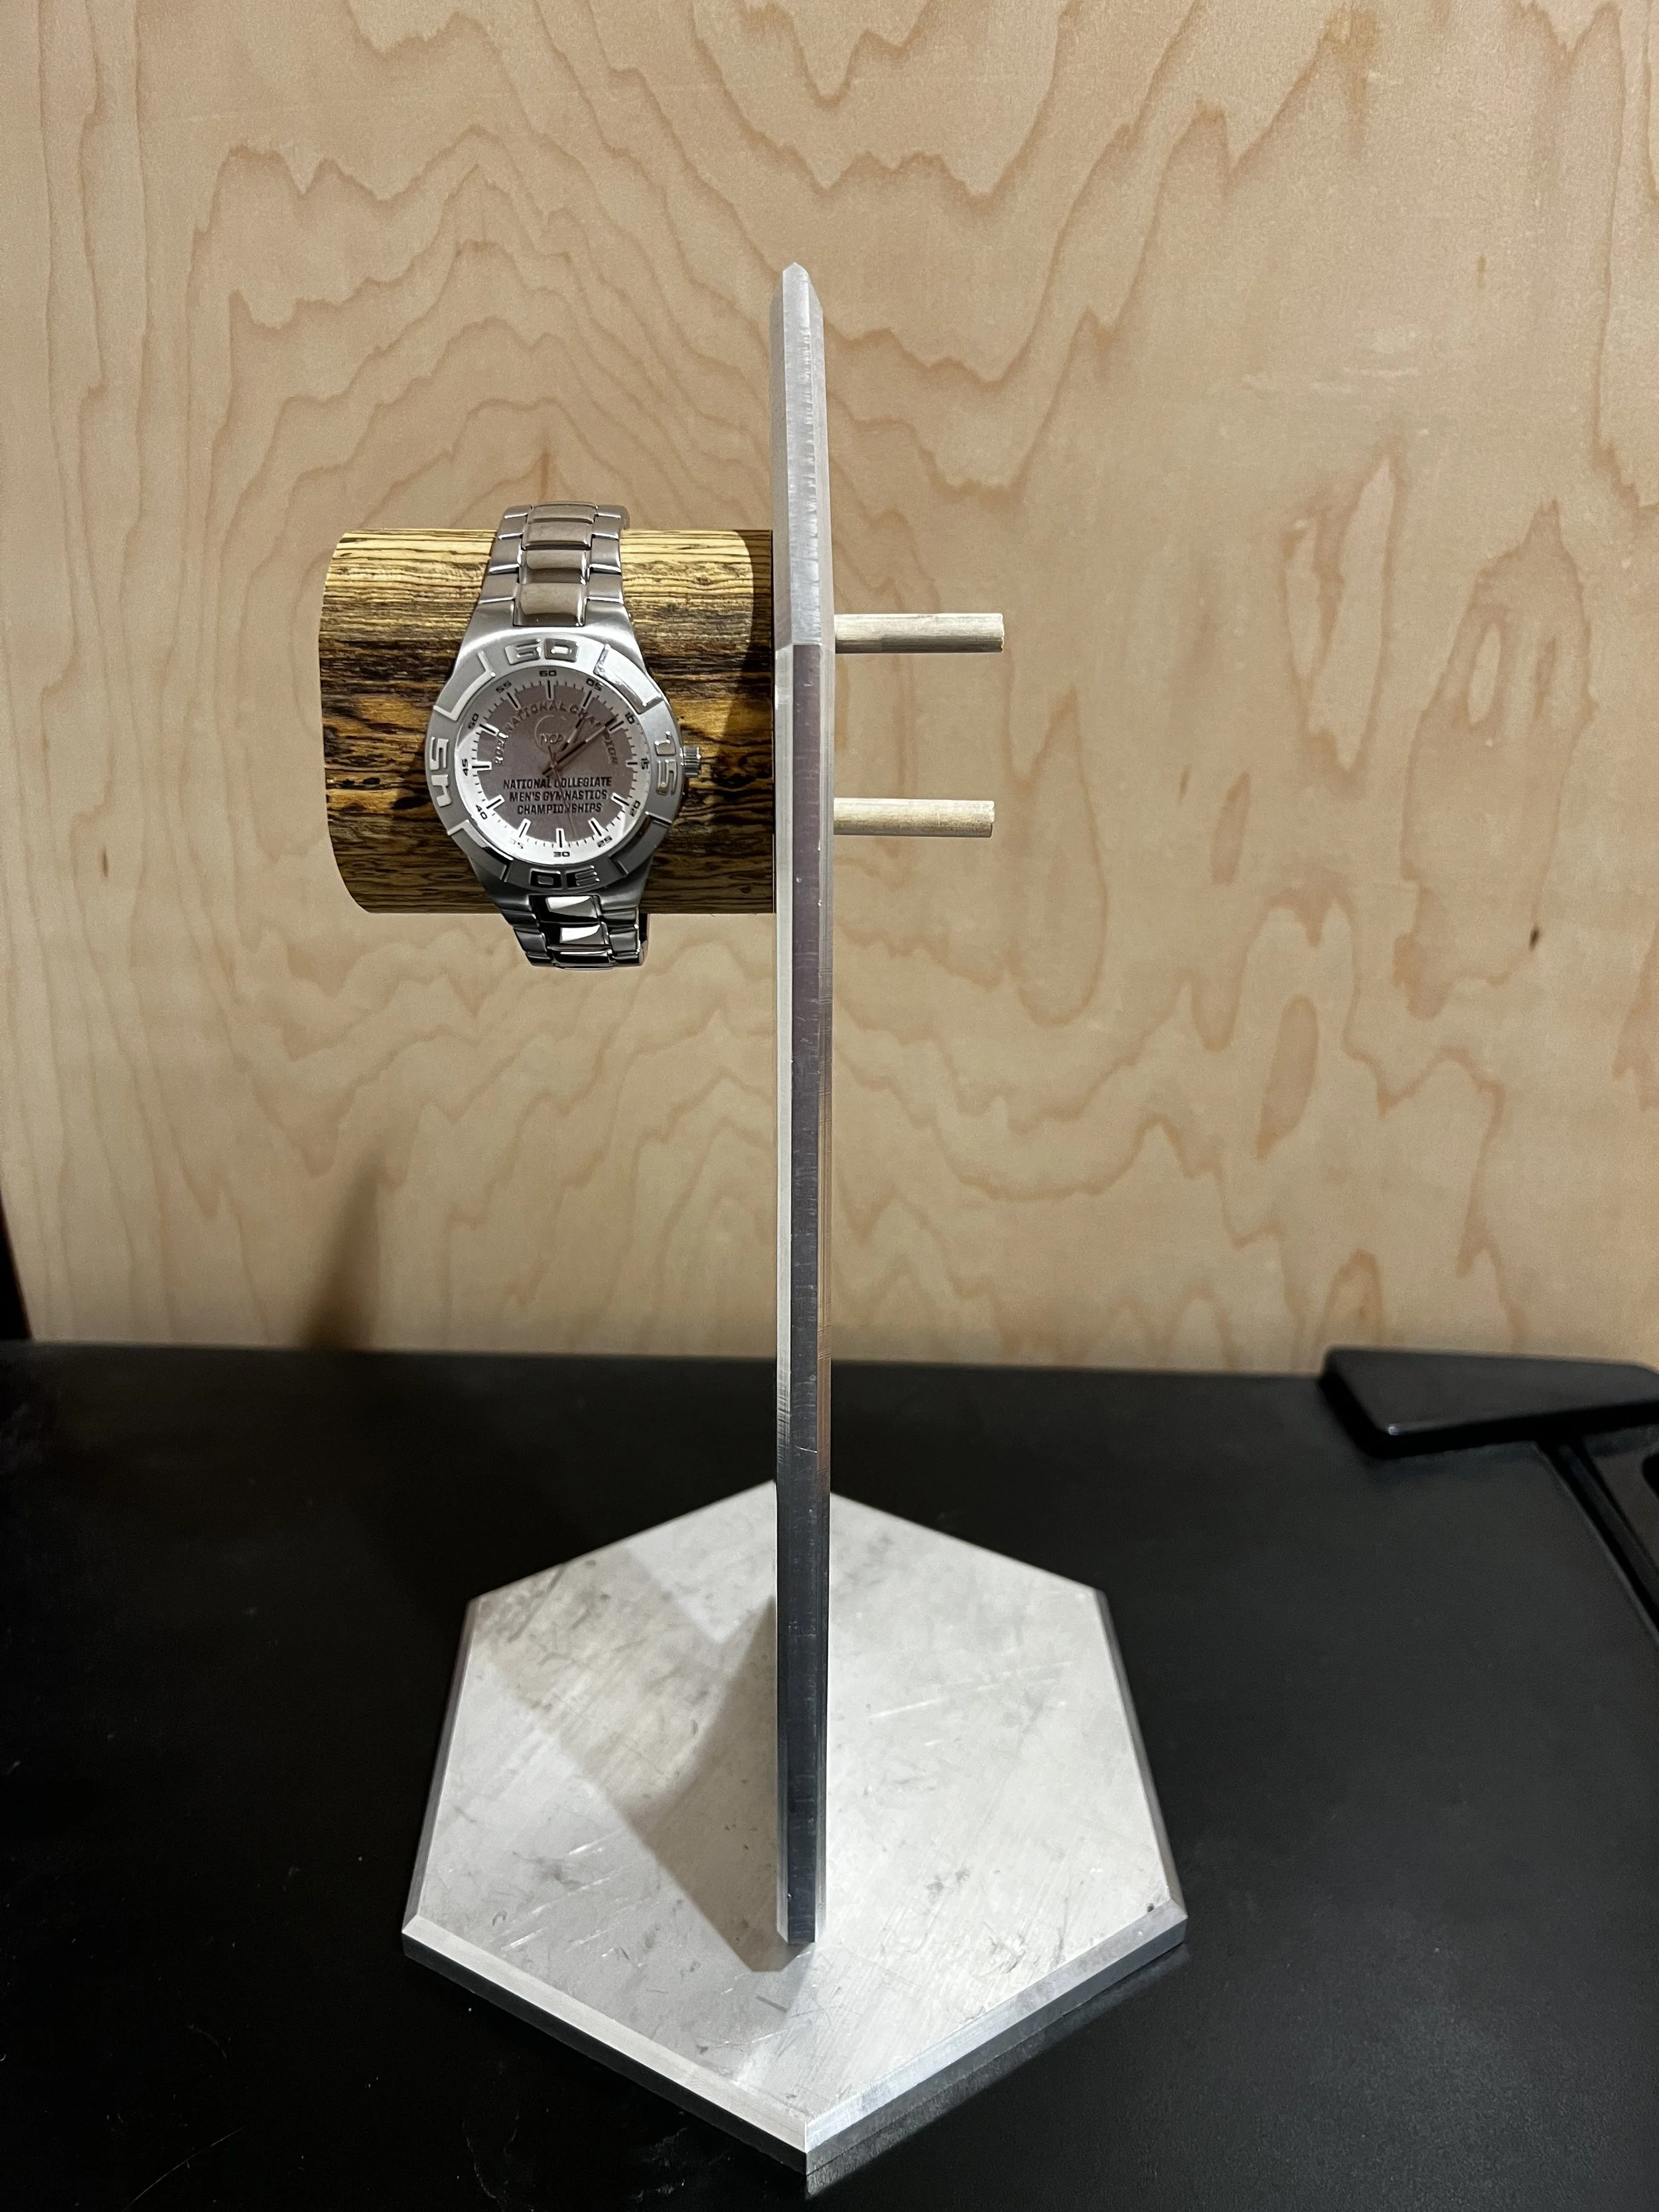
Objective: To create a way to hold and display one’s watches in a safe and stylish manner. As a personal touch, my goal was to juxtapose the warmth and elegance represented by dark wood with the cool toned boldness of the aluminum. In doing so creating a resilient product that is functional, sturdy, and striking.
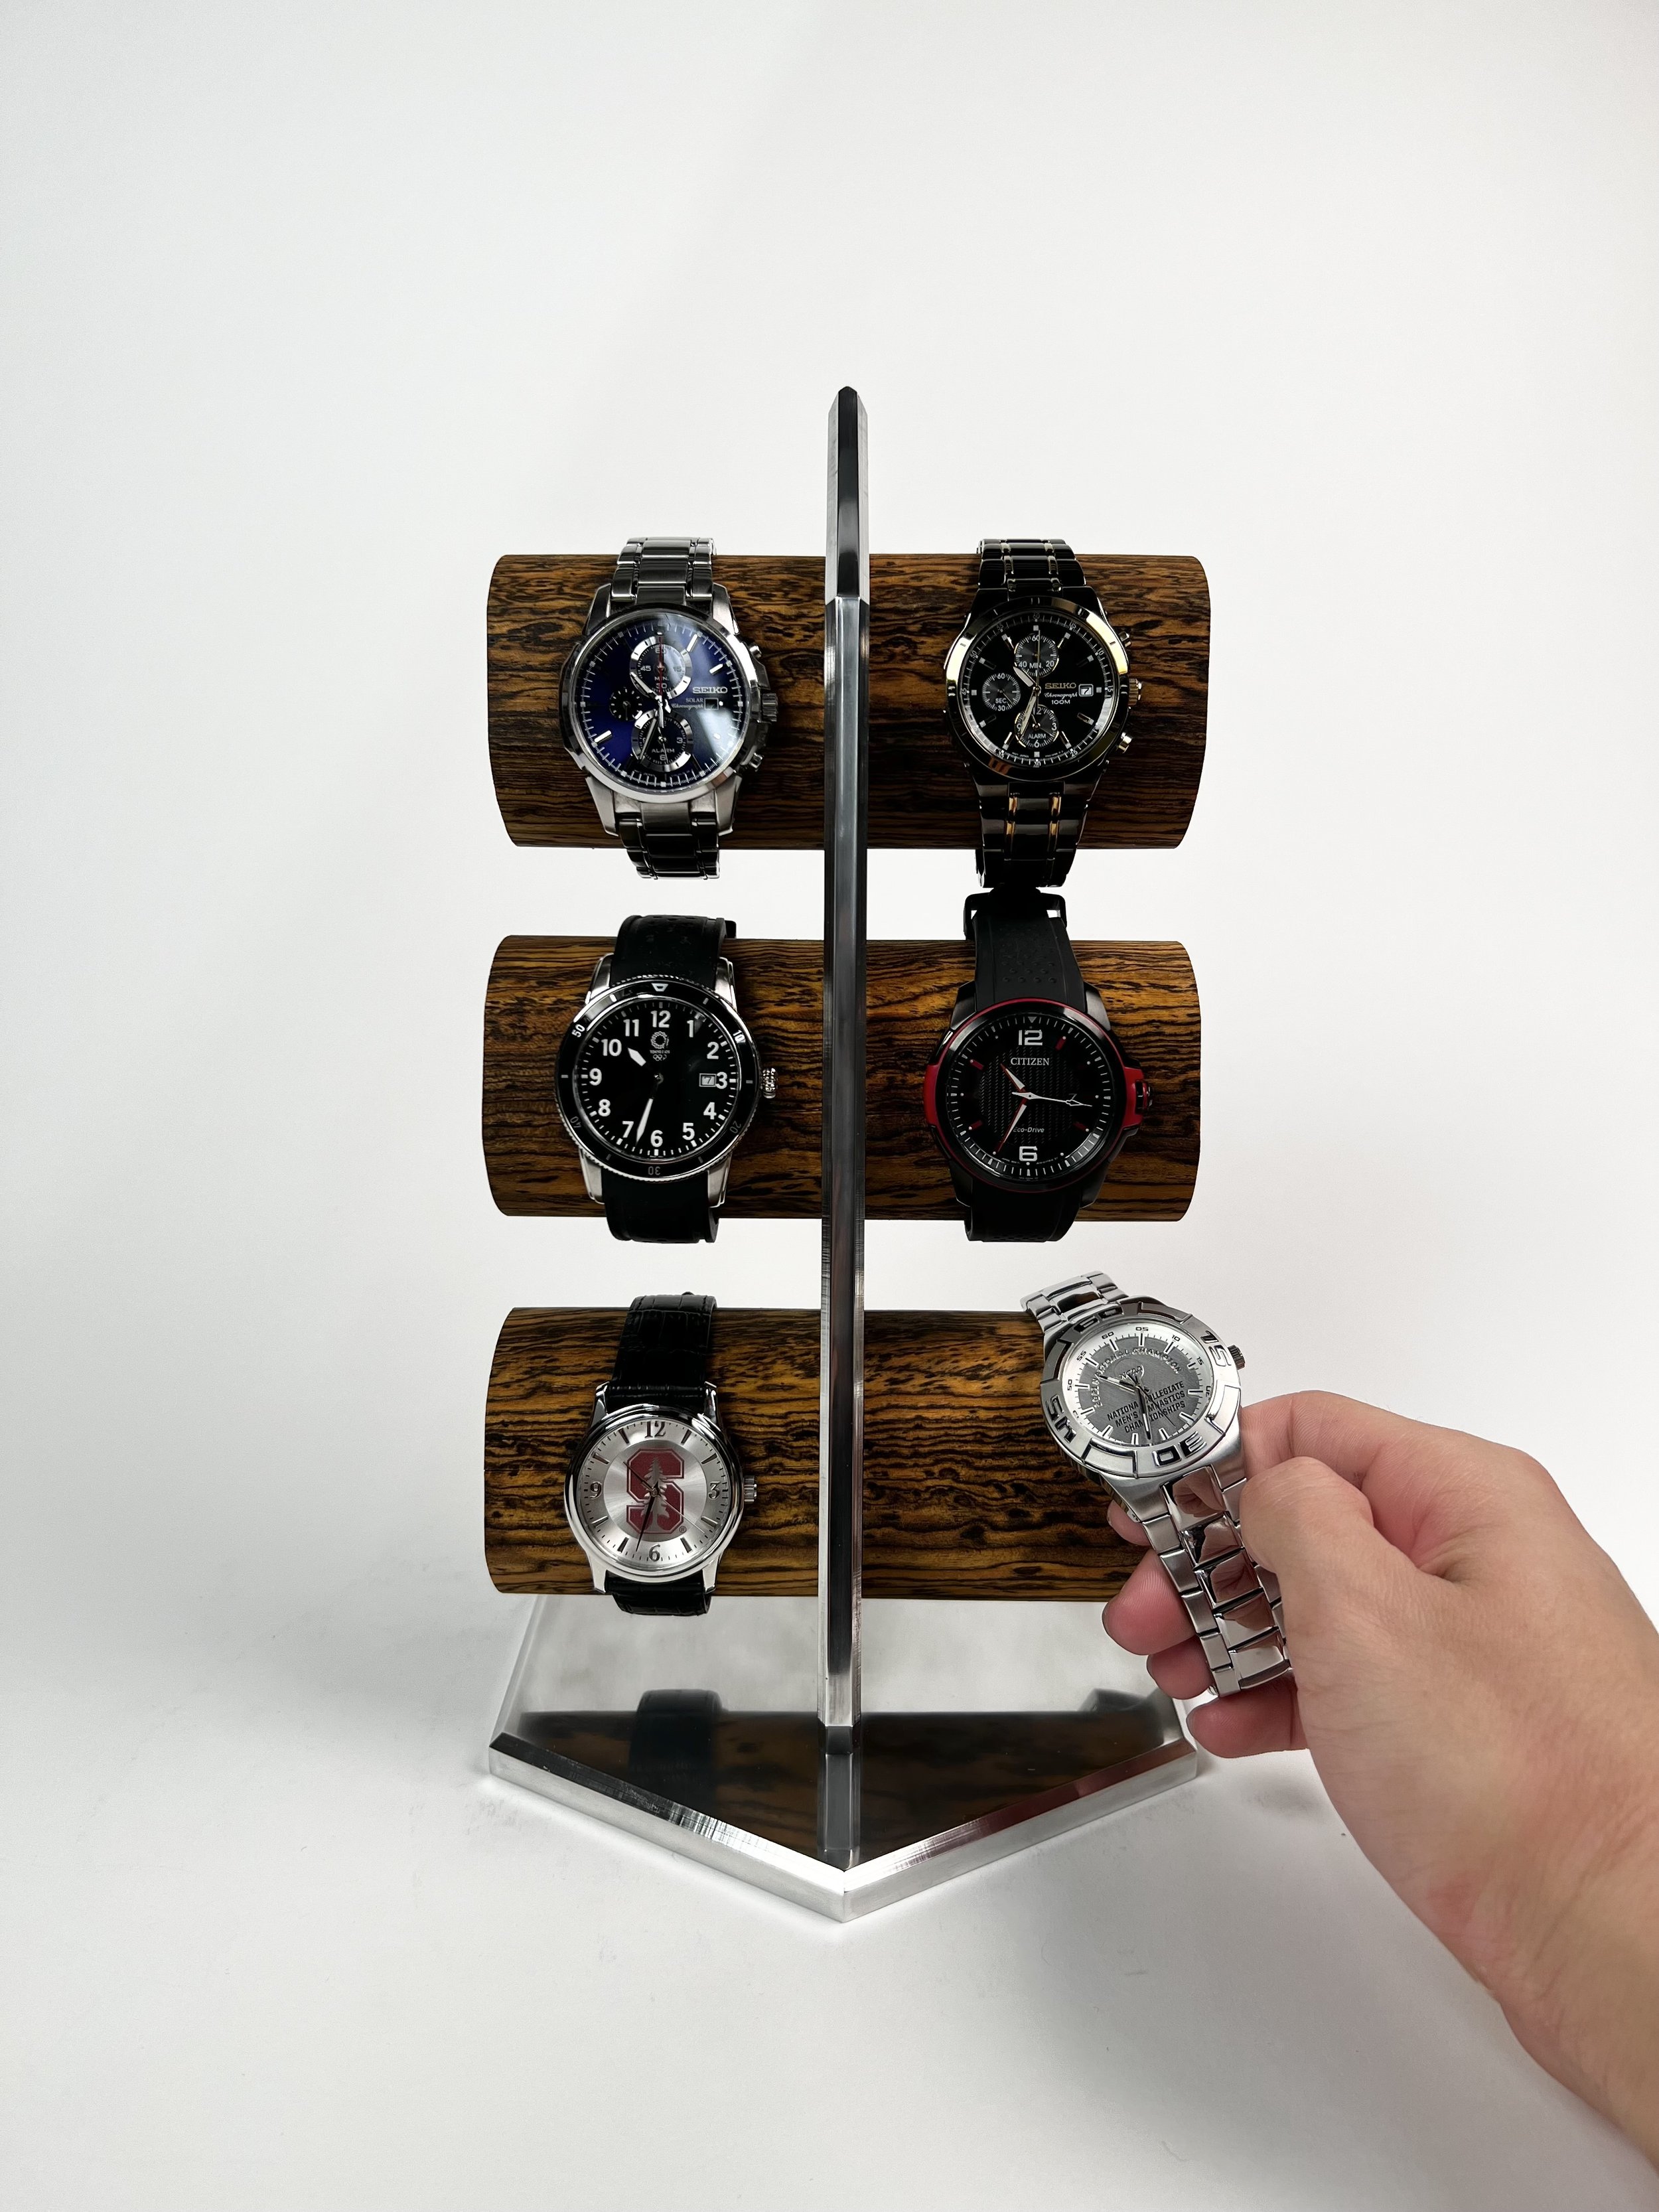
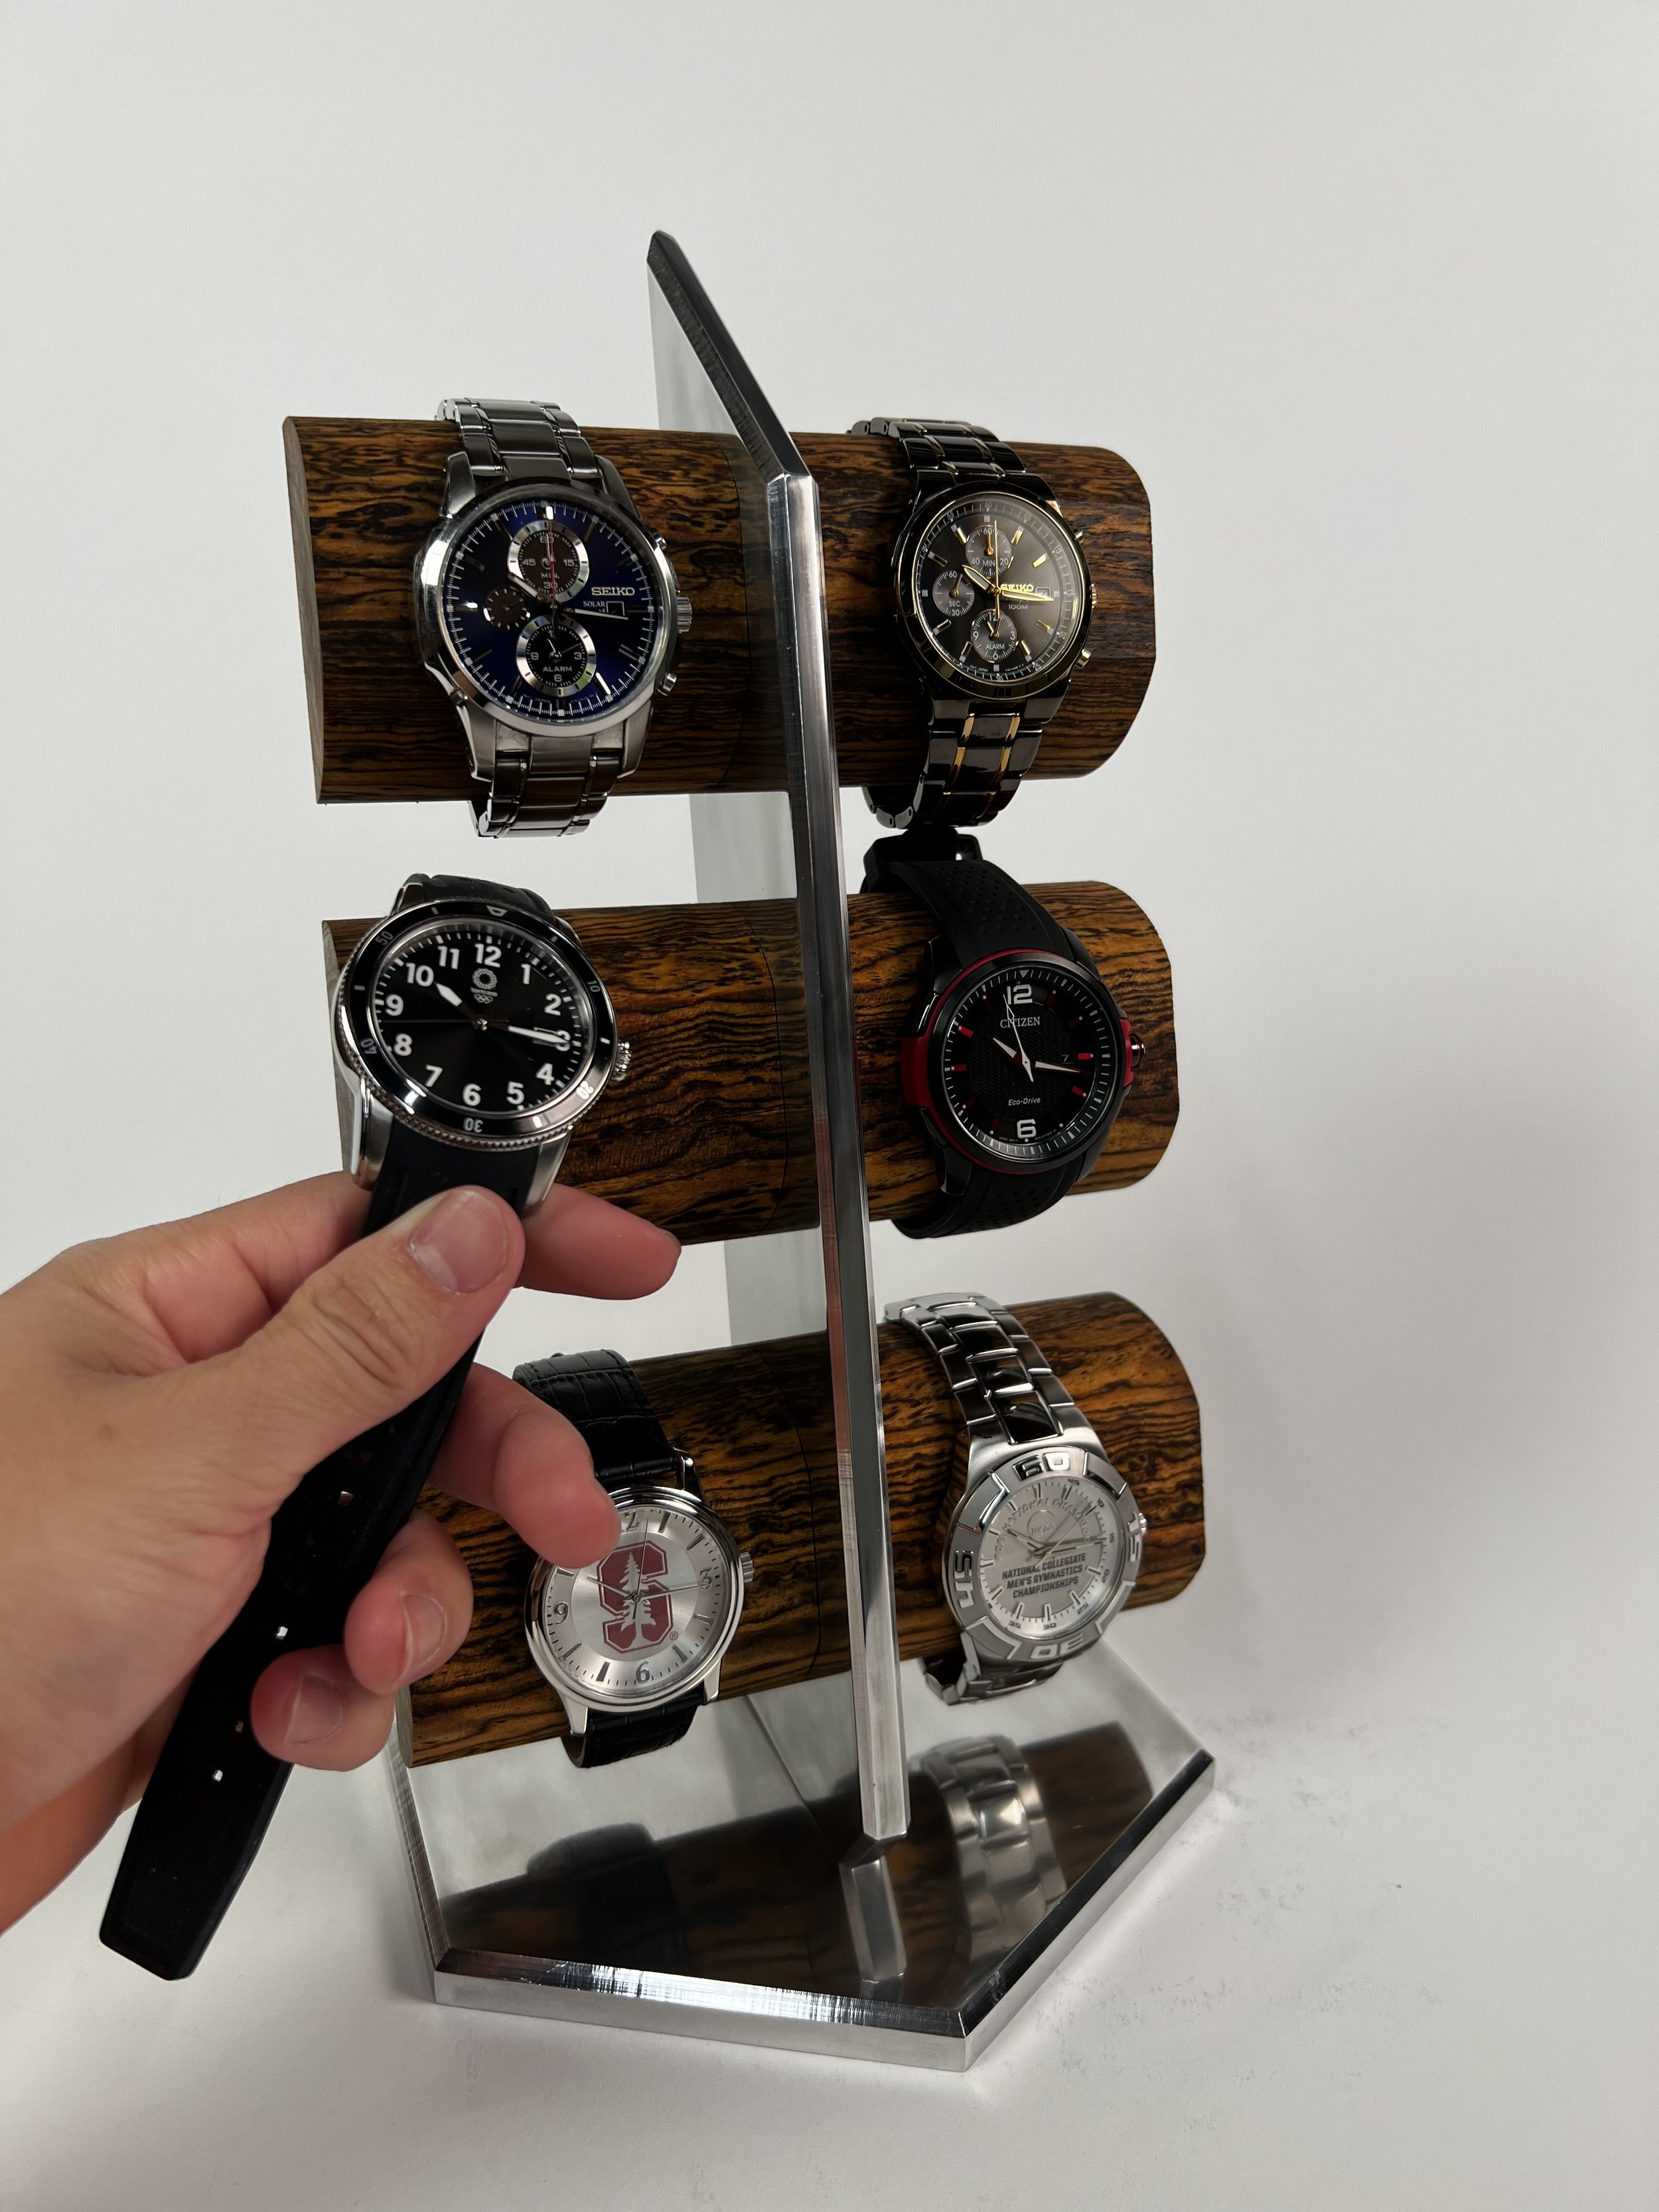
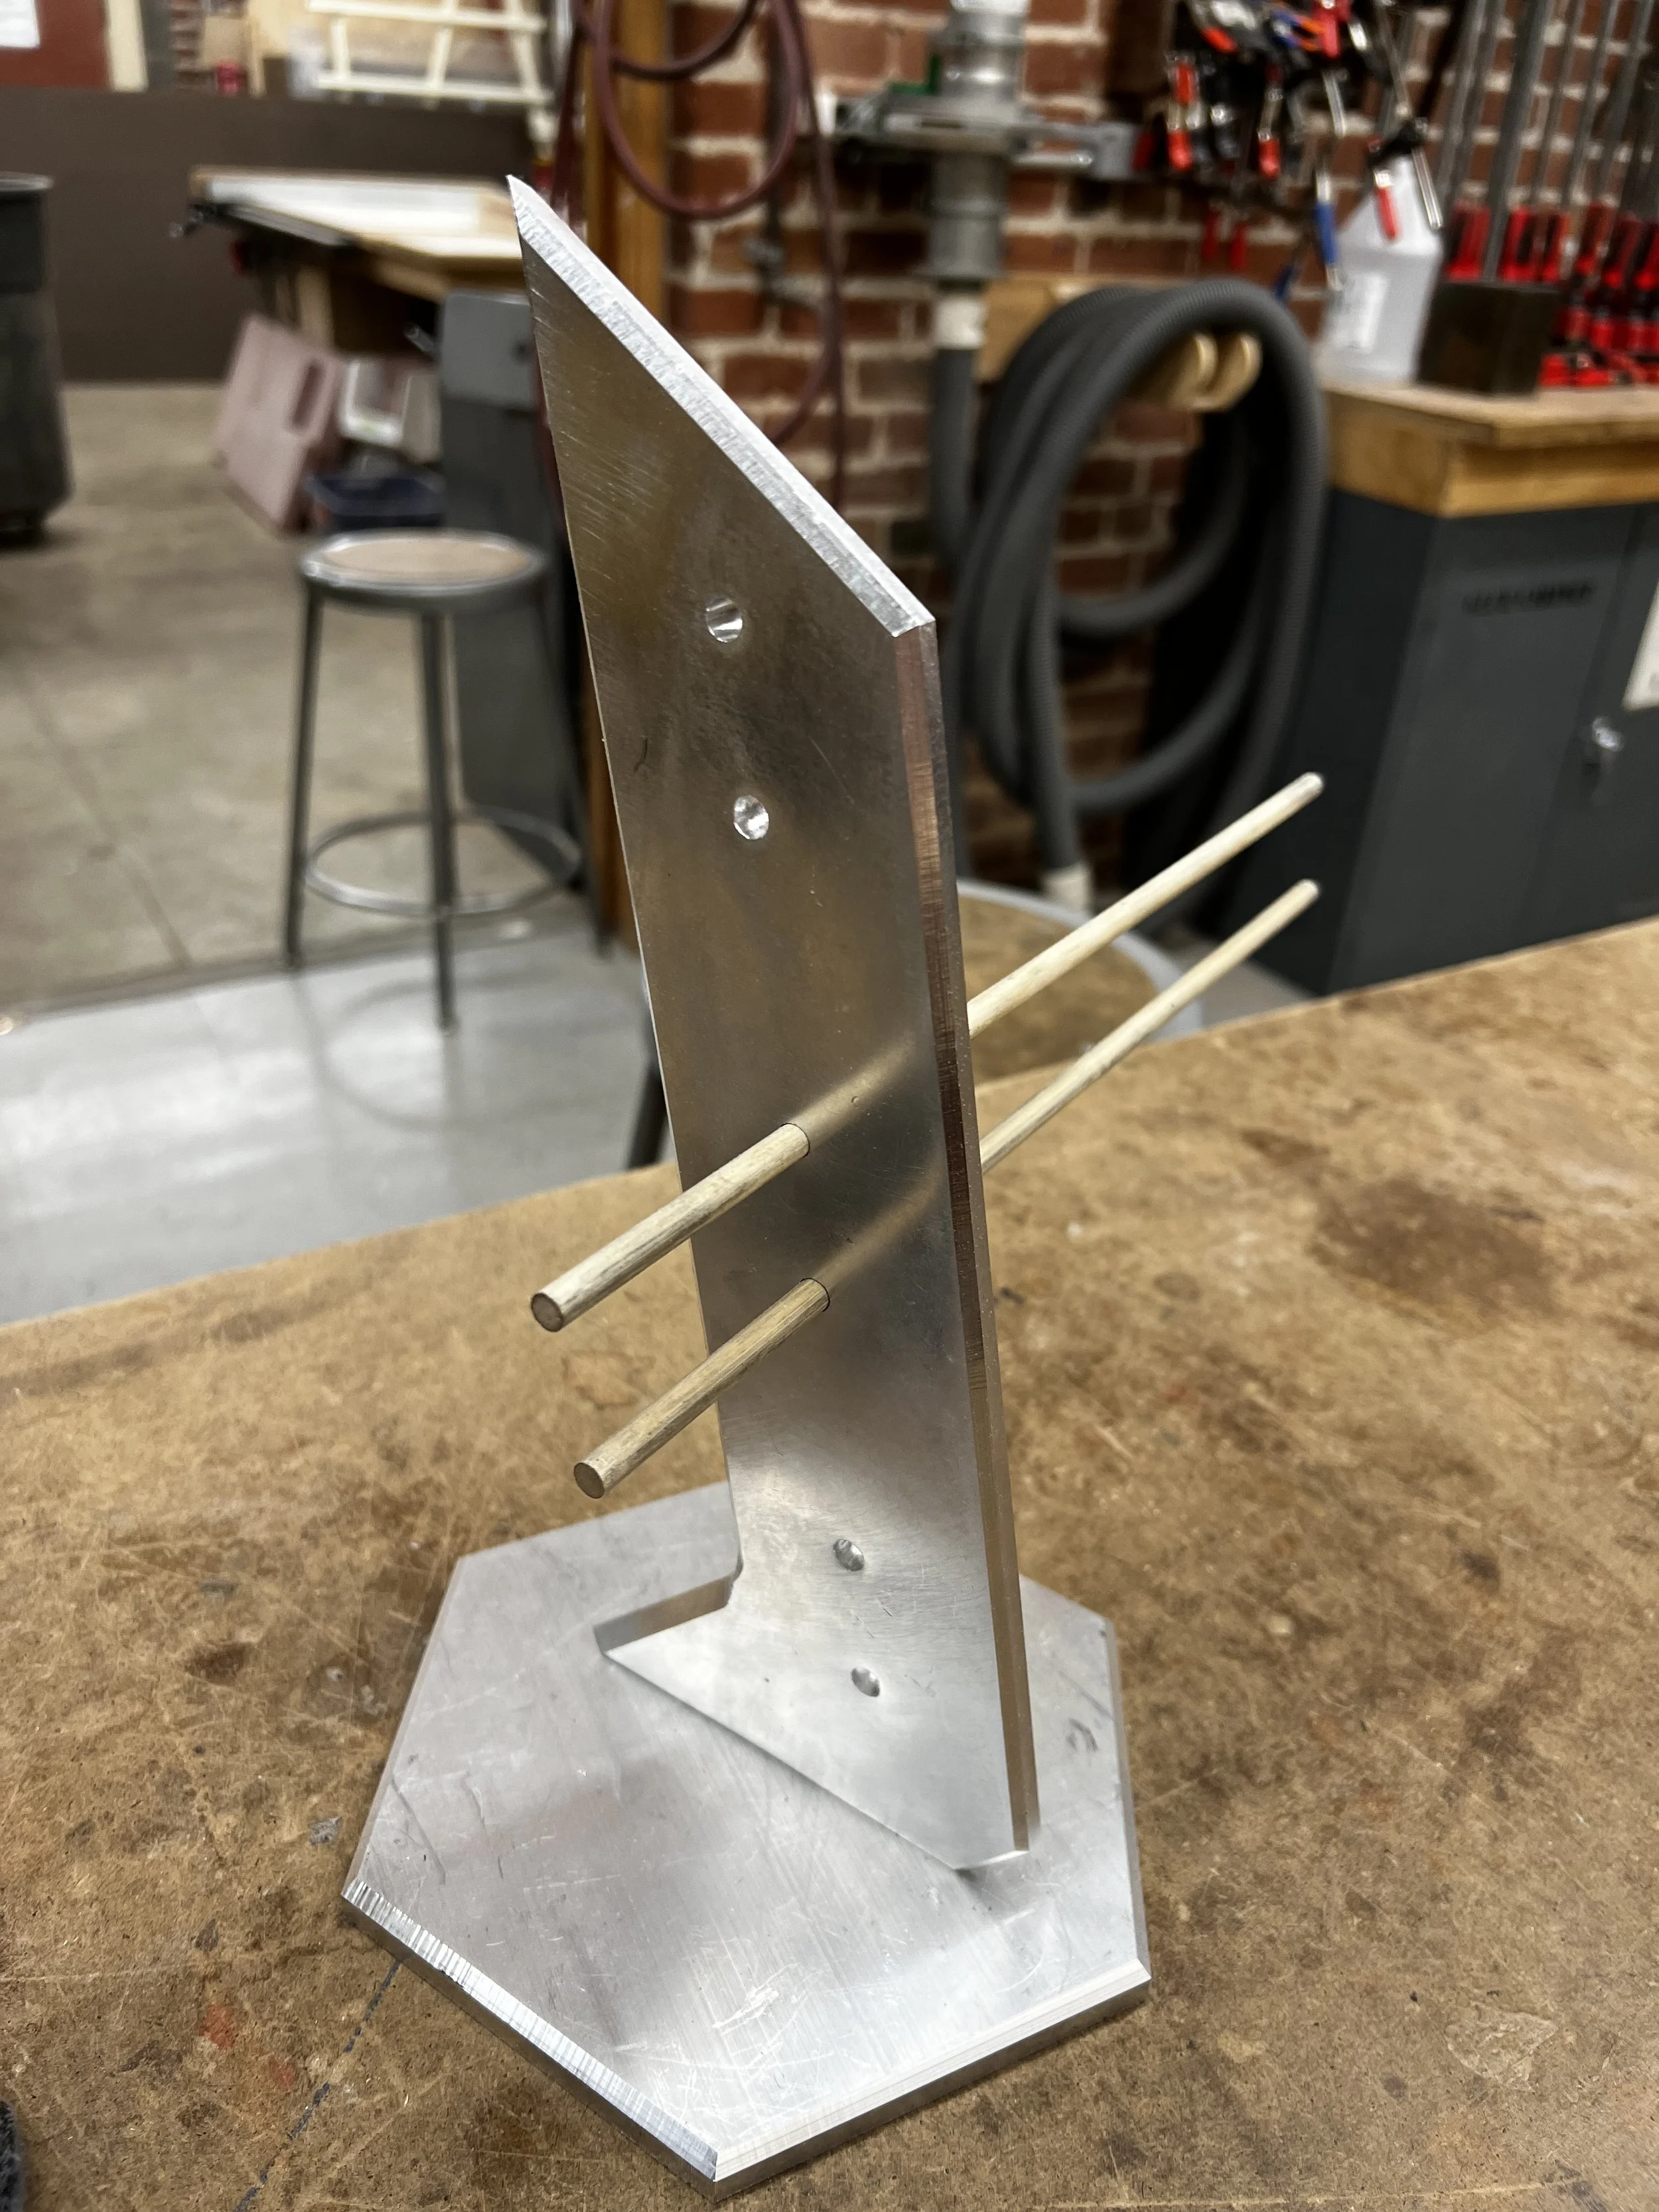
Unique Features: Hold up to 6 watches in a way where each can be accessed individually, and each can be displayed with the face in front.

The Problem…
Goal: Design for Practicality, Improve on What Already Exists
Keeping watches in packaging is cumbersome to remove, and takes up a lot of desk space

Leaving watches on the desk exposes them to scratches, bumps, or getting dropped

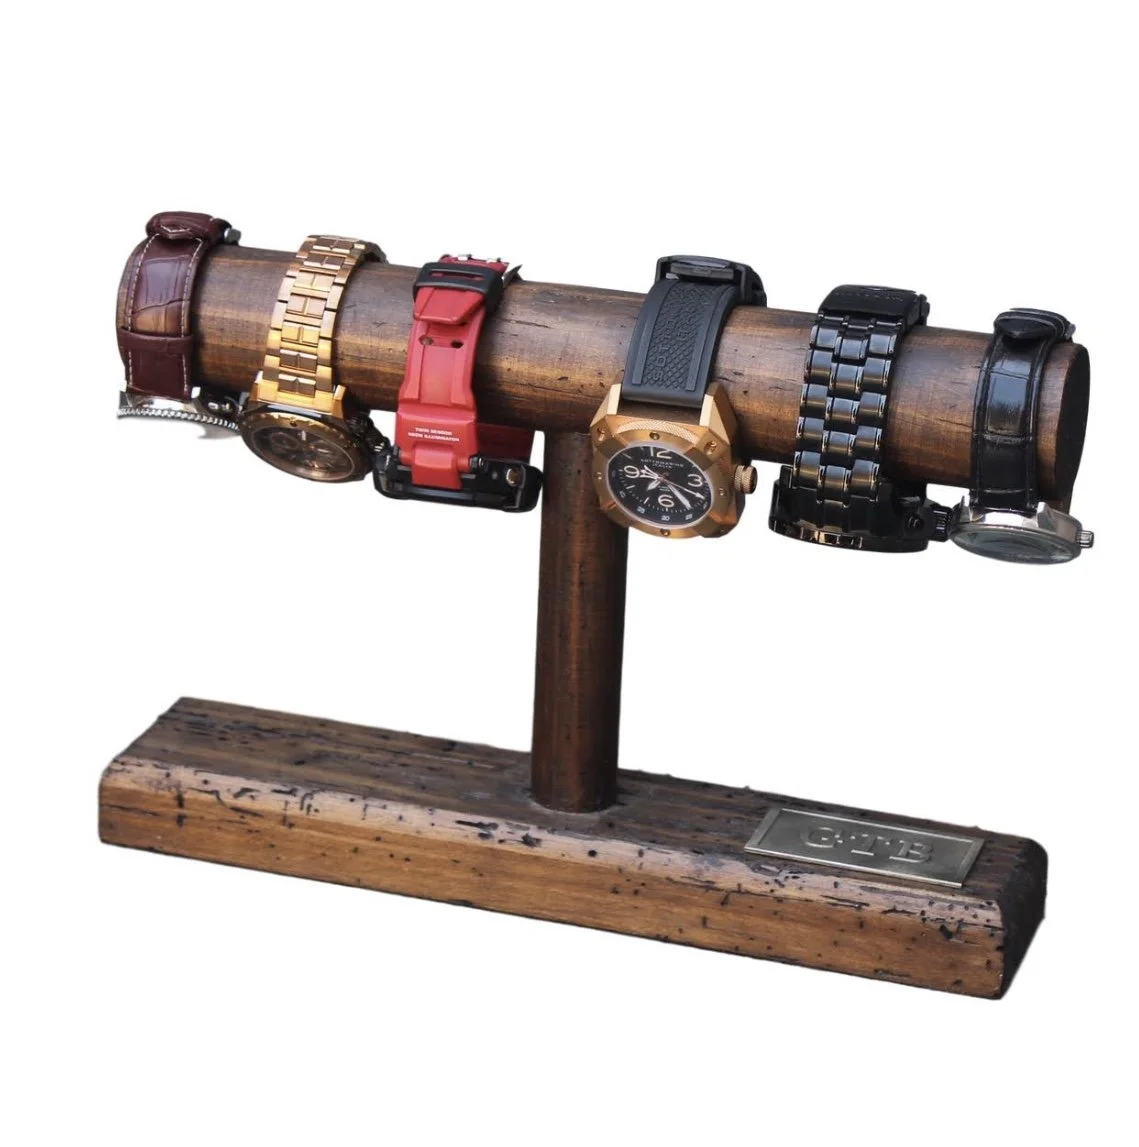
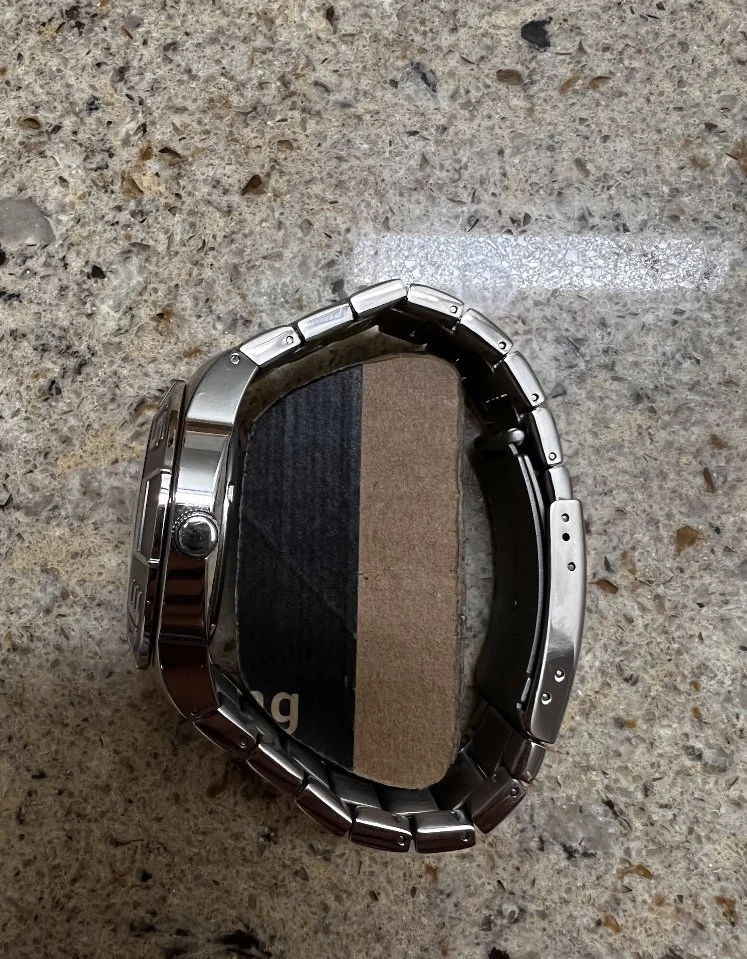
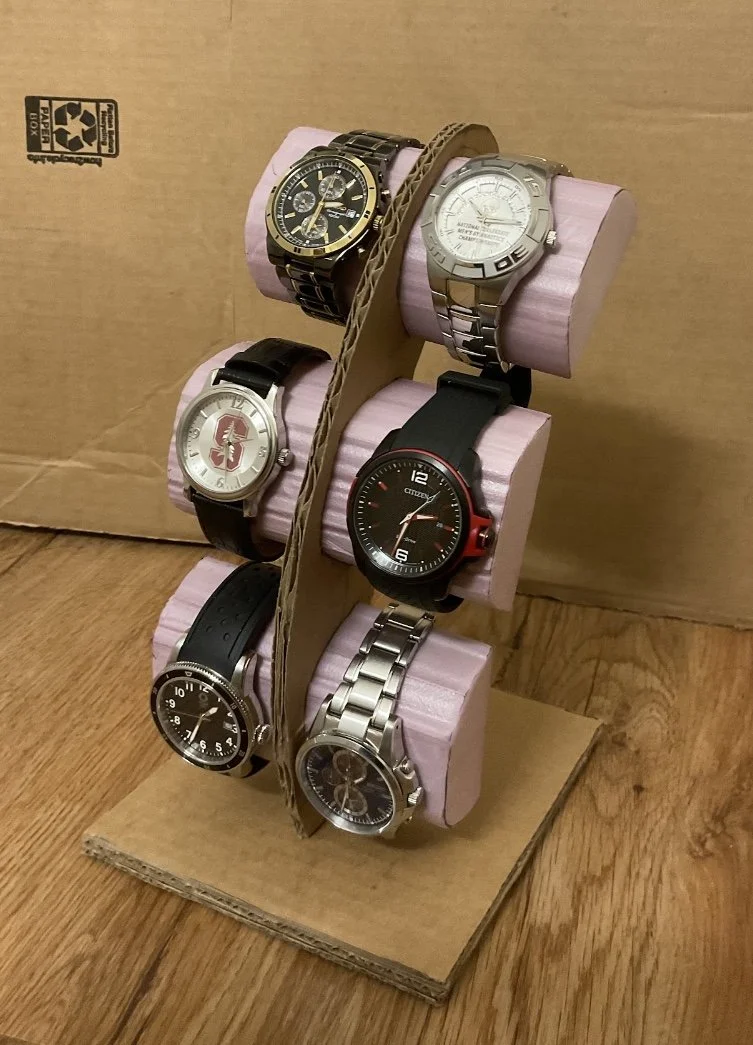
Watch displays like this make it difficult to reach the inside watches, and do not display the faces nicely
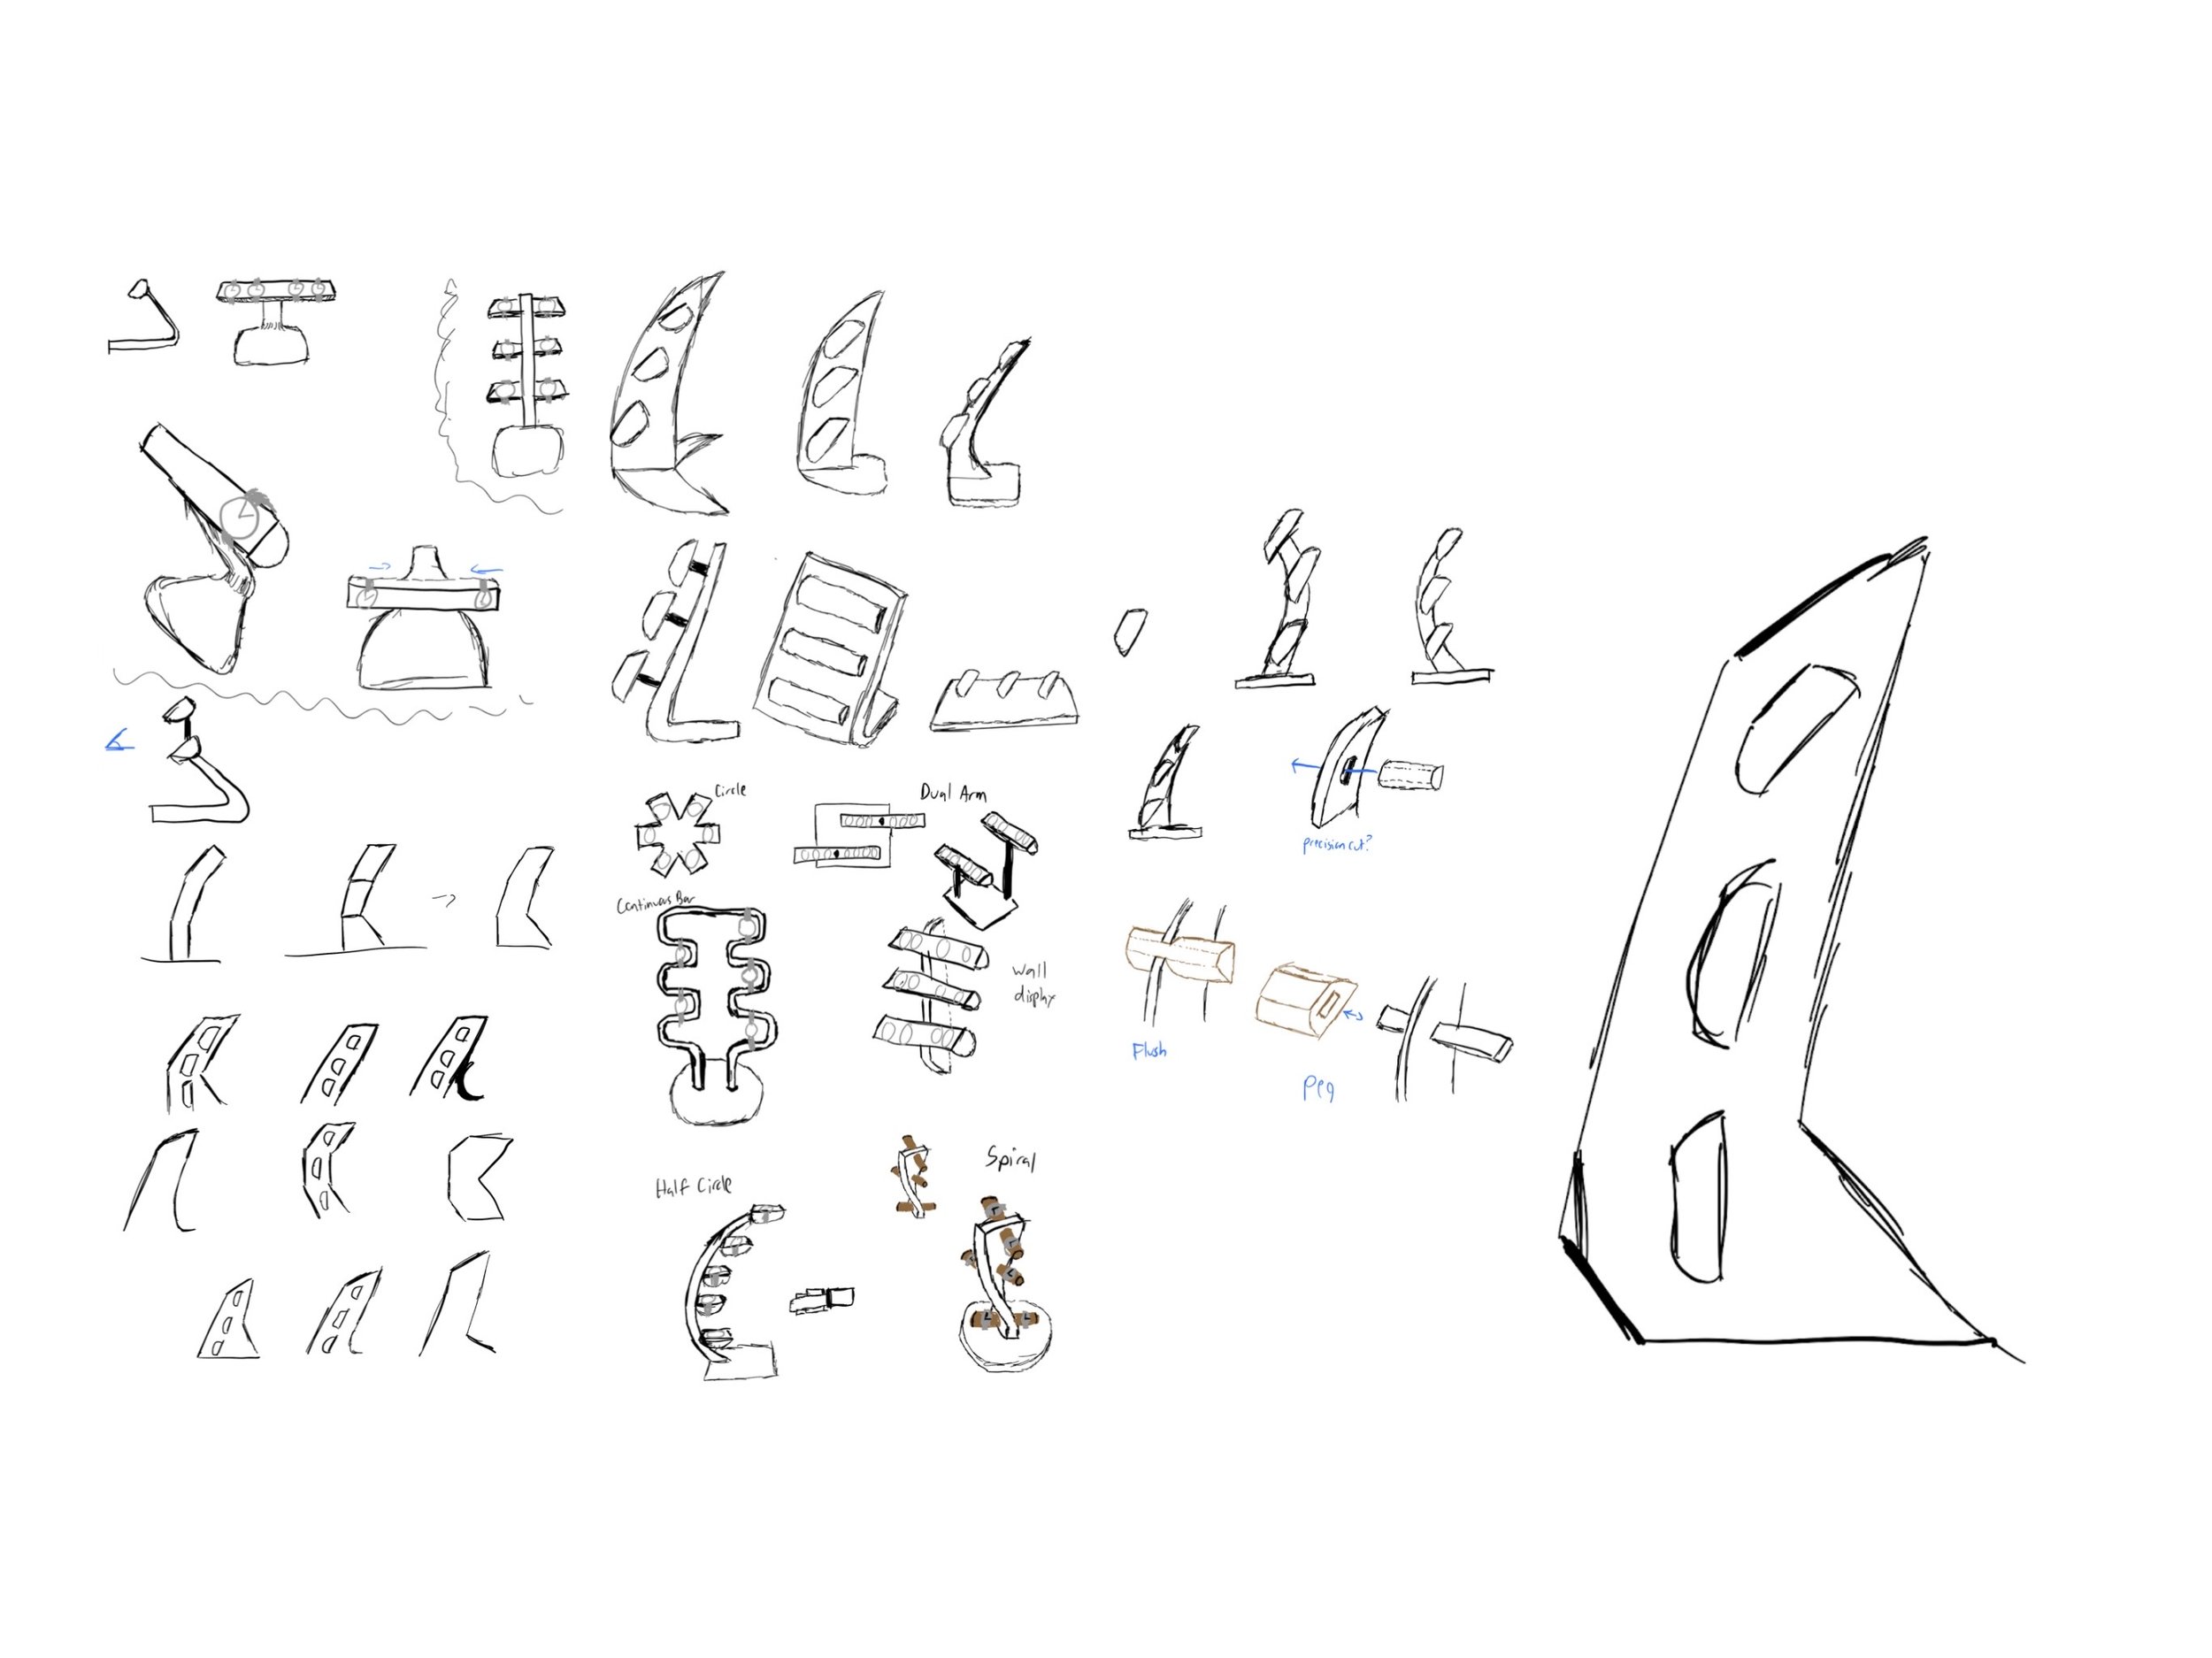
Concept Sketches
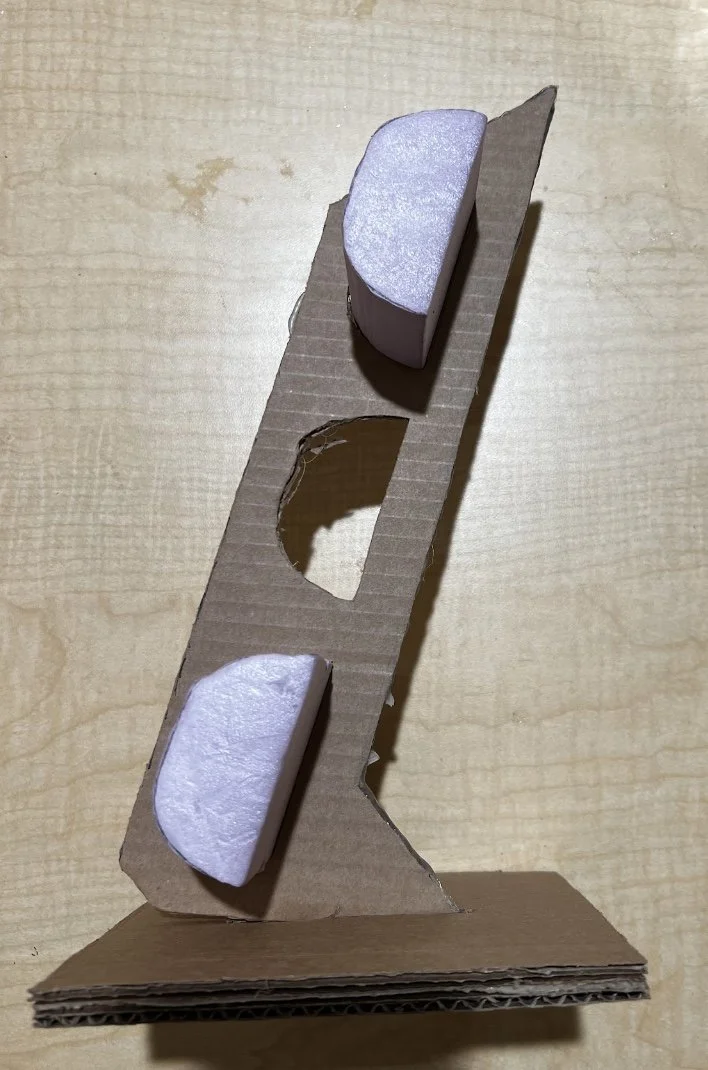
Rapid Prototyping
Testing and answering questions:
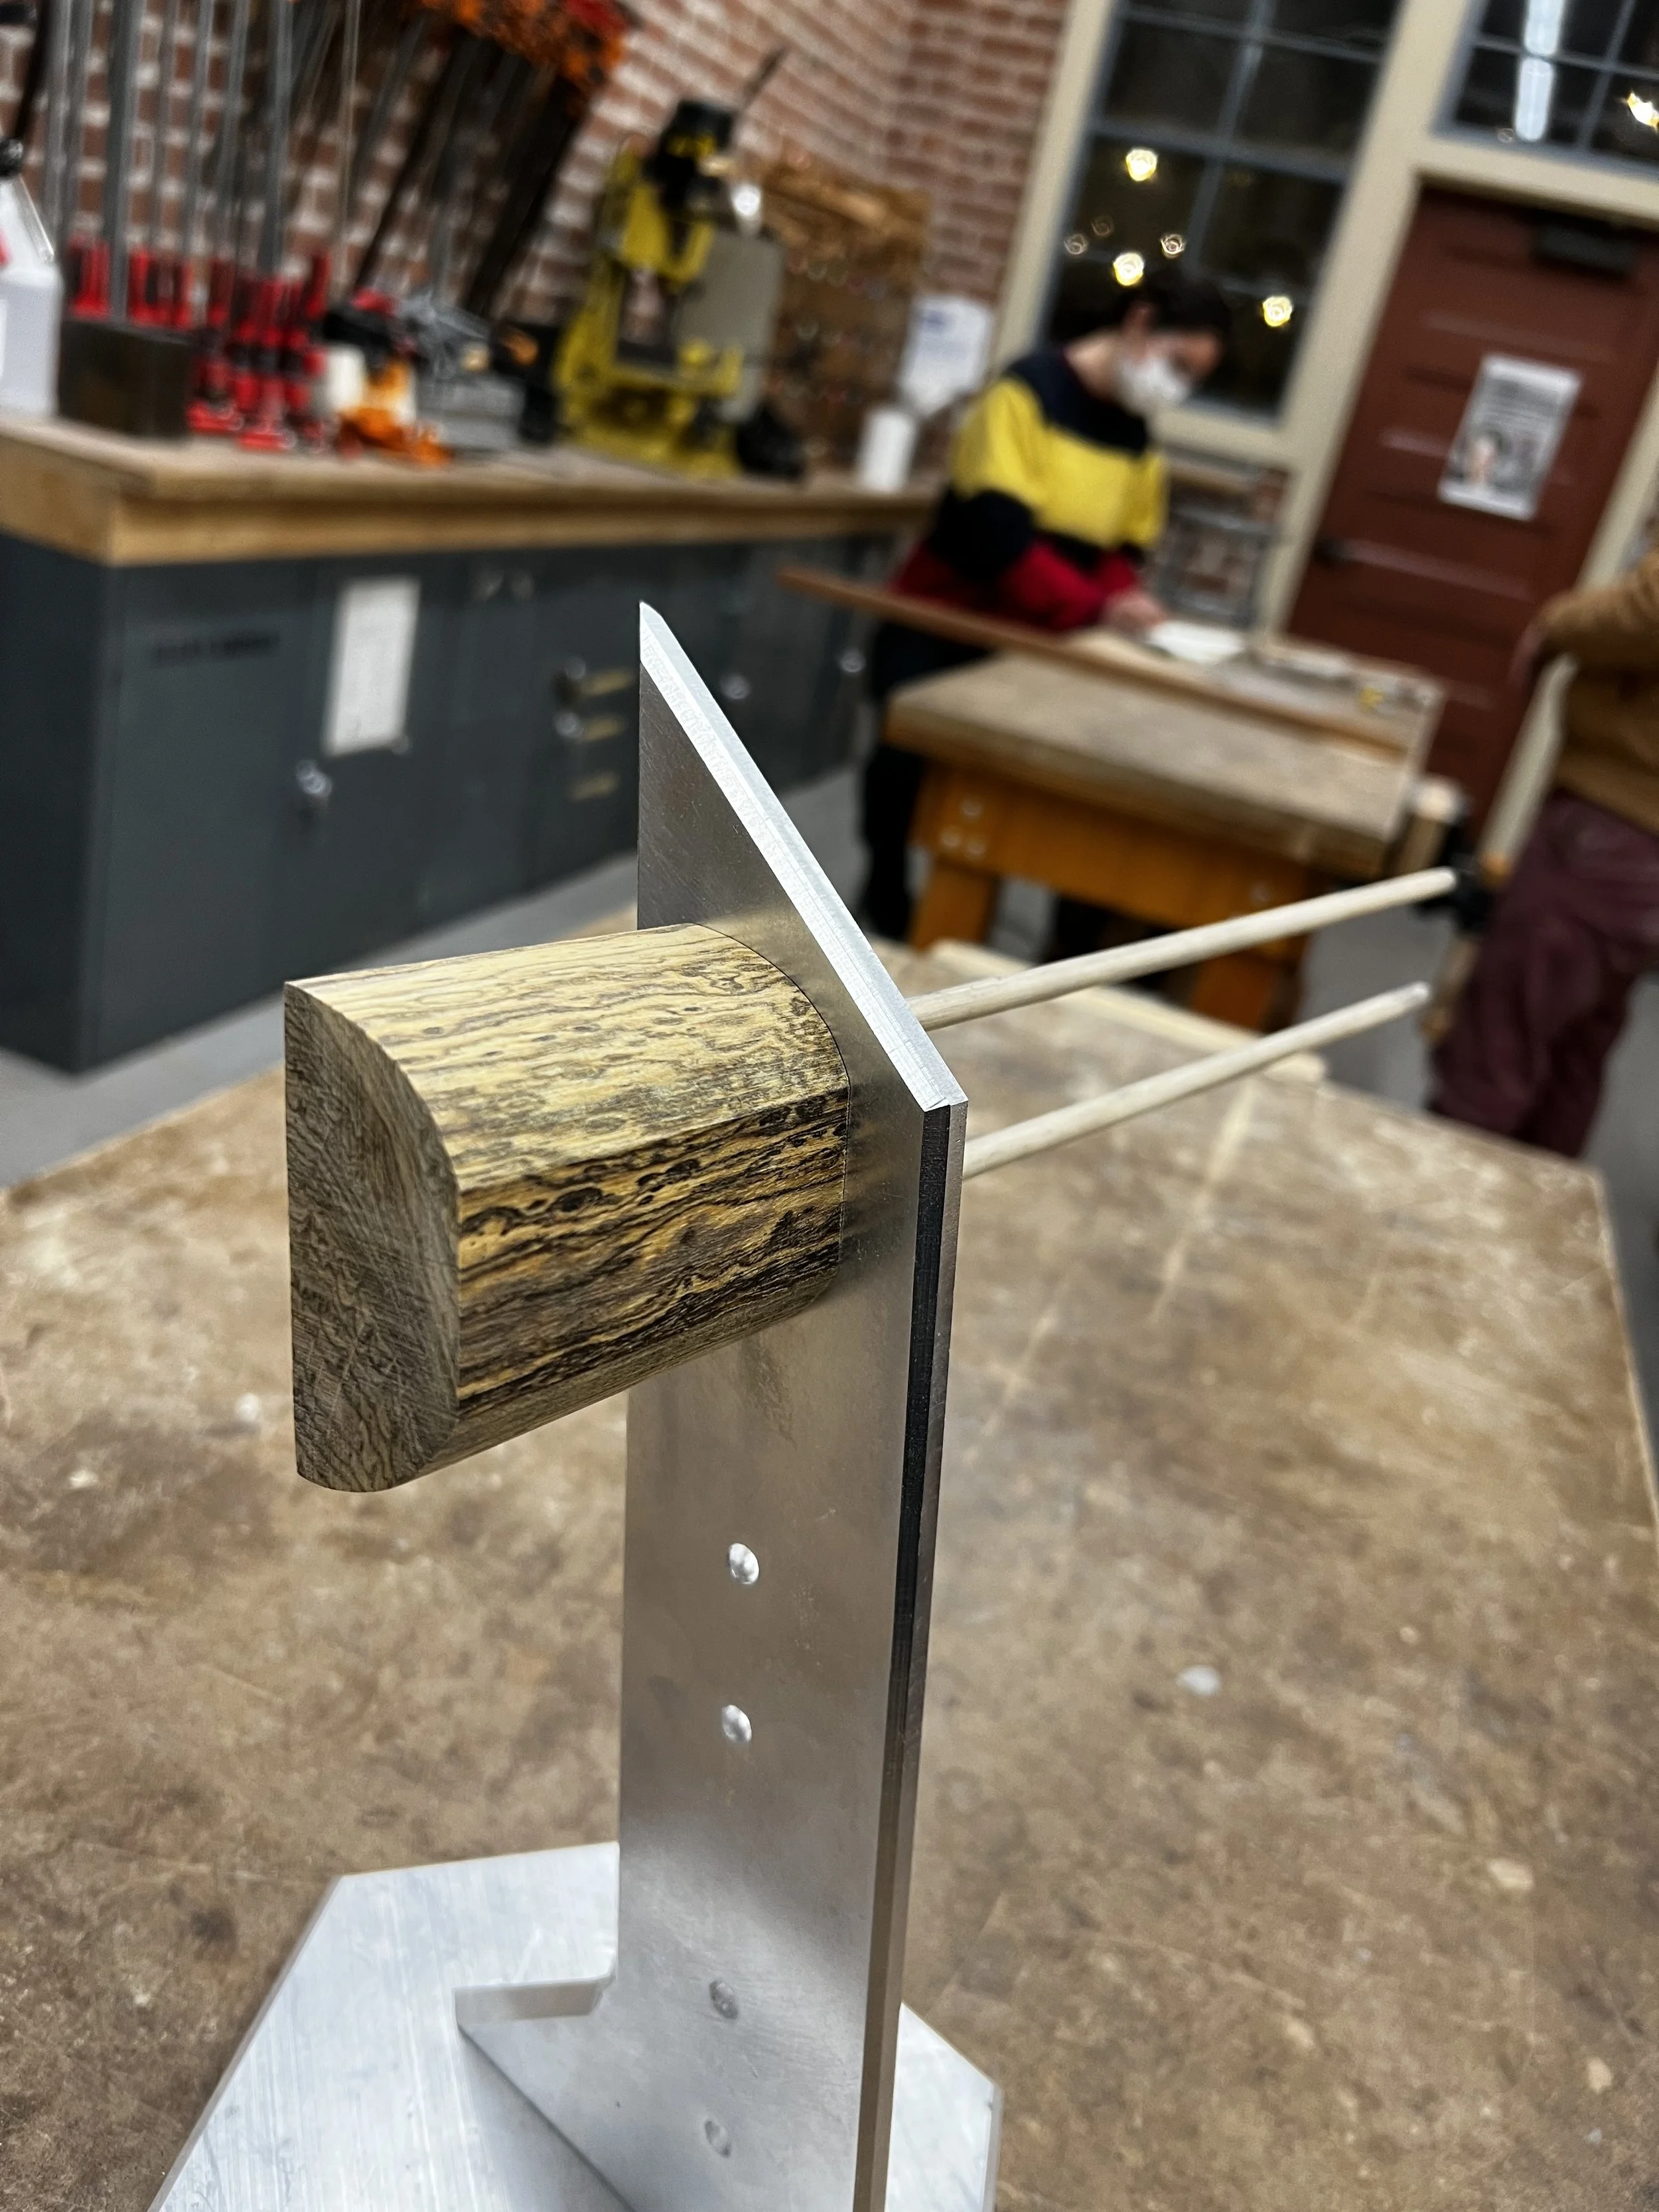
How to hold watch faces forward?
Balance point?
Distance between arms?
Arm length?
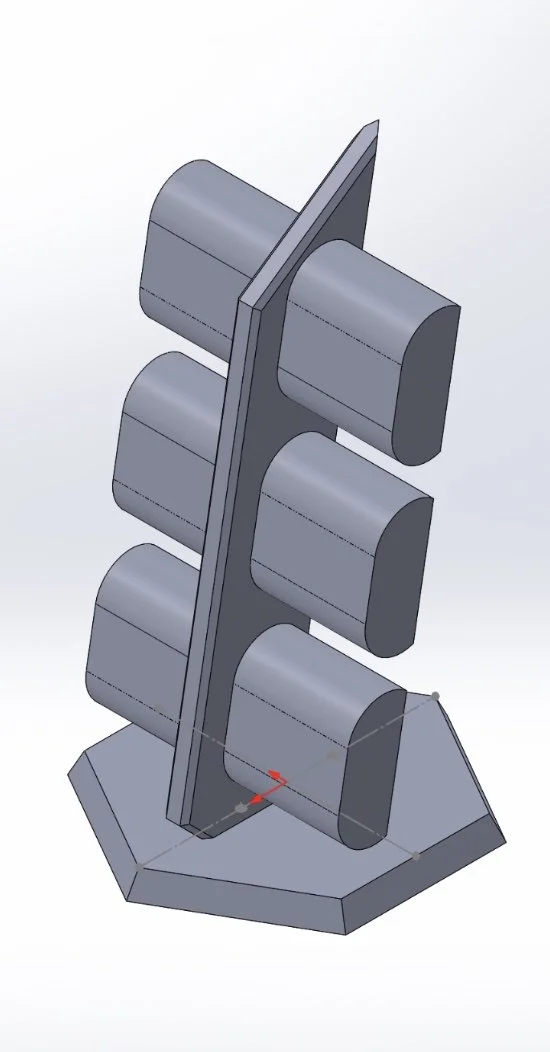
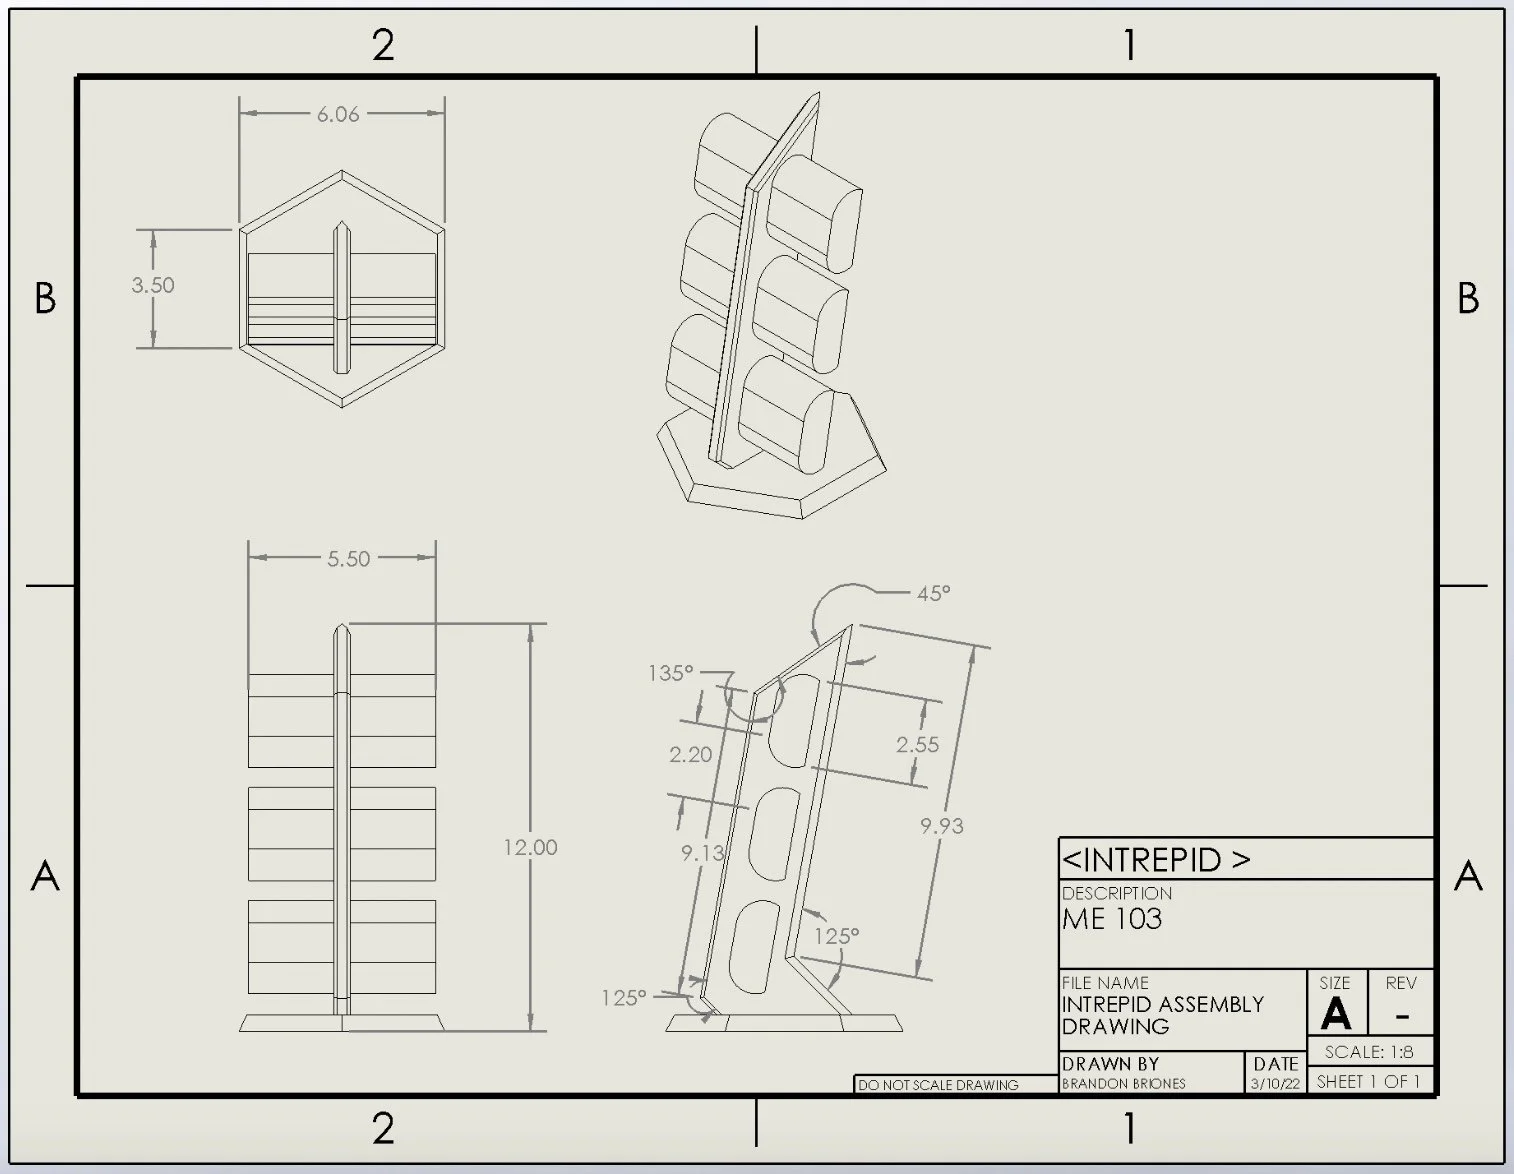
CAD
Modeling and dimensioning all pieces in Solidworks
Defining Connection Points between base and stand; wood-metal connections
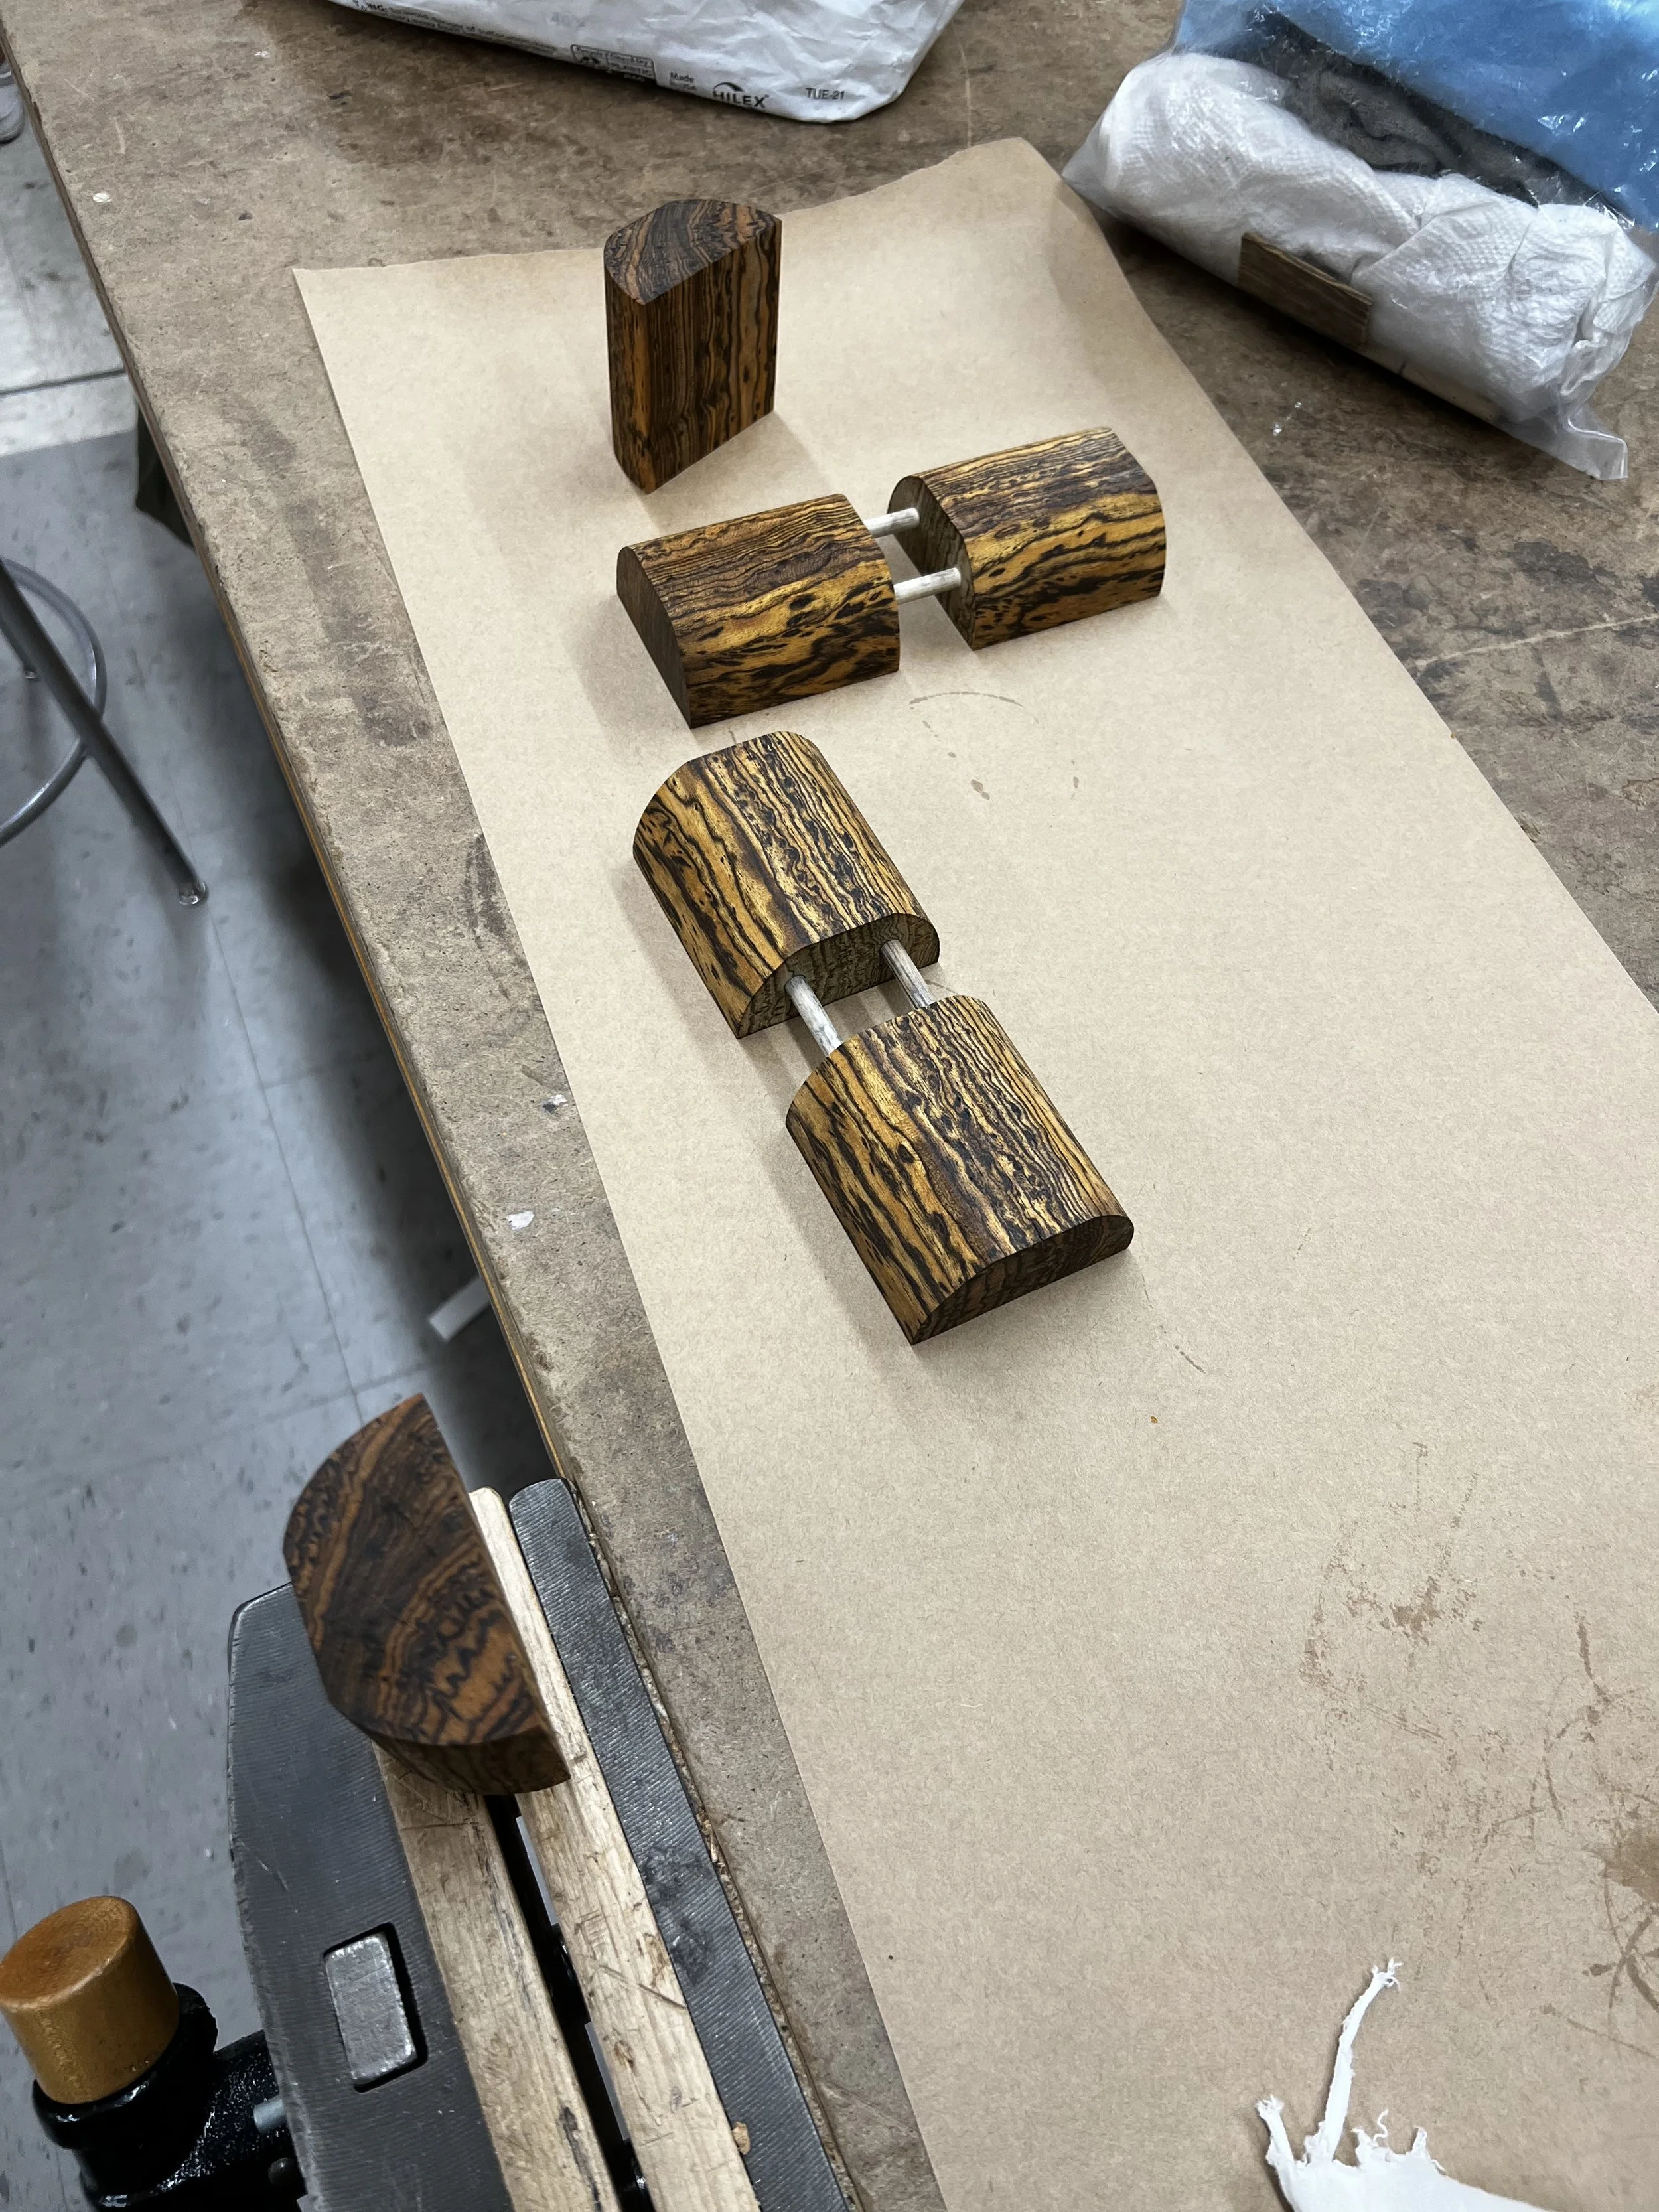
Testing Connection Points
Key Objectives
Simple to implement
Strong: connections should be rigid, not slide or shift when moving
Non-permanent: Base can be removed for transportation, arms can be replaced if necessary
INVISIBLE: For stand to be as elegant as possible, connections should be hidden
Wood-Metal connections tolerances such that they fit very snug and do not slide, with enough room to expand without cracking the wood.
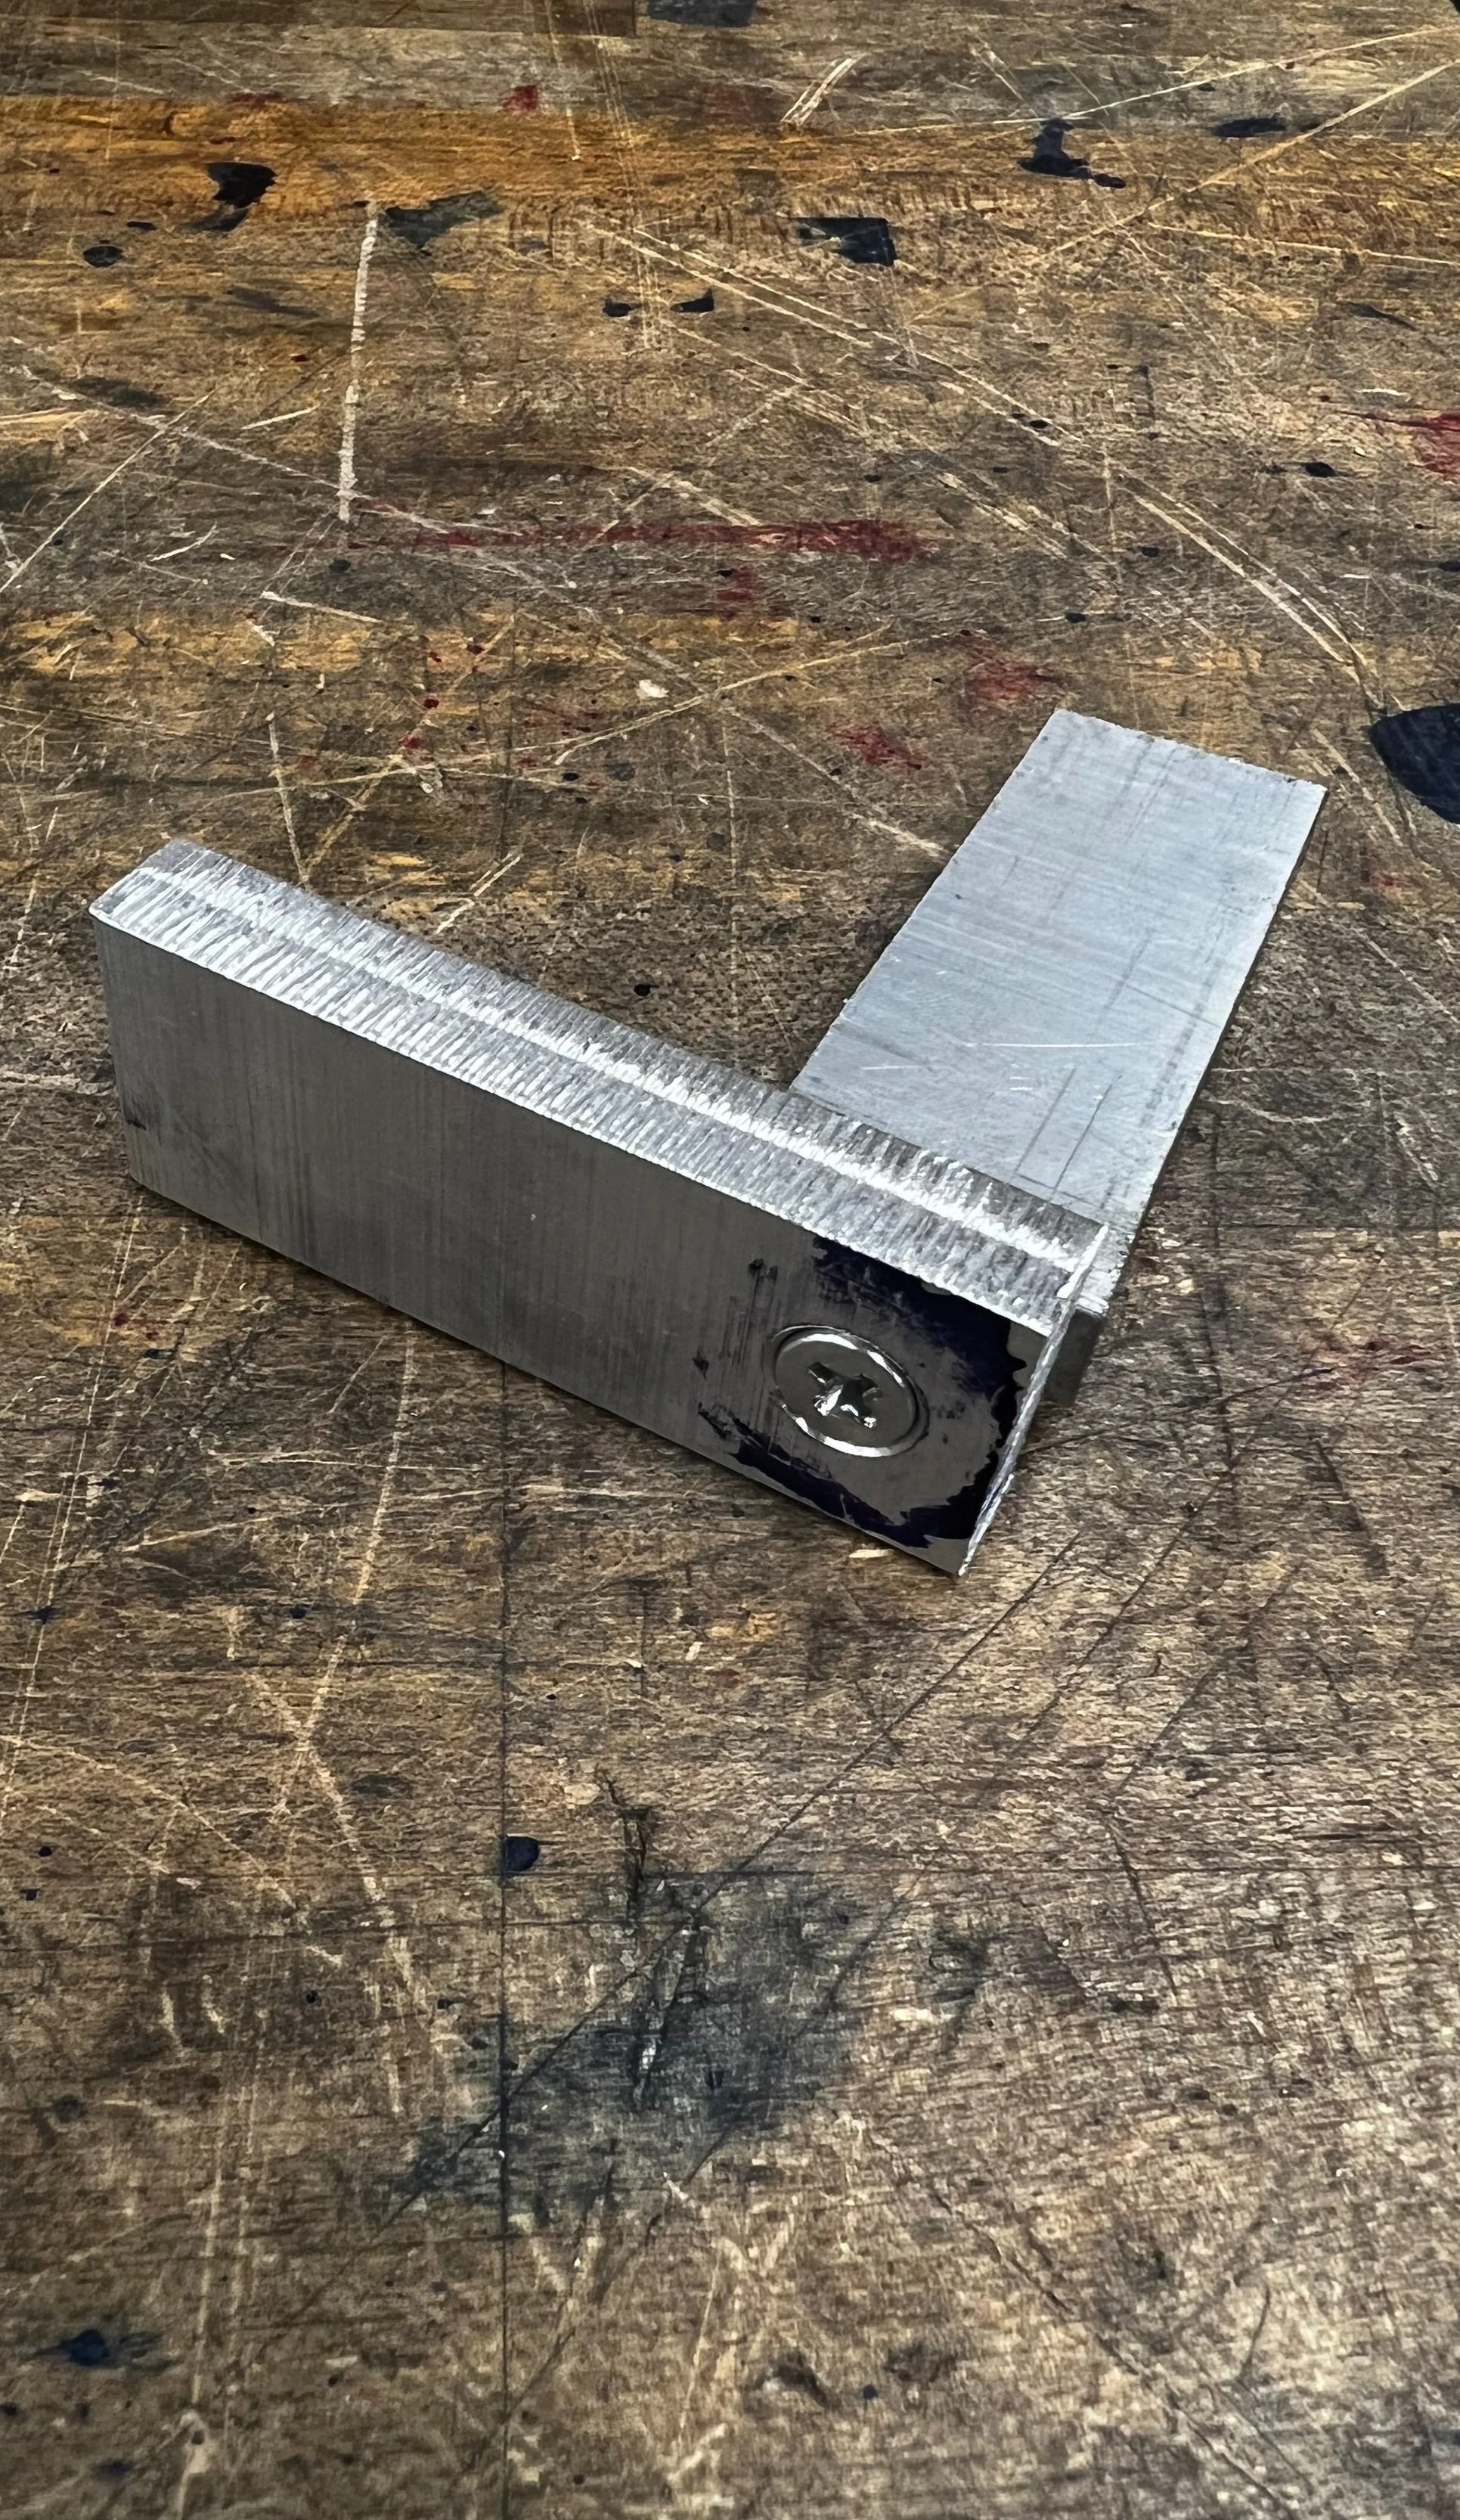
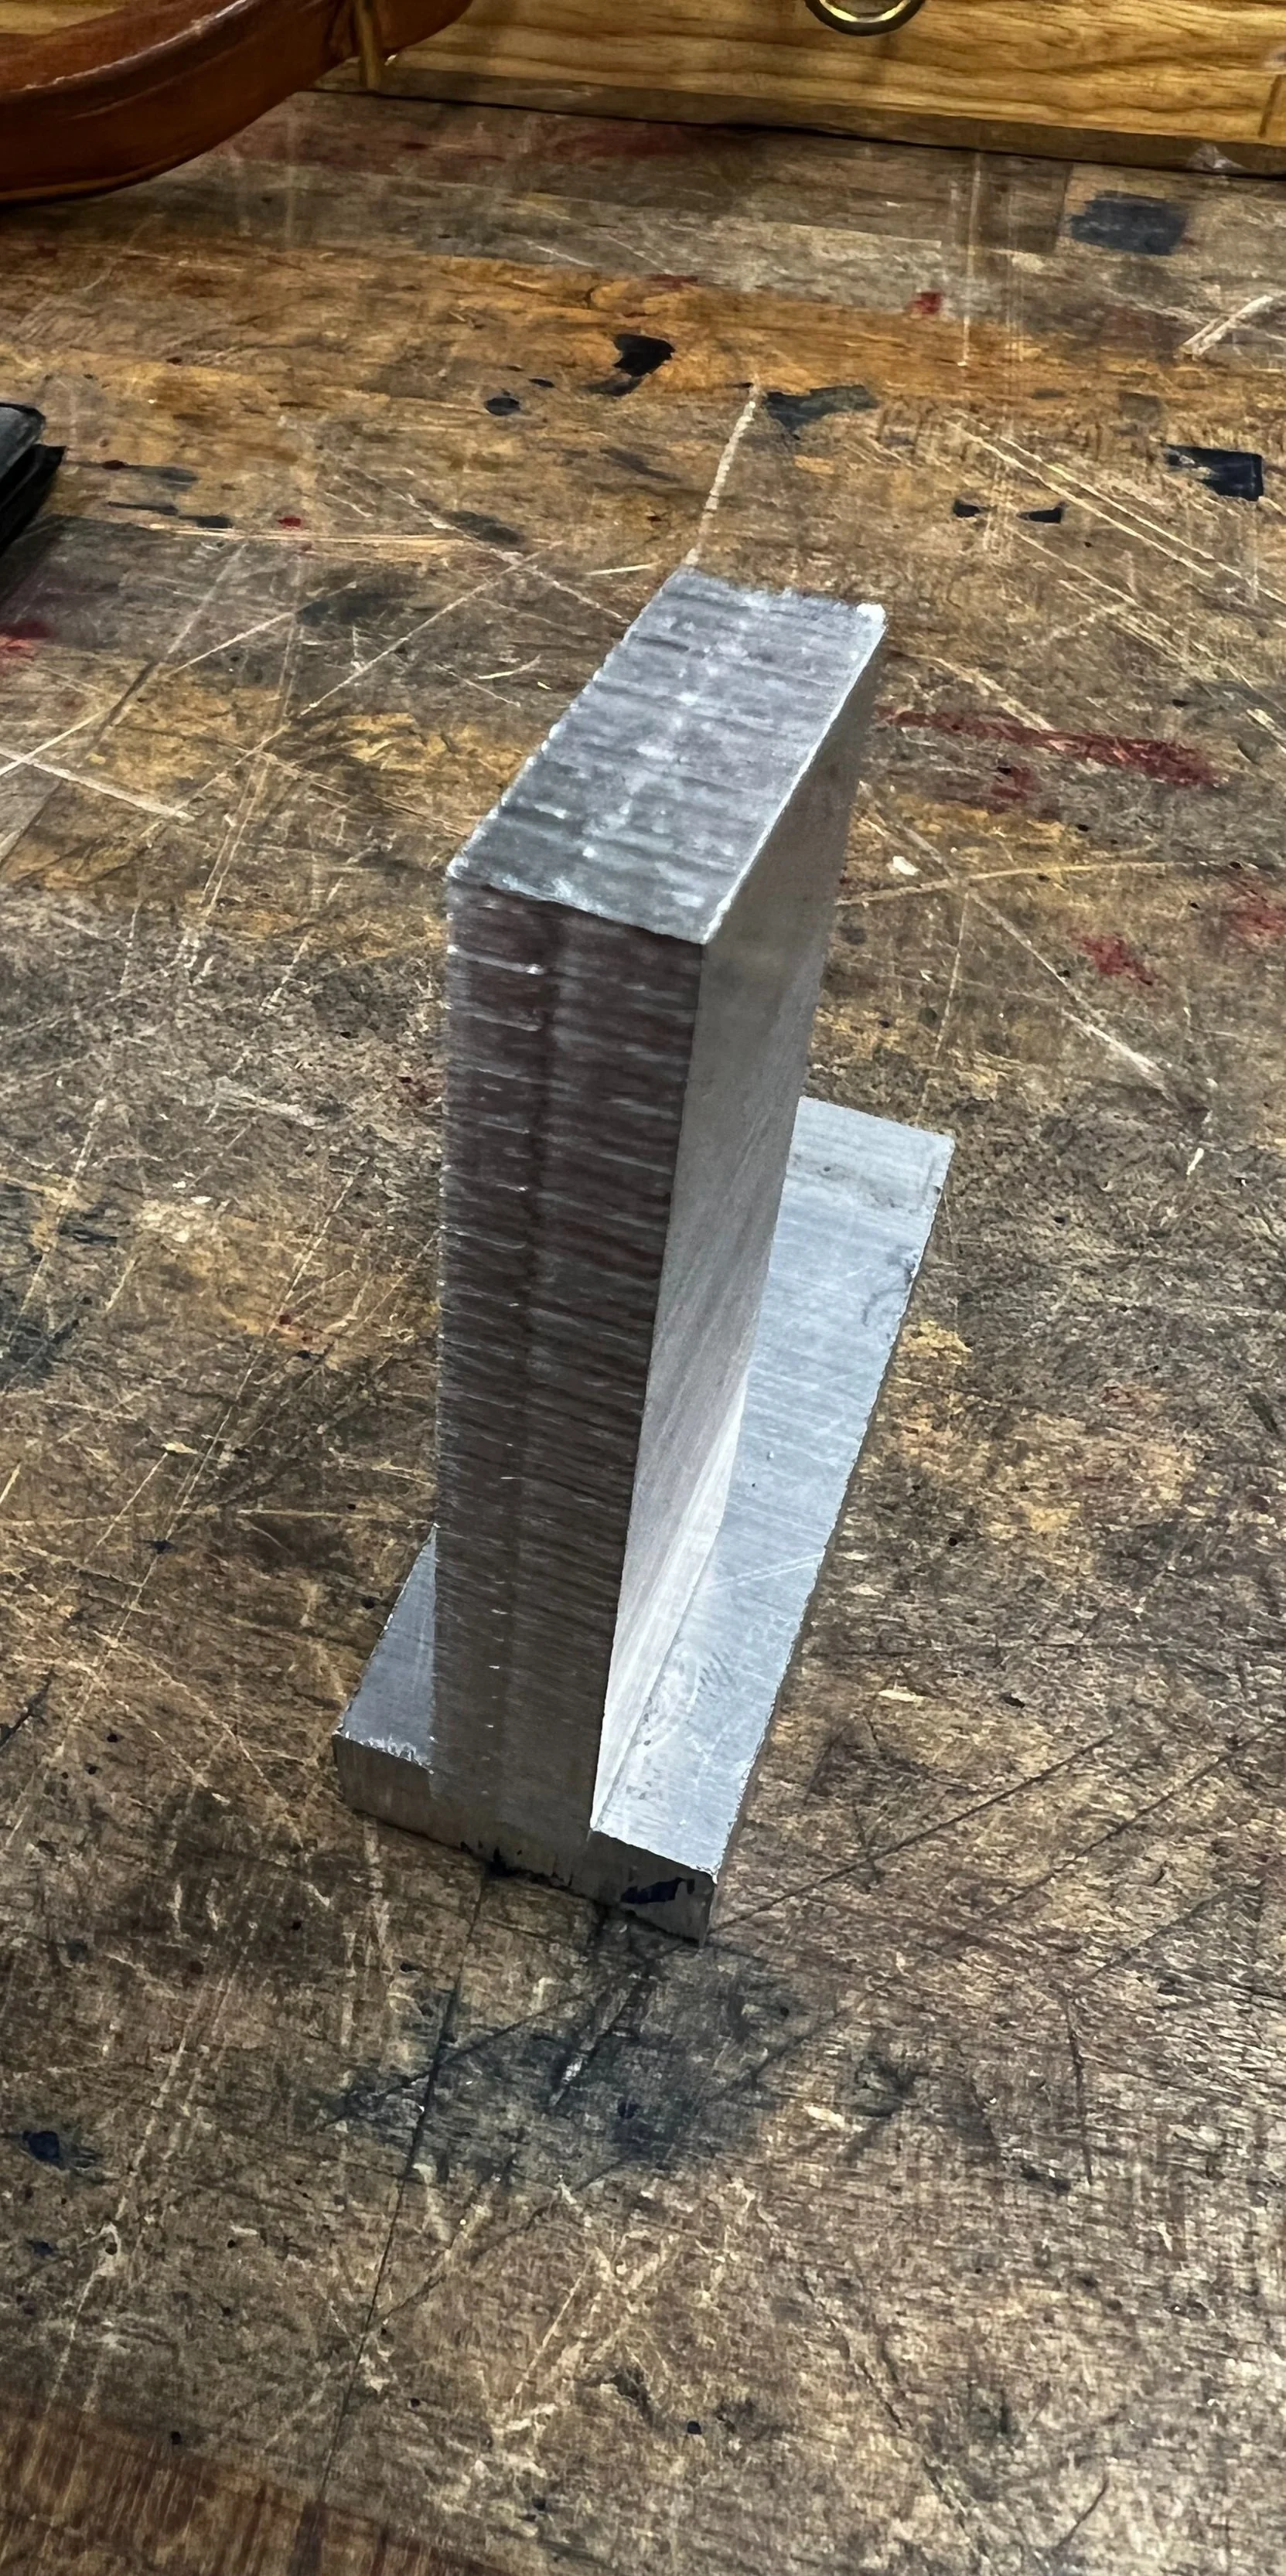
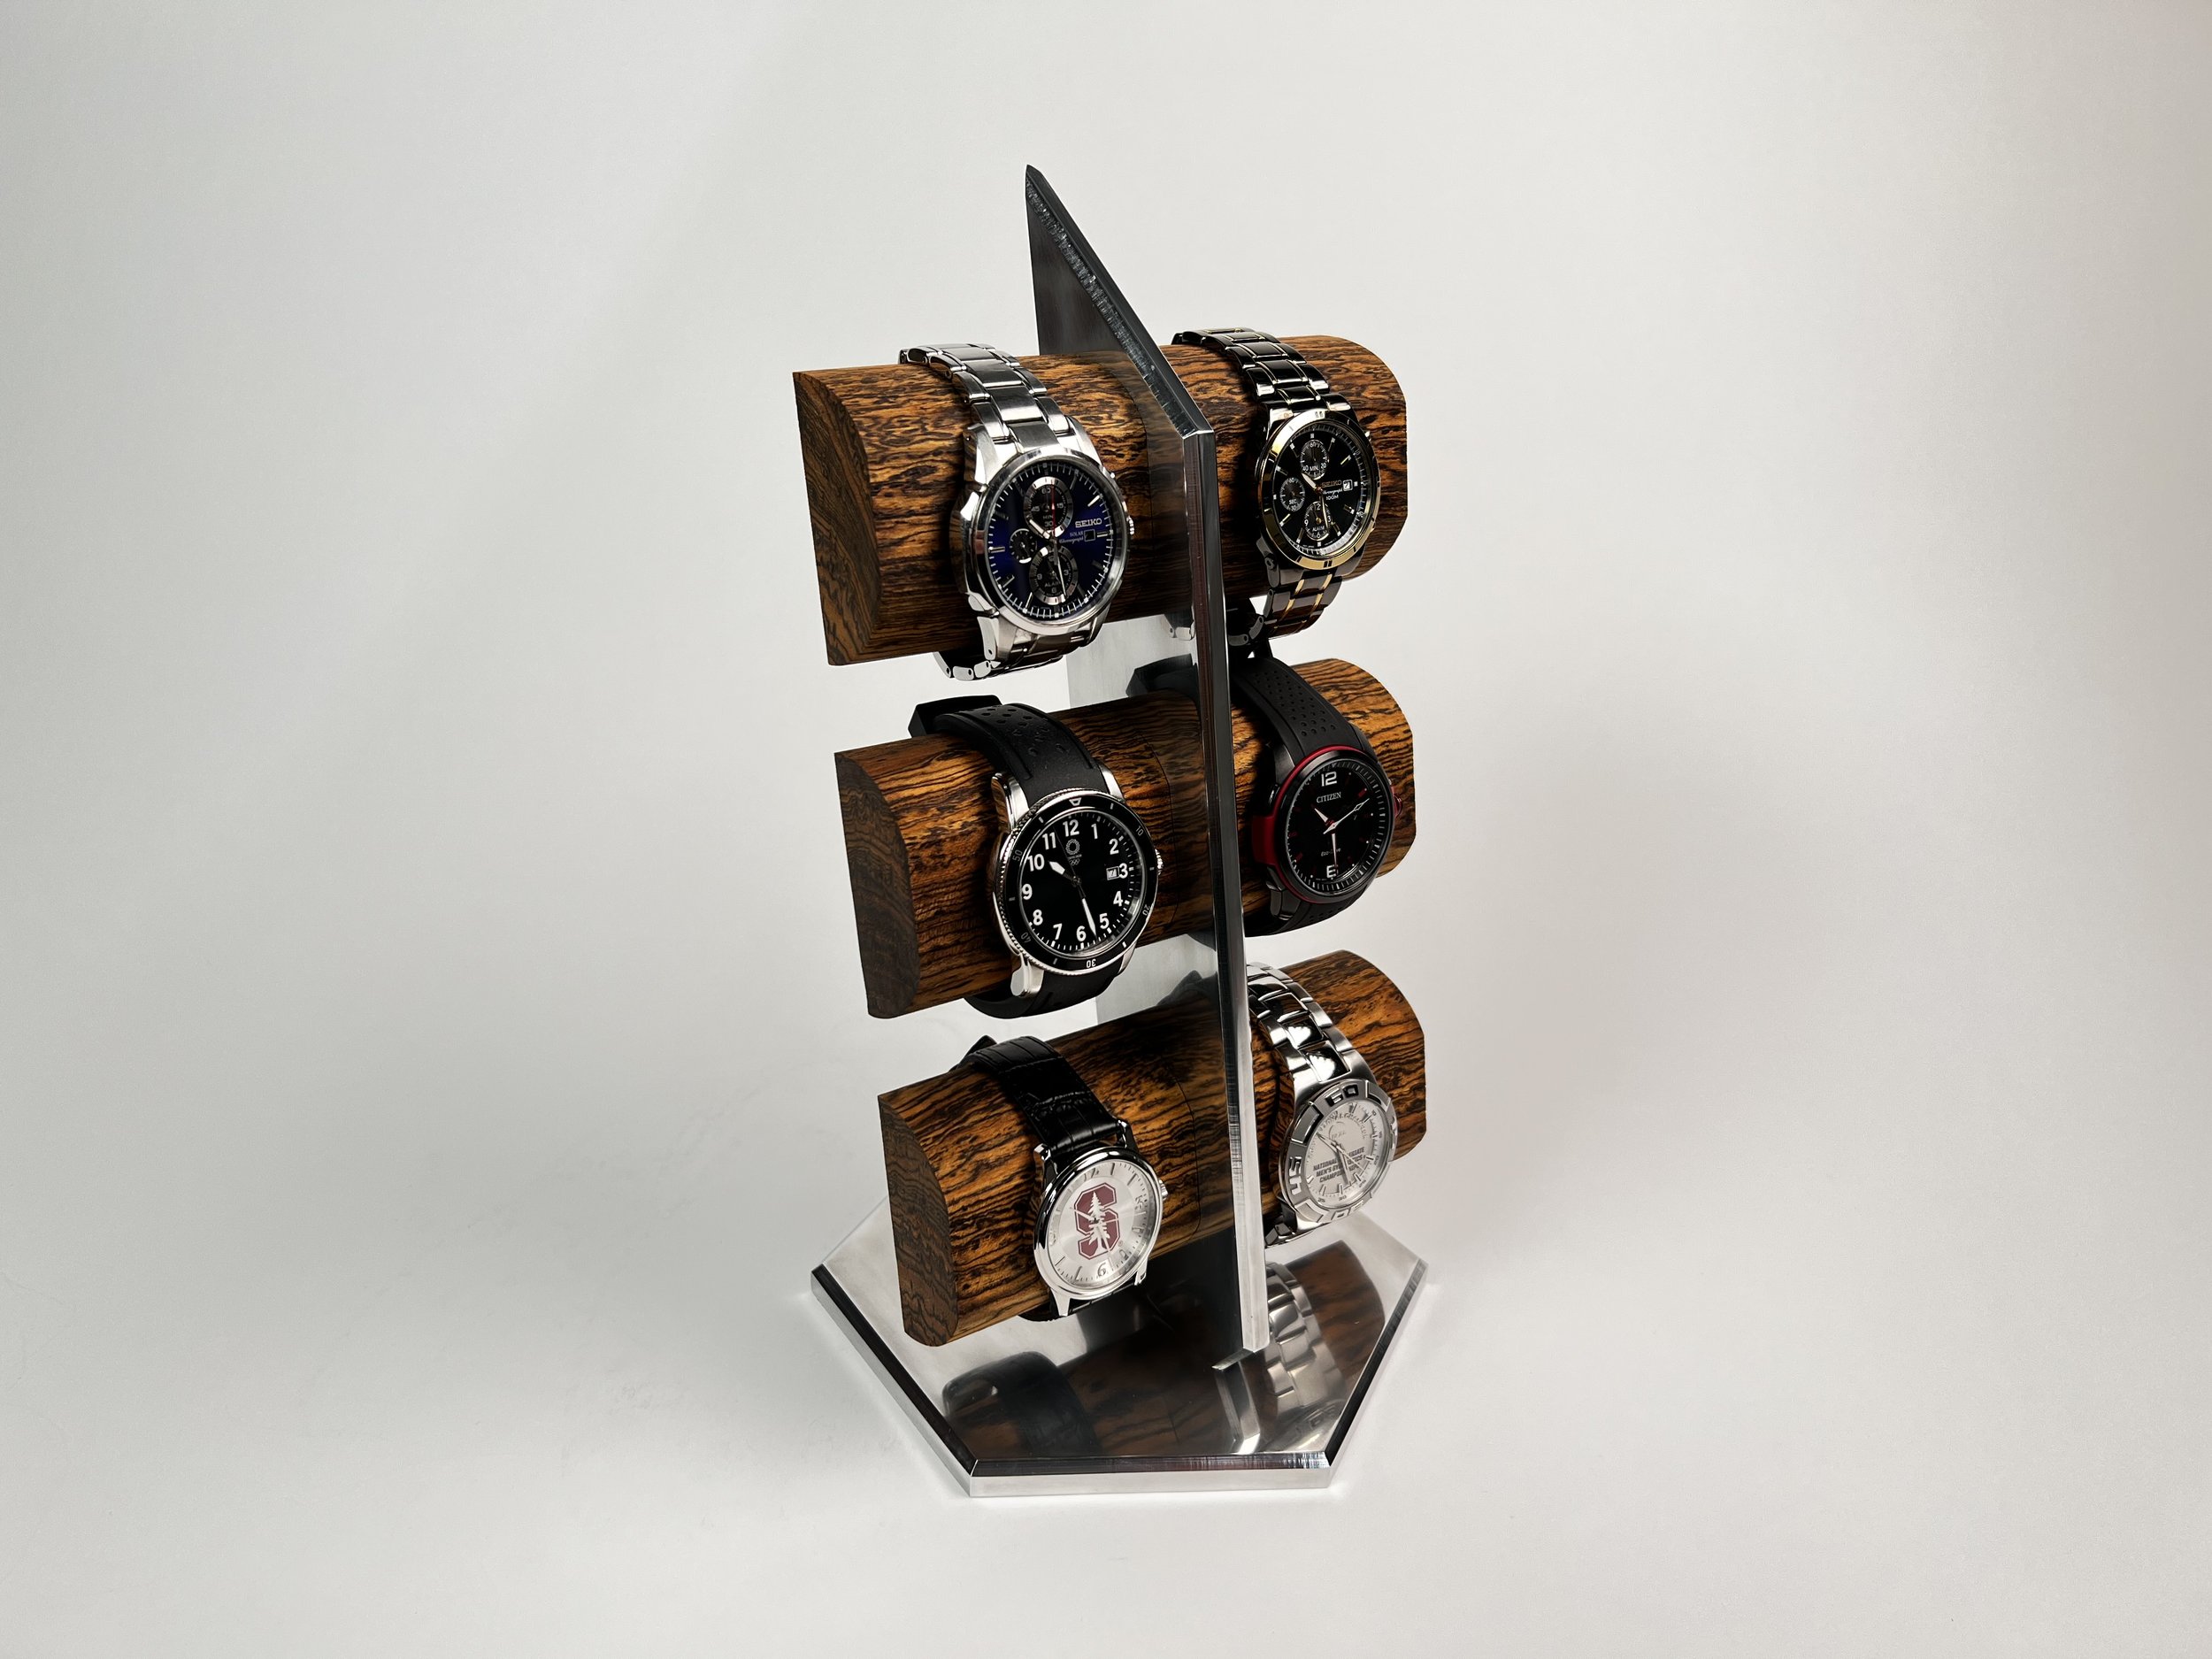
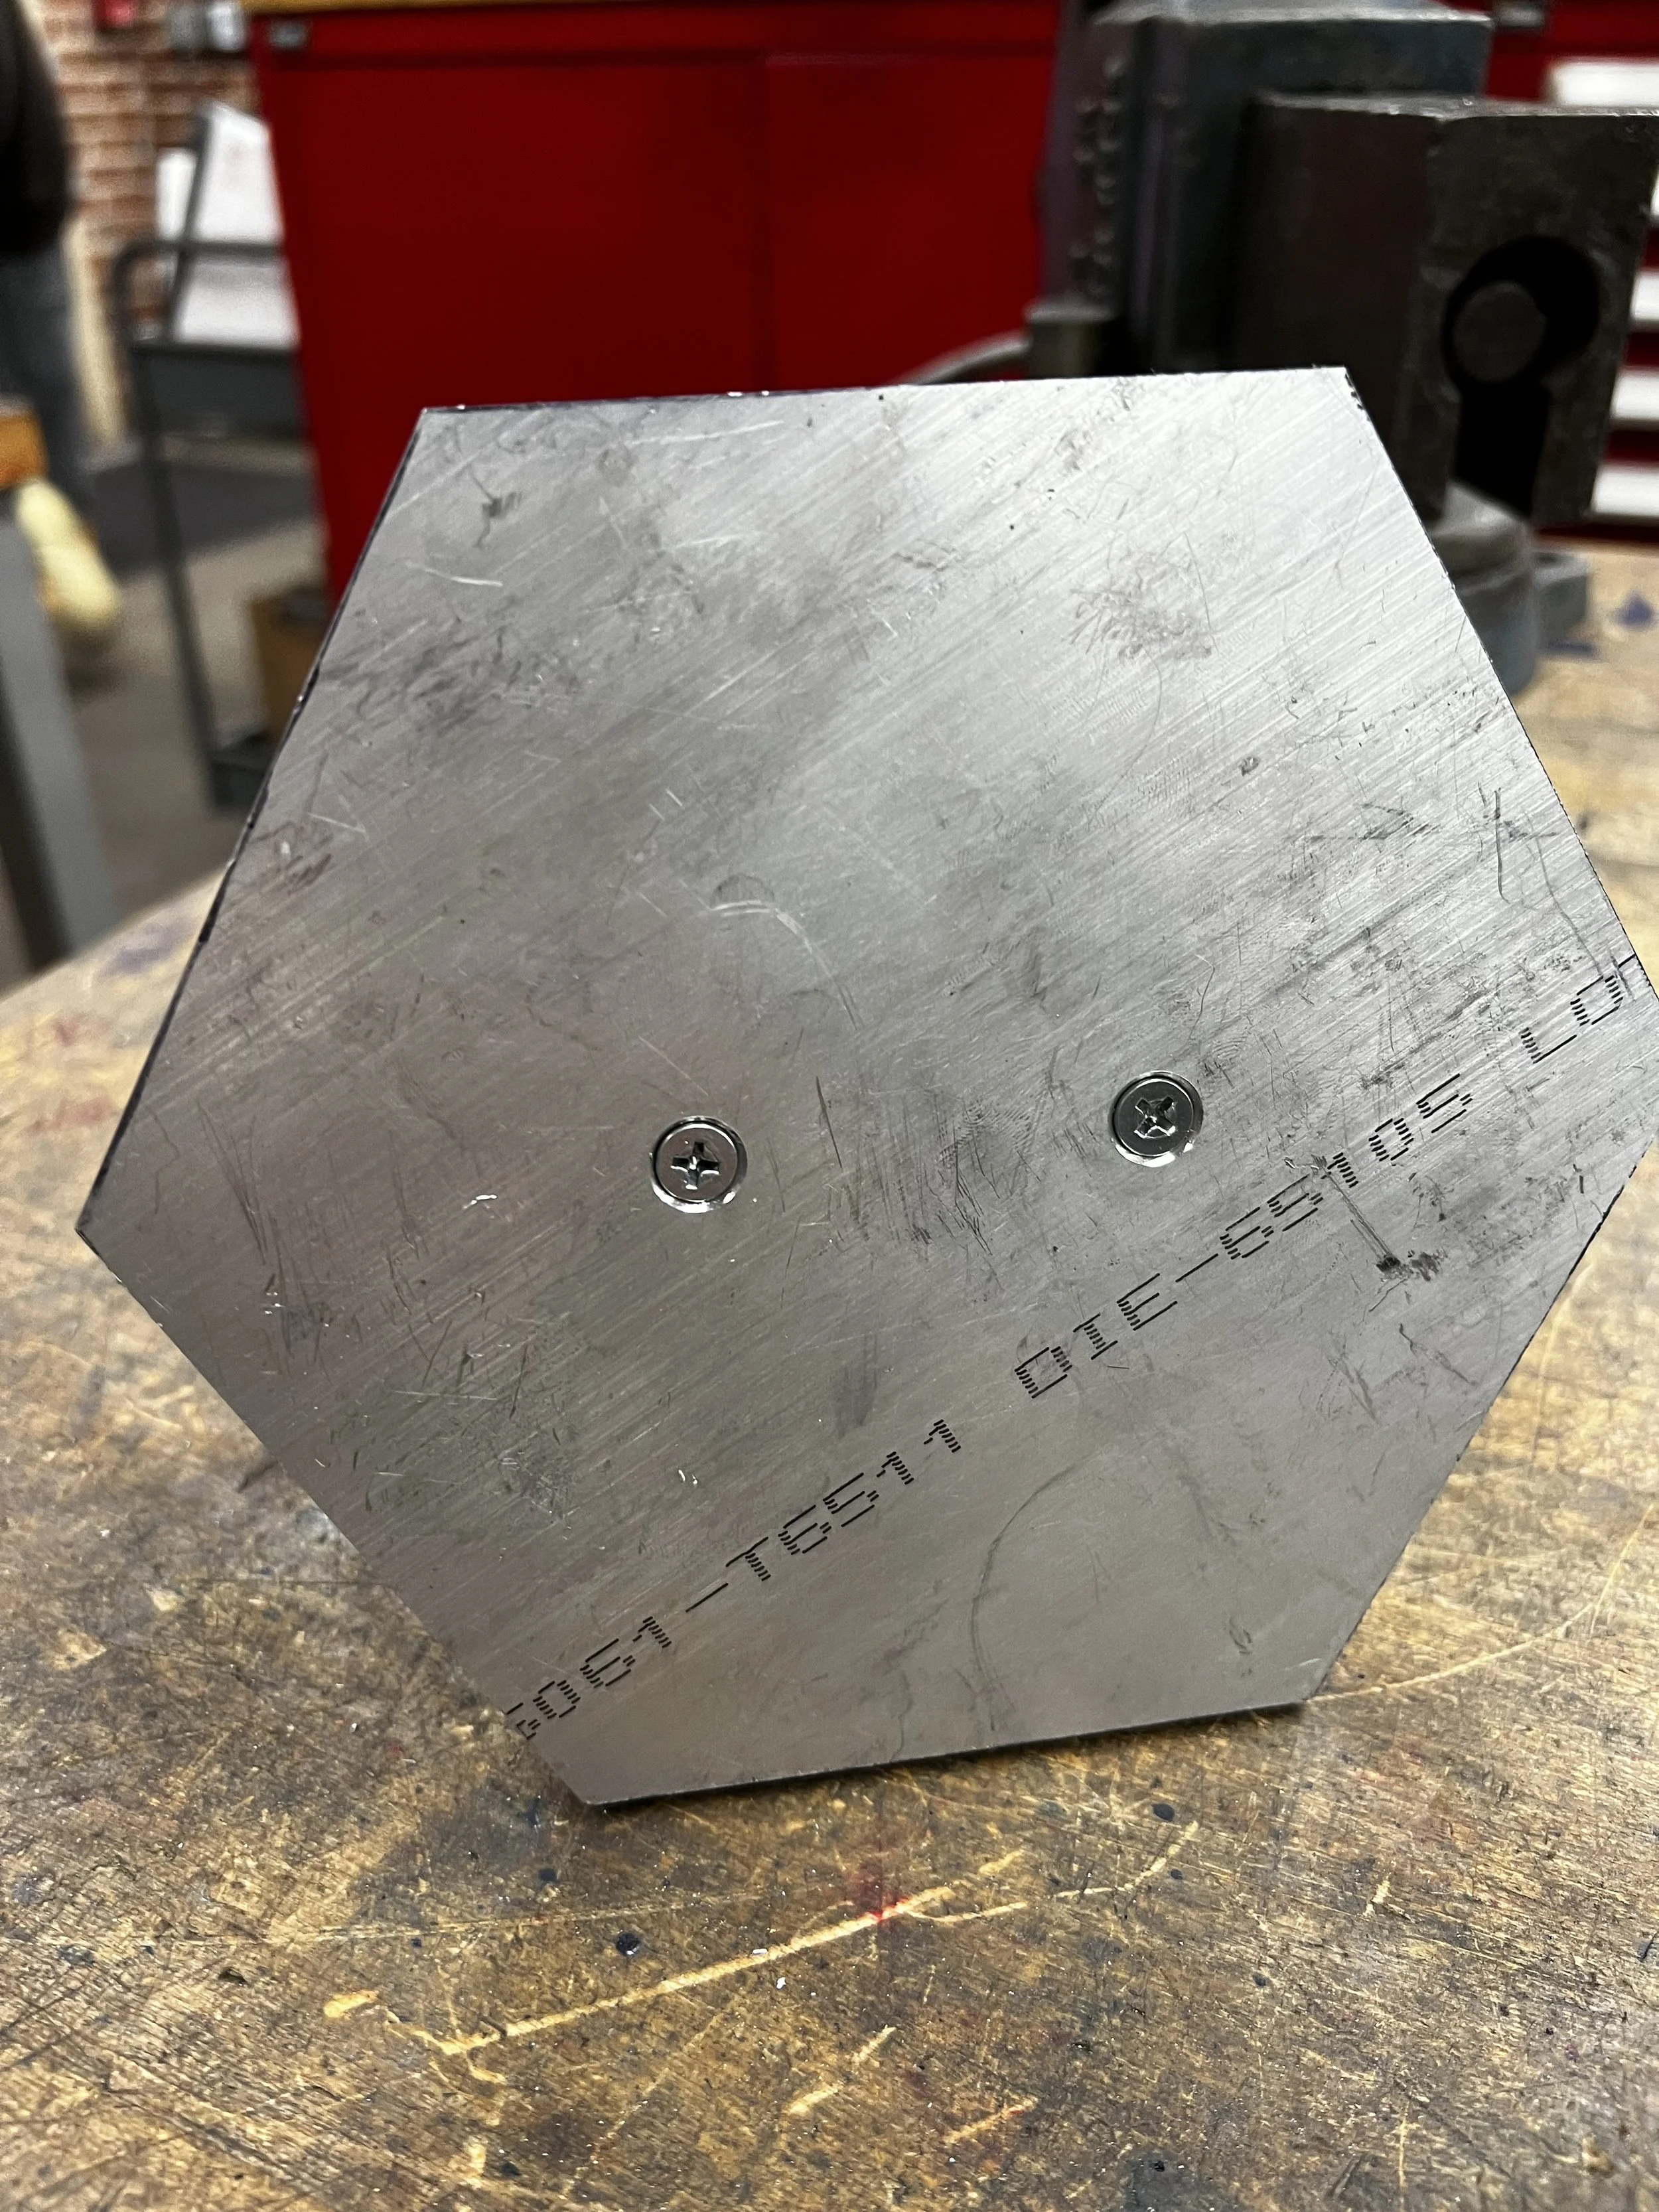
Base Connection uses countersink screws under the base, which allows spine to appear to be “balancing” upright
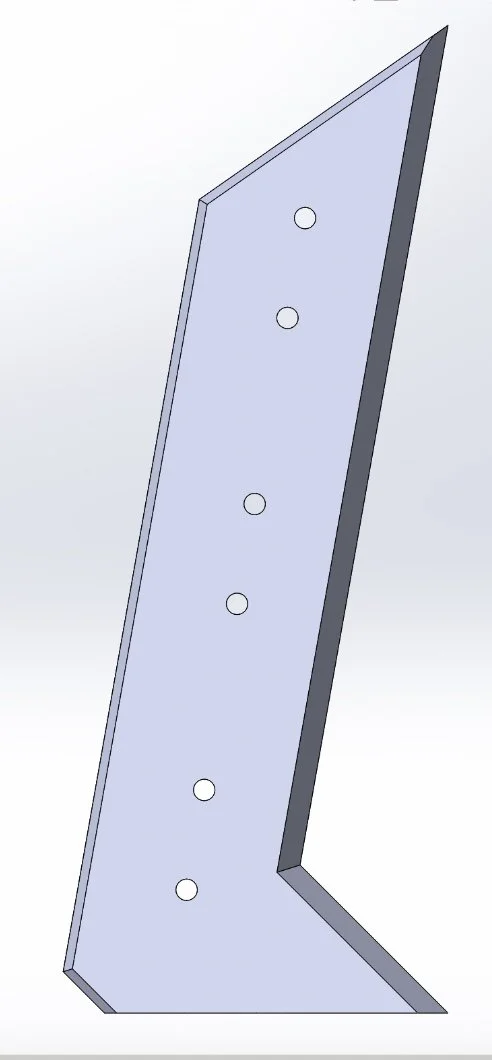
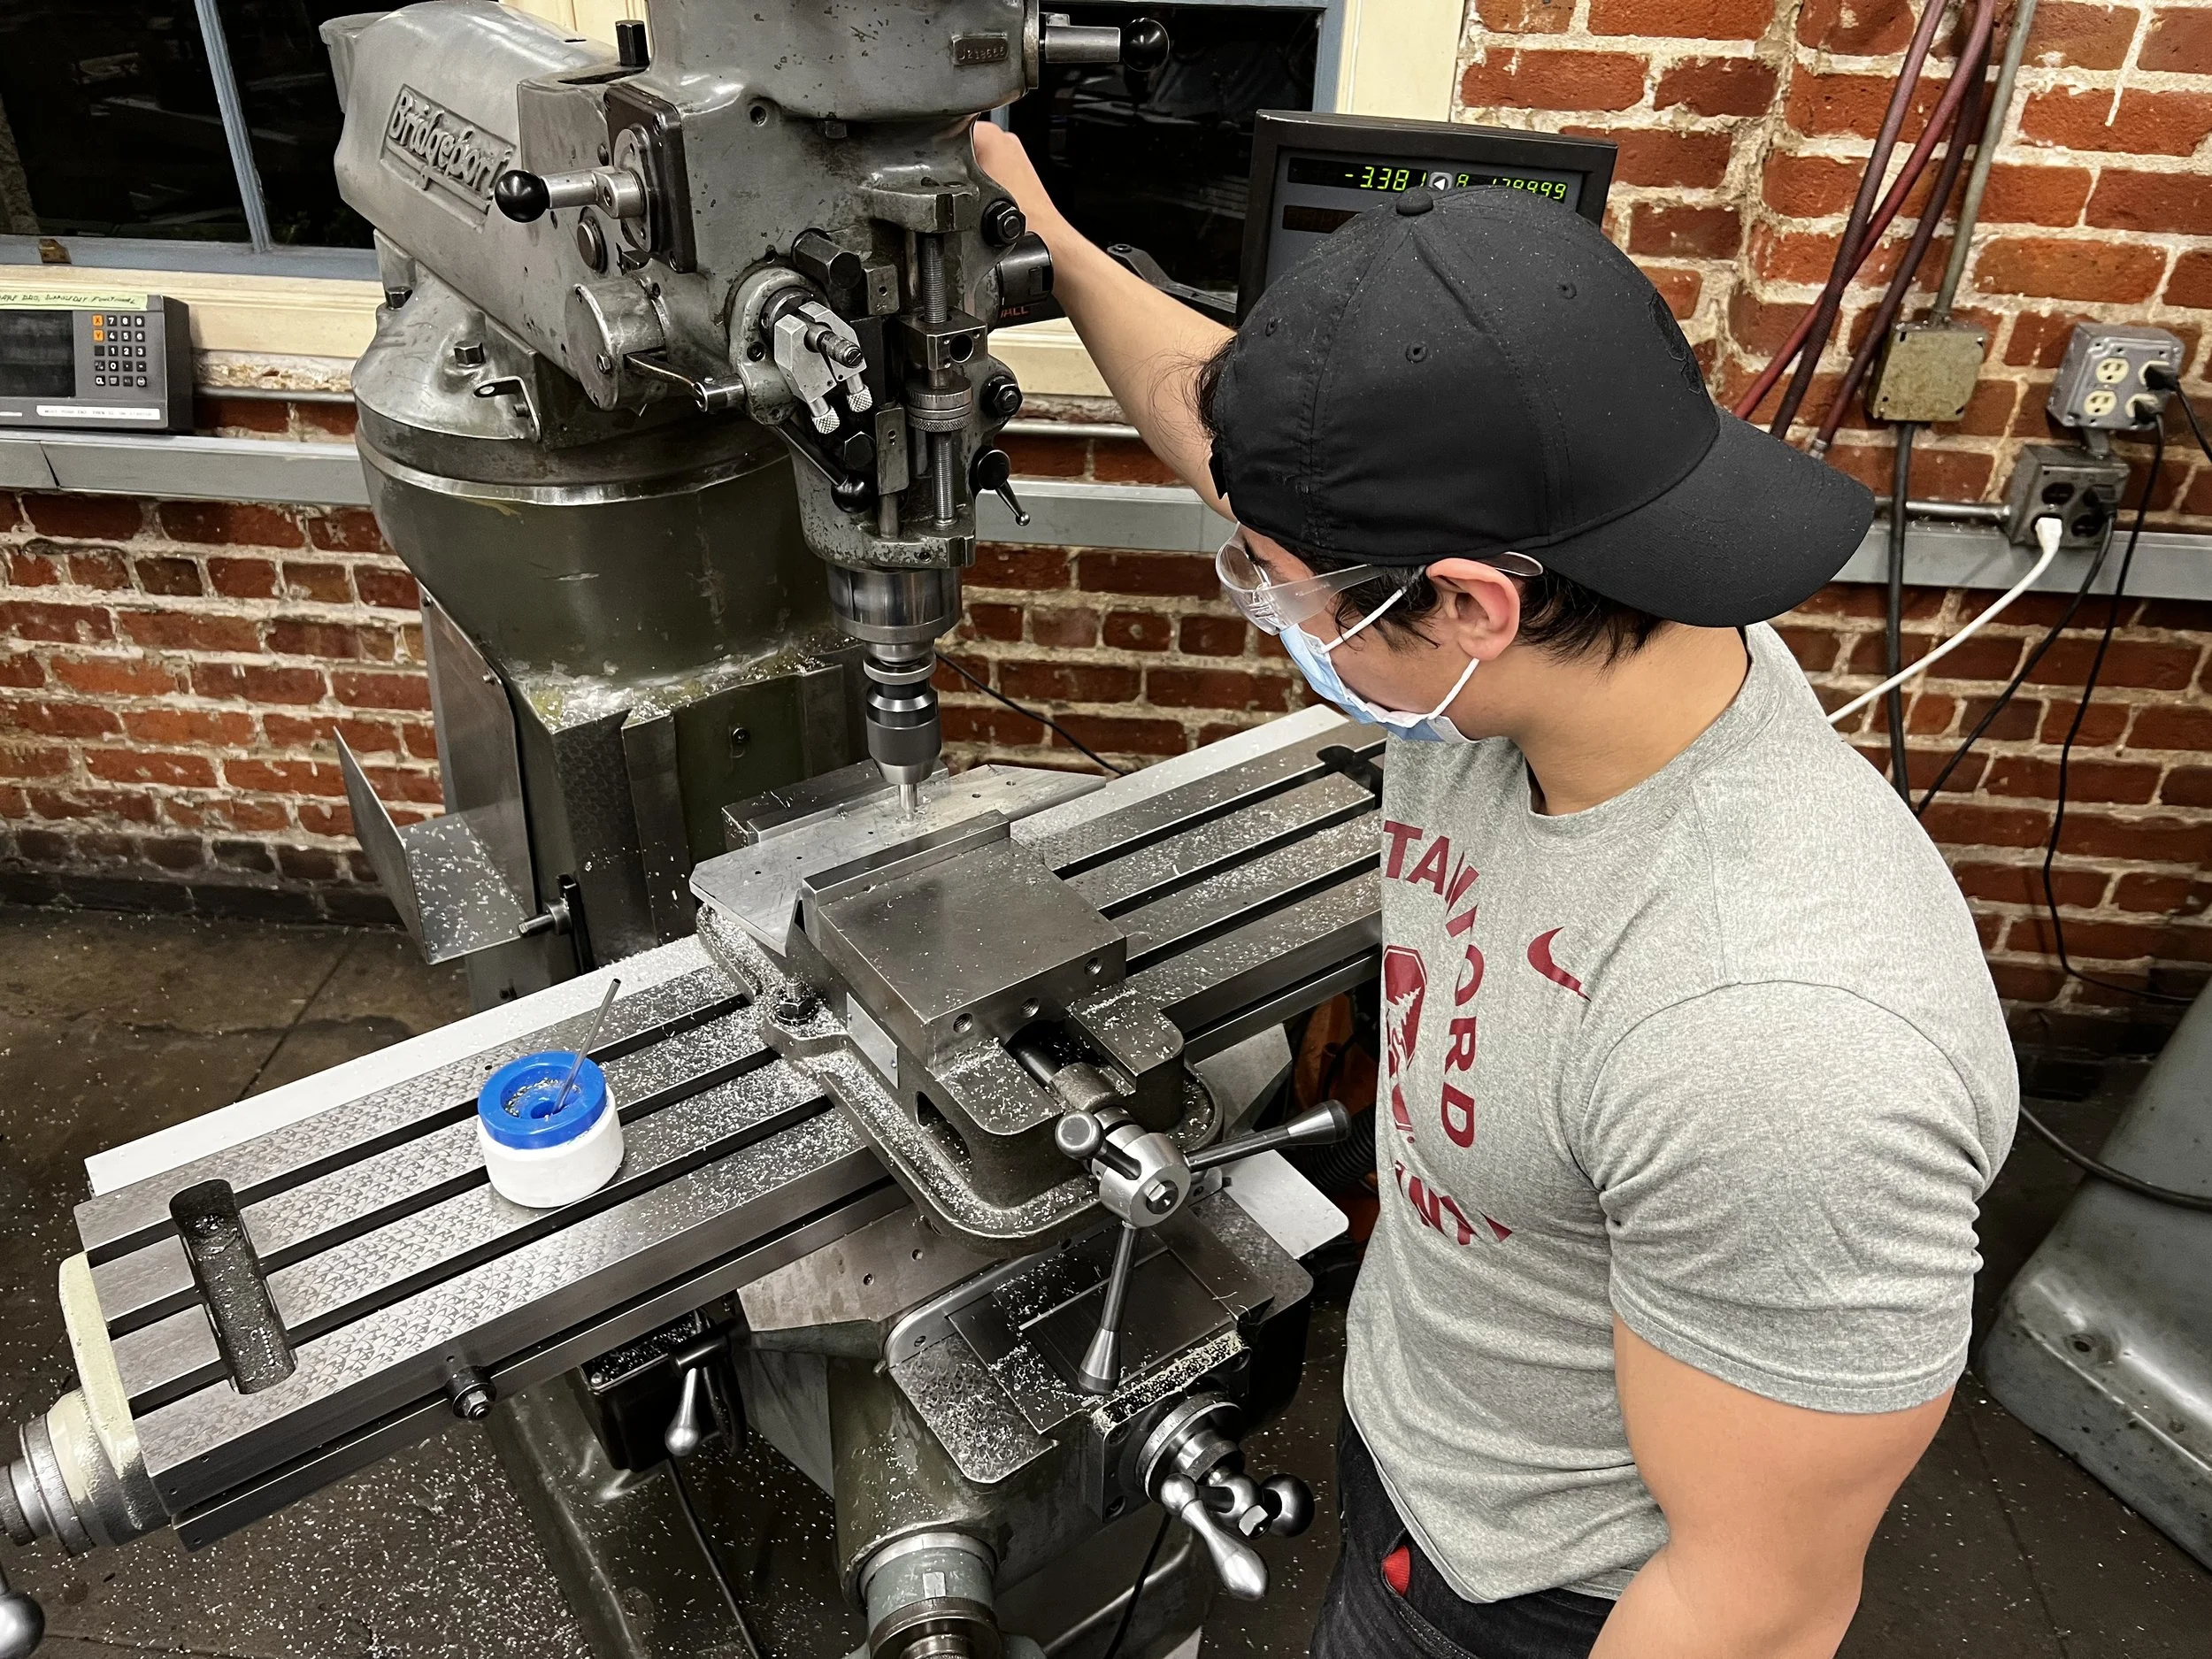
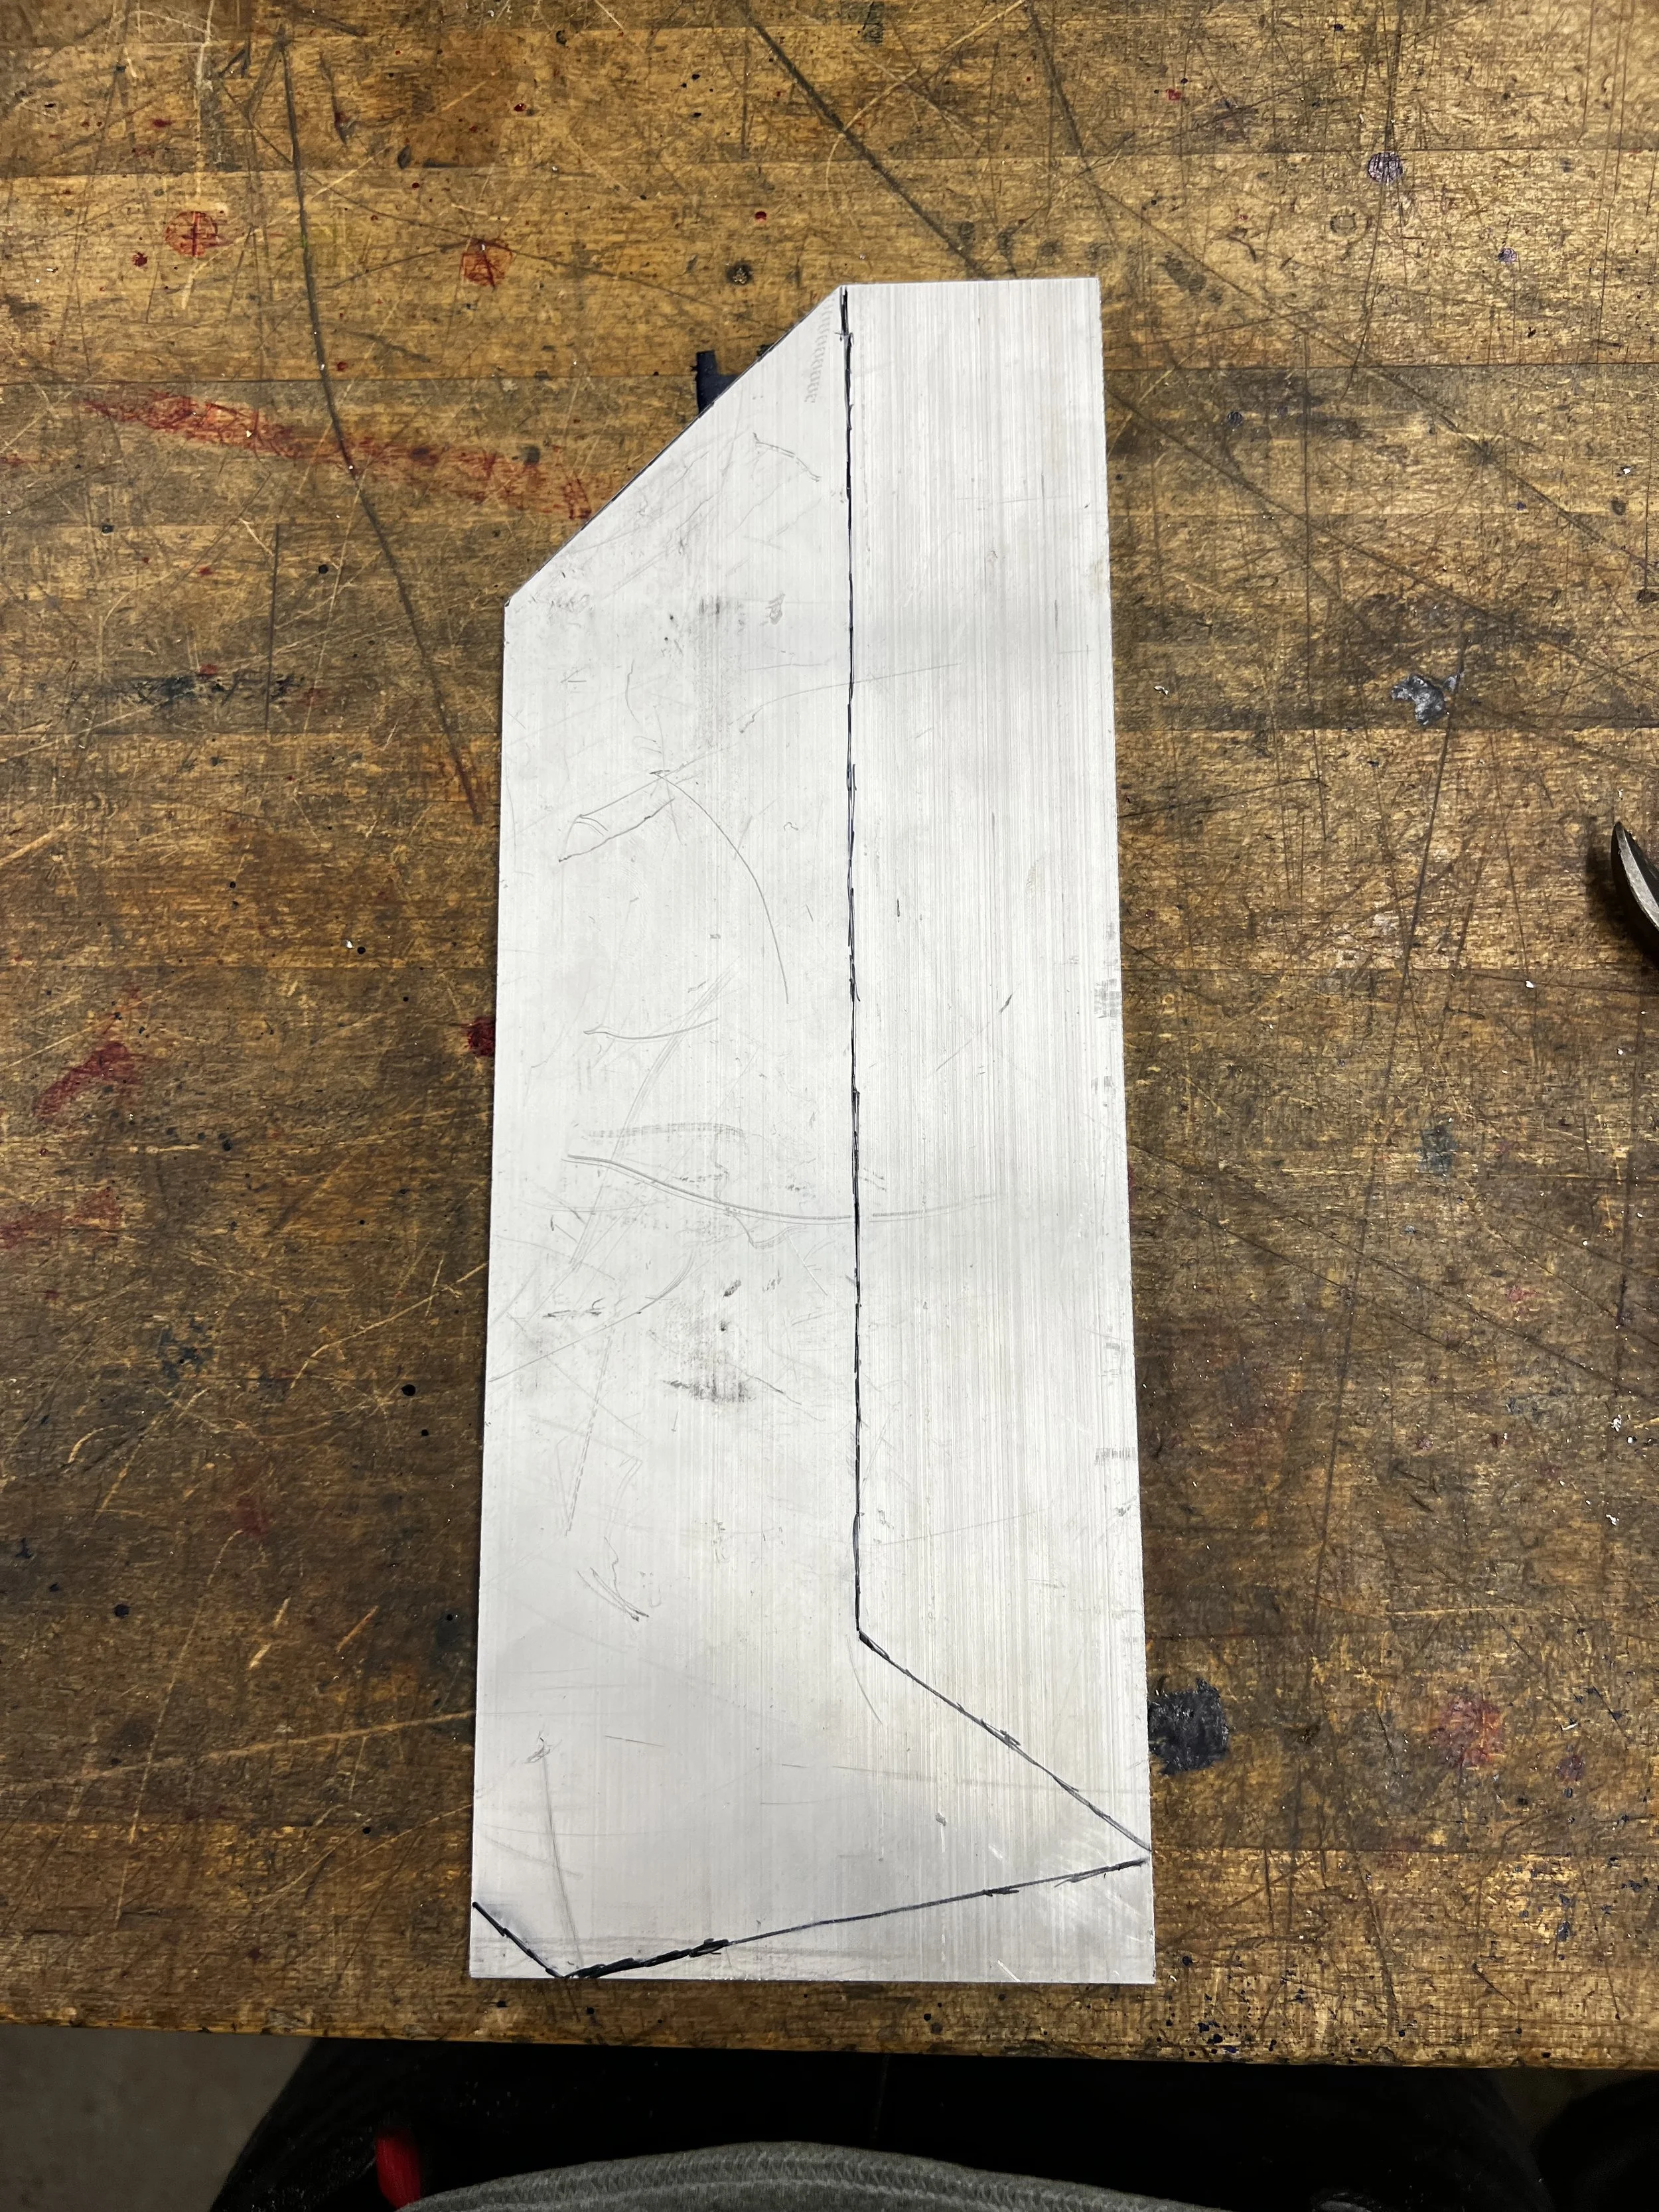
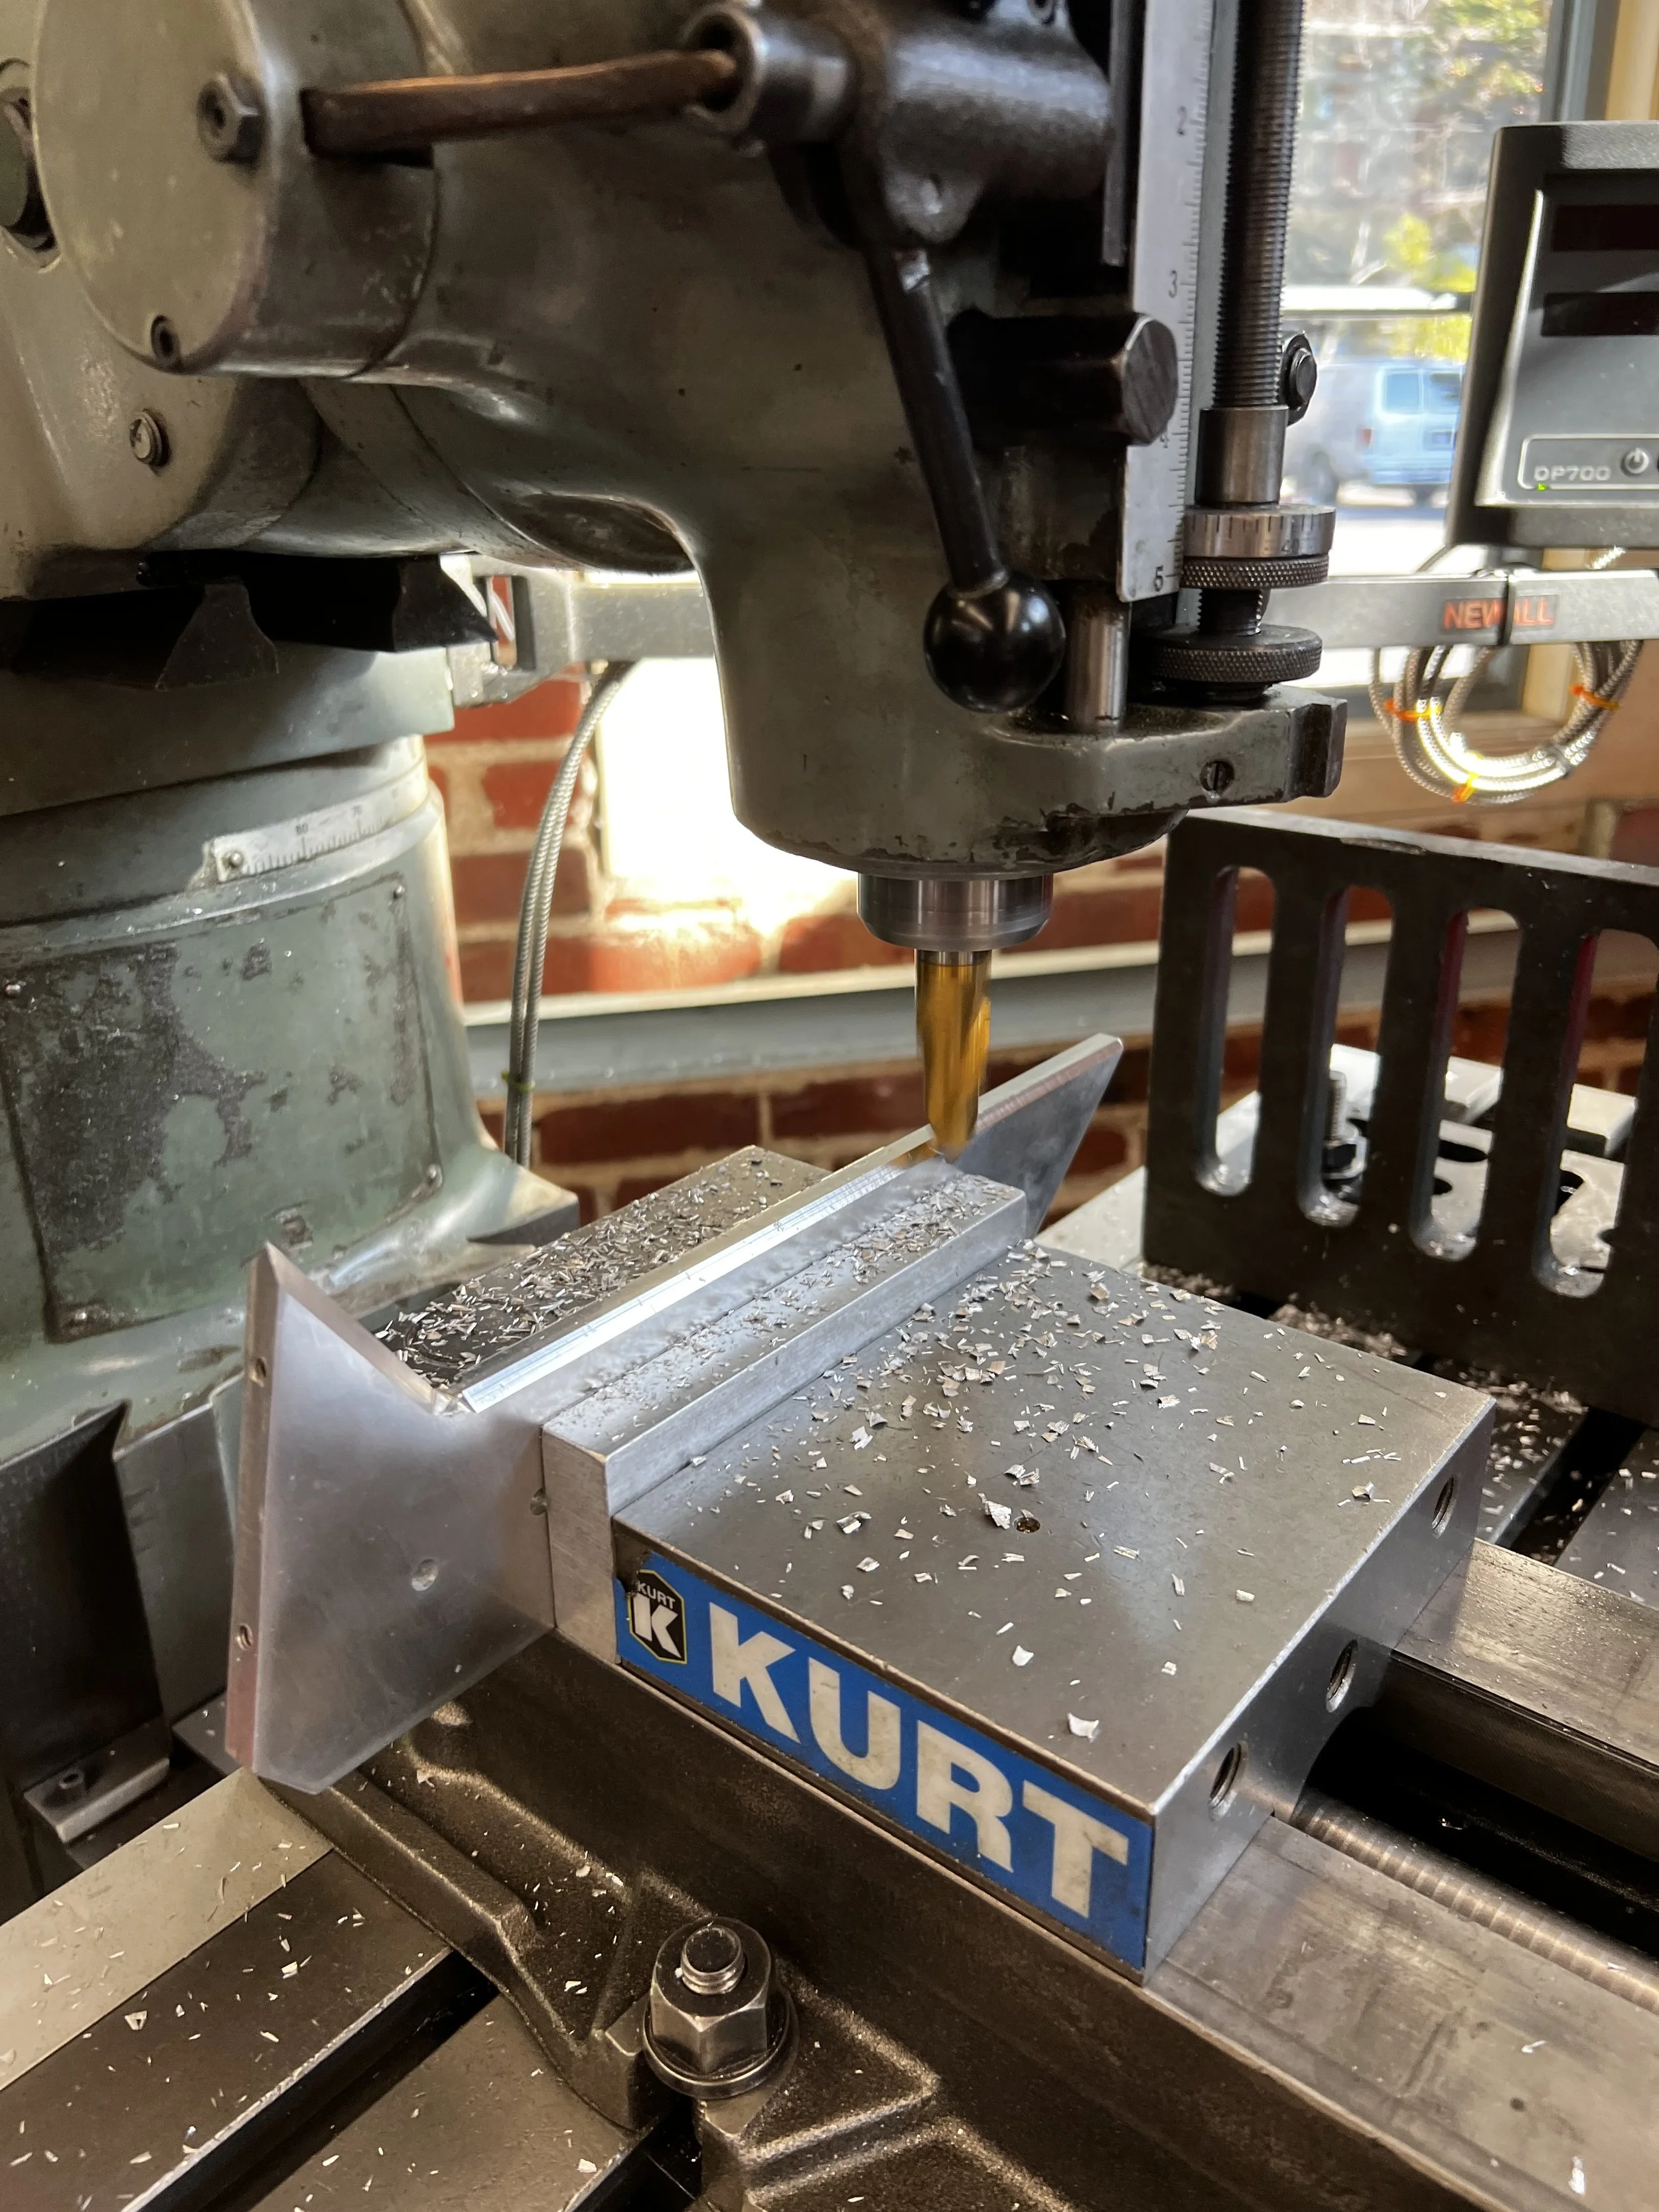
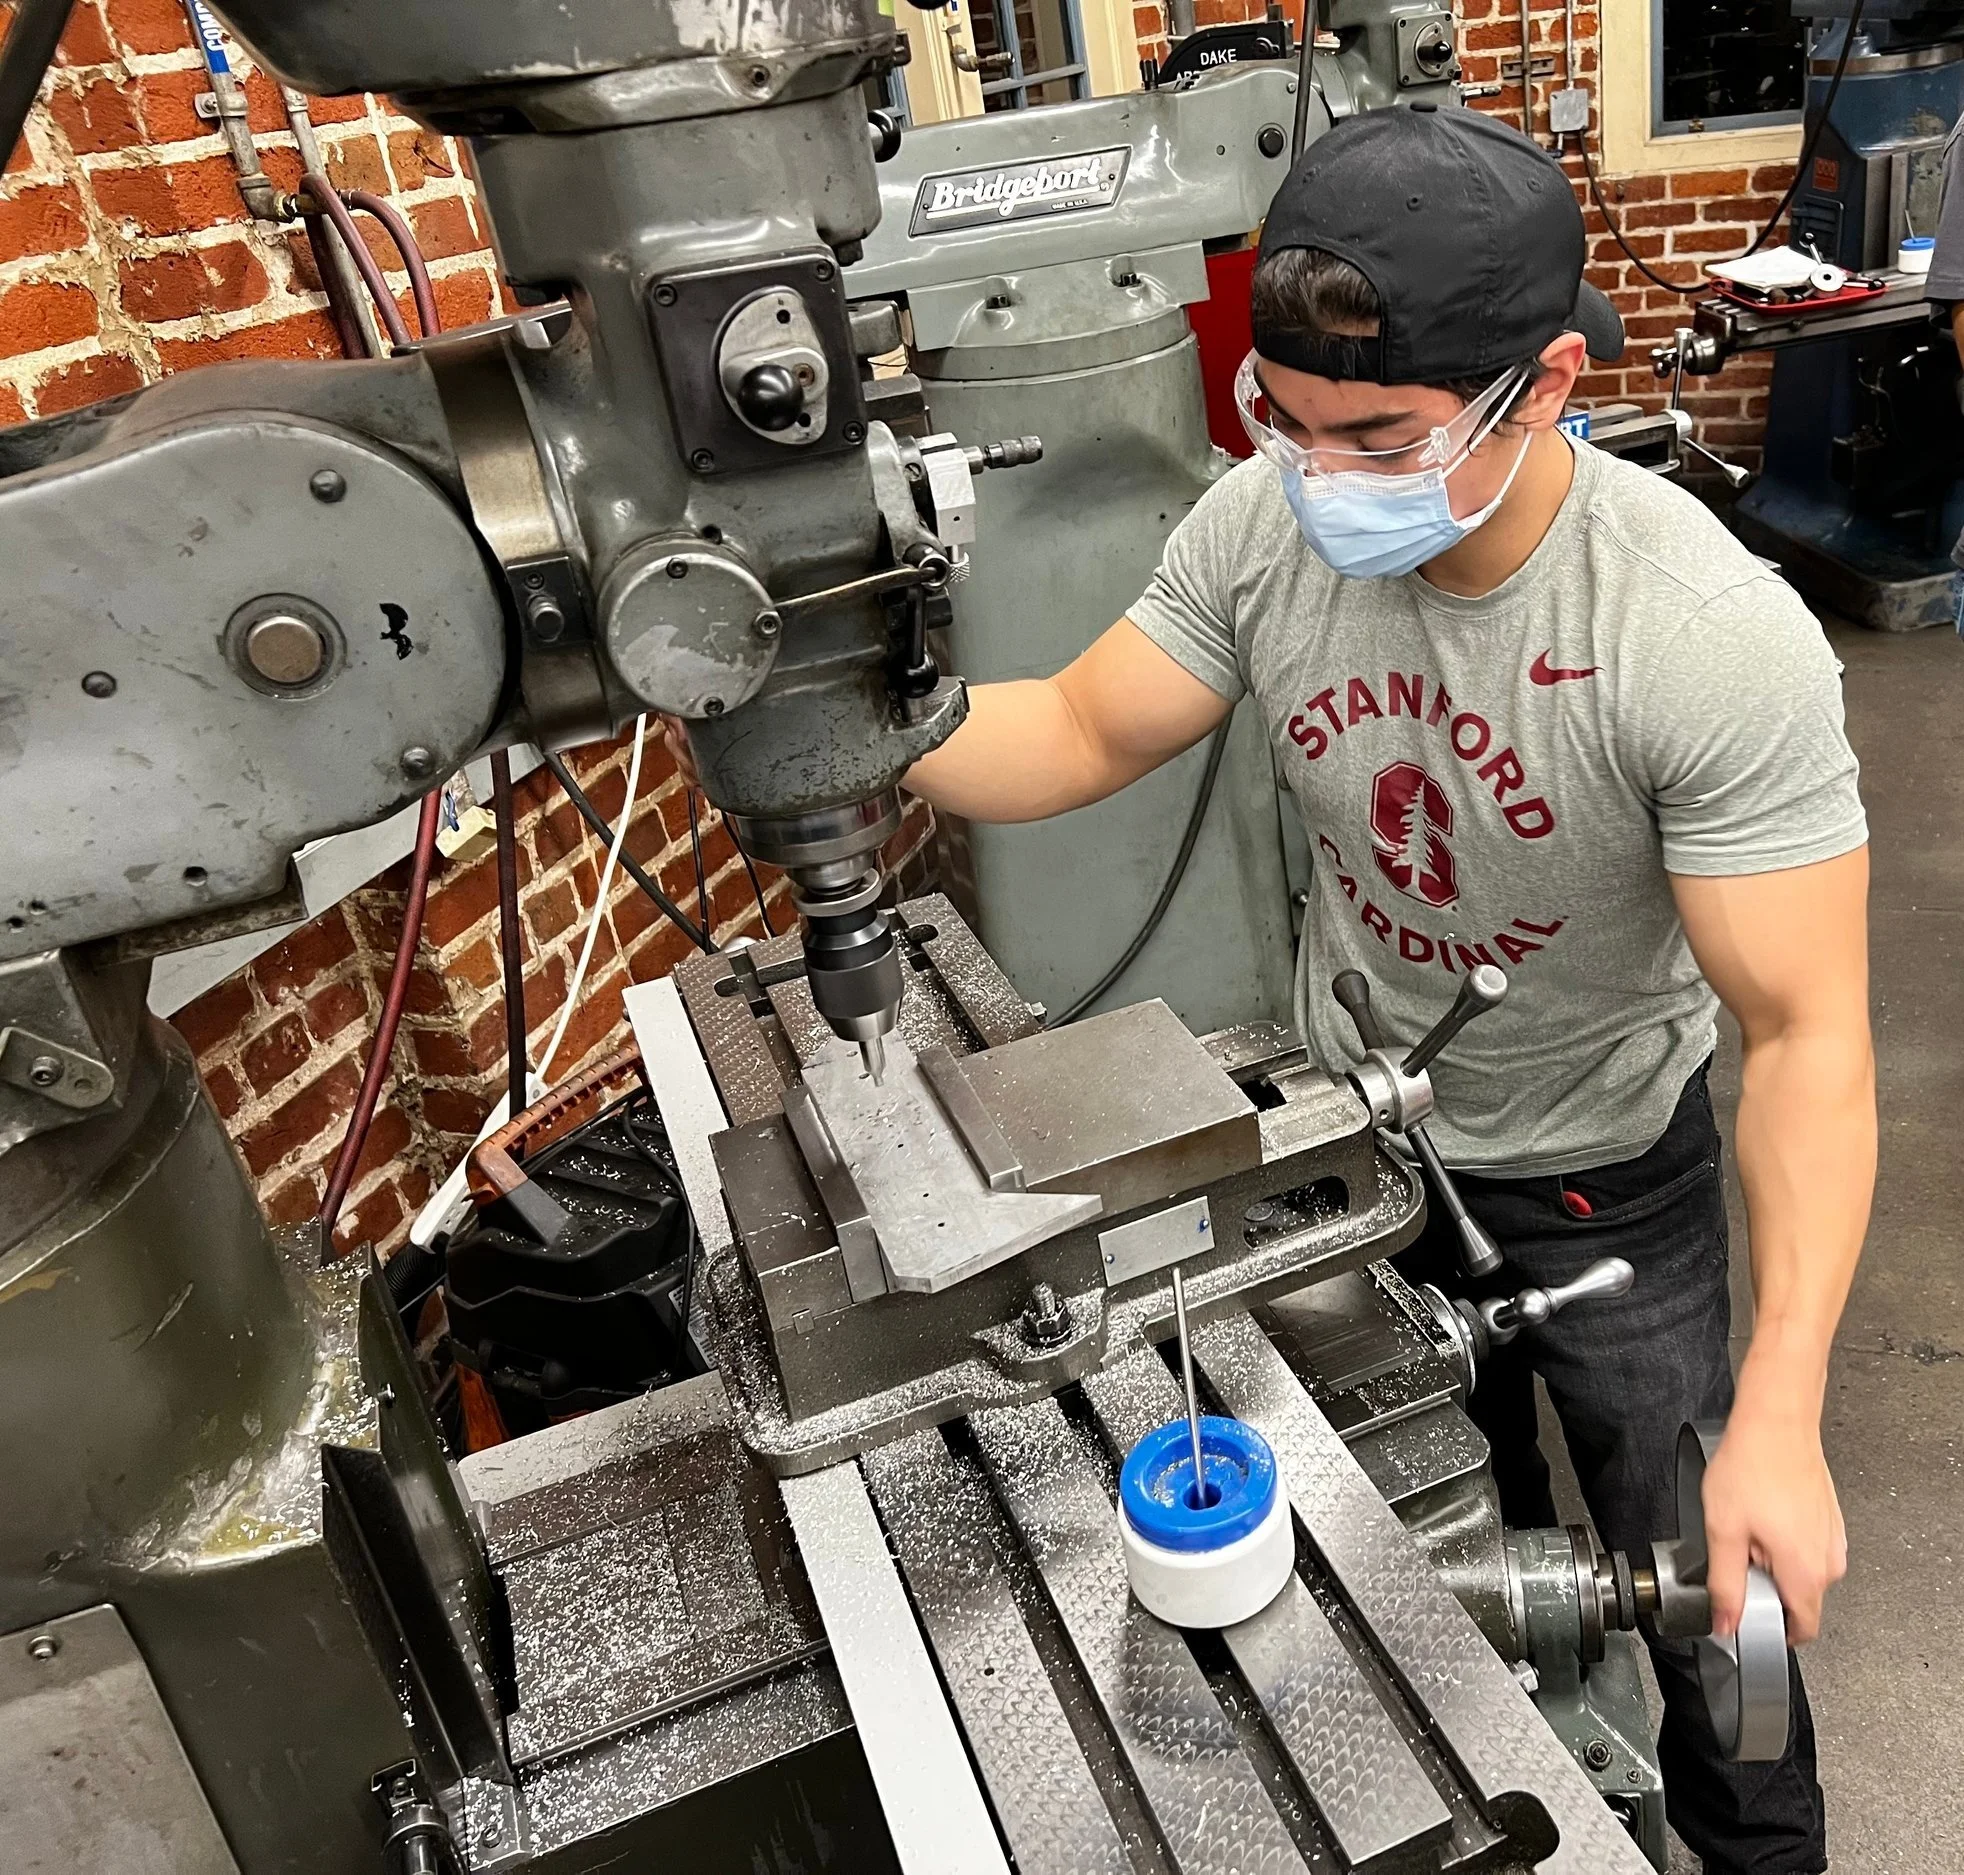
Creating the Critical Part
Using the mill to cut a plate of Aluminum 6061 into the spine, accurately distance arm holes, tapping screw holes

Creating the Base
Using the mill to cut base with countersink holes


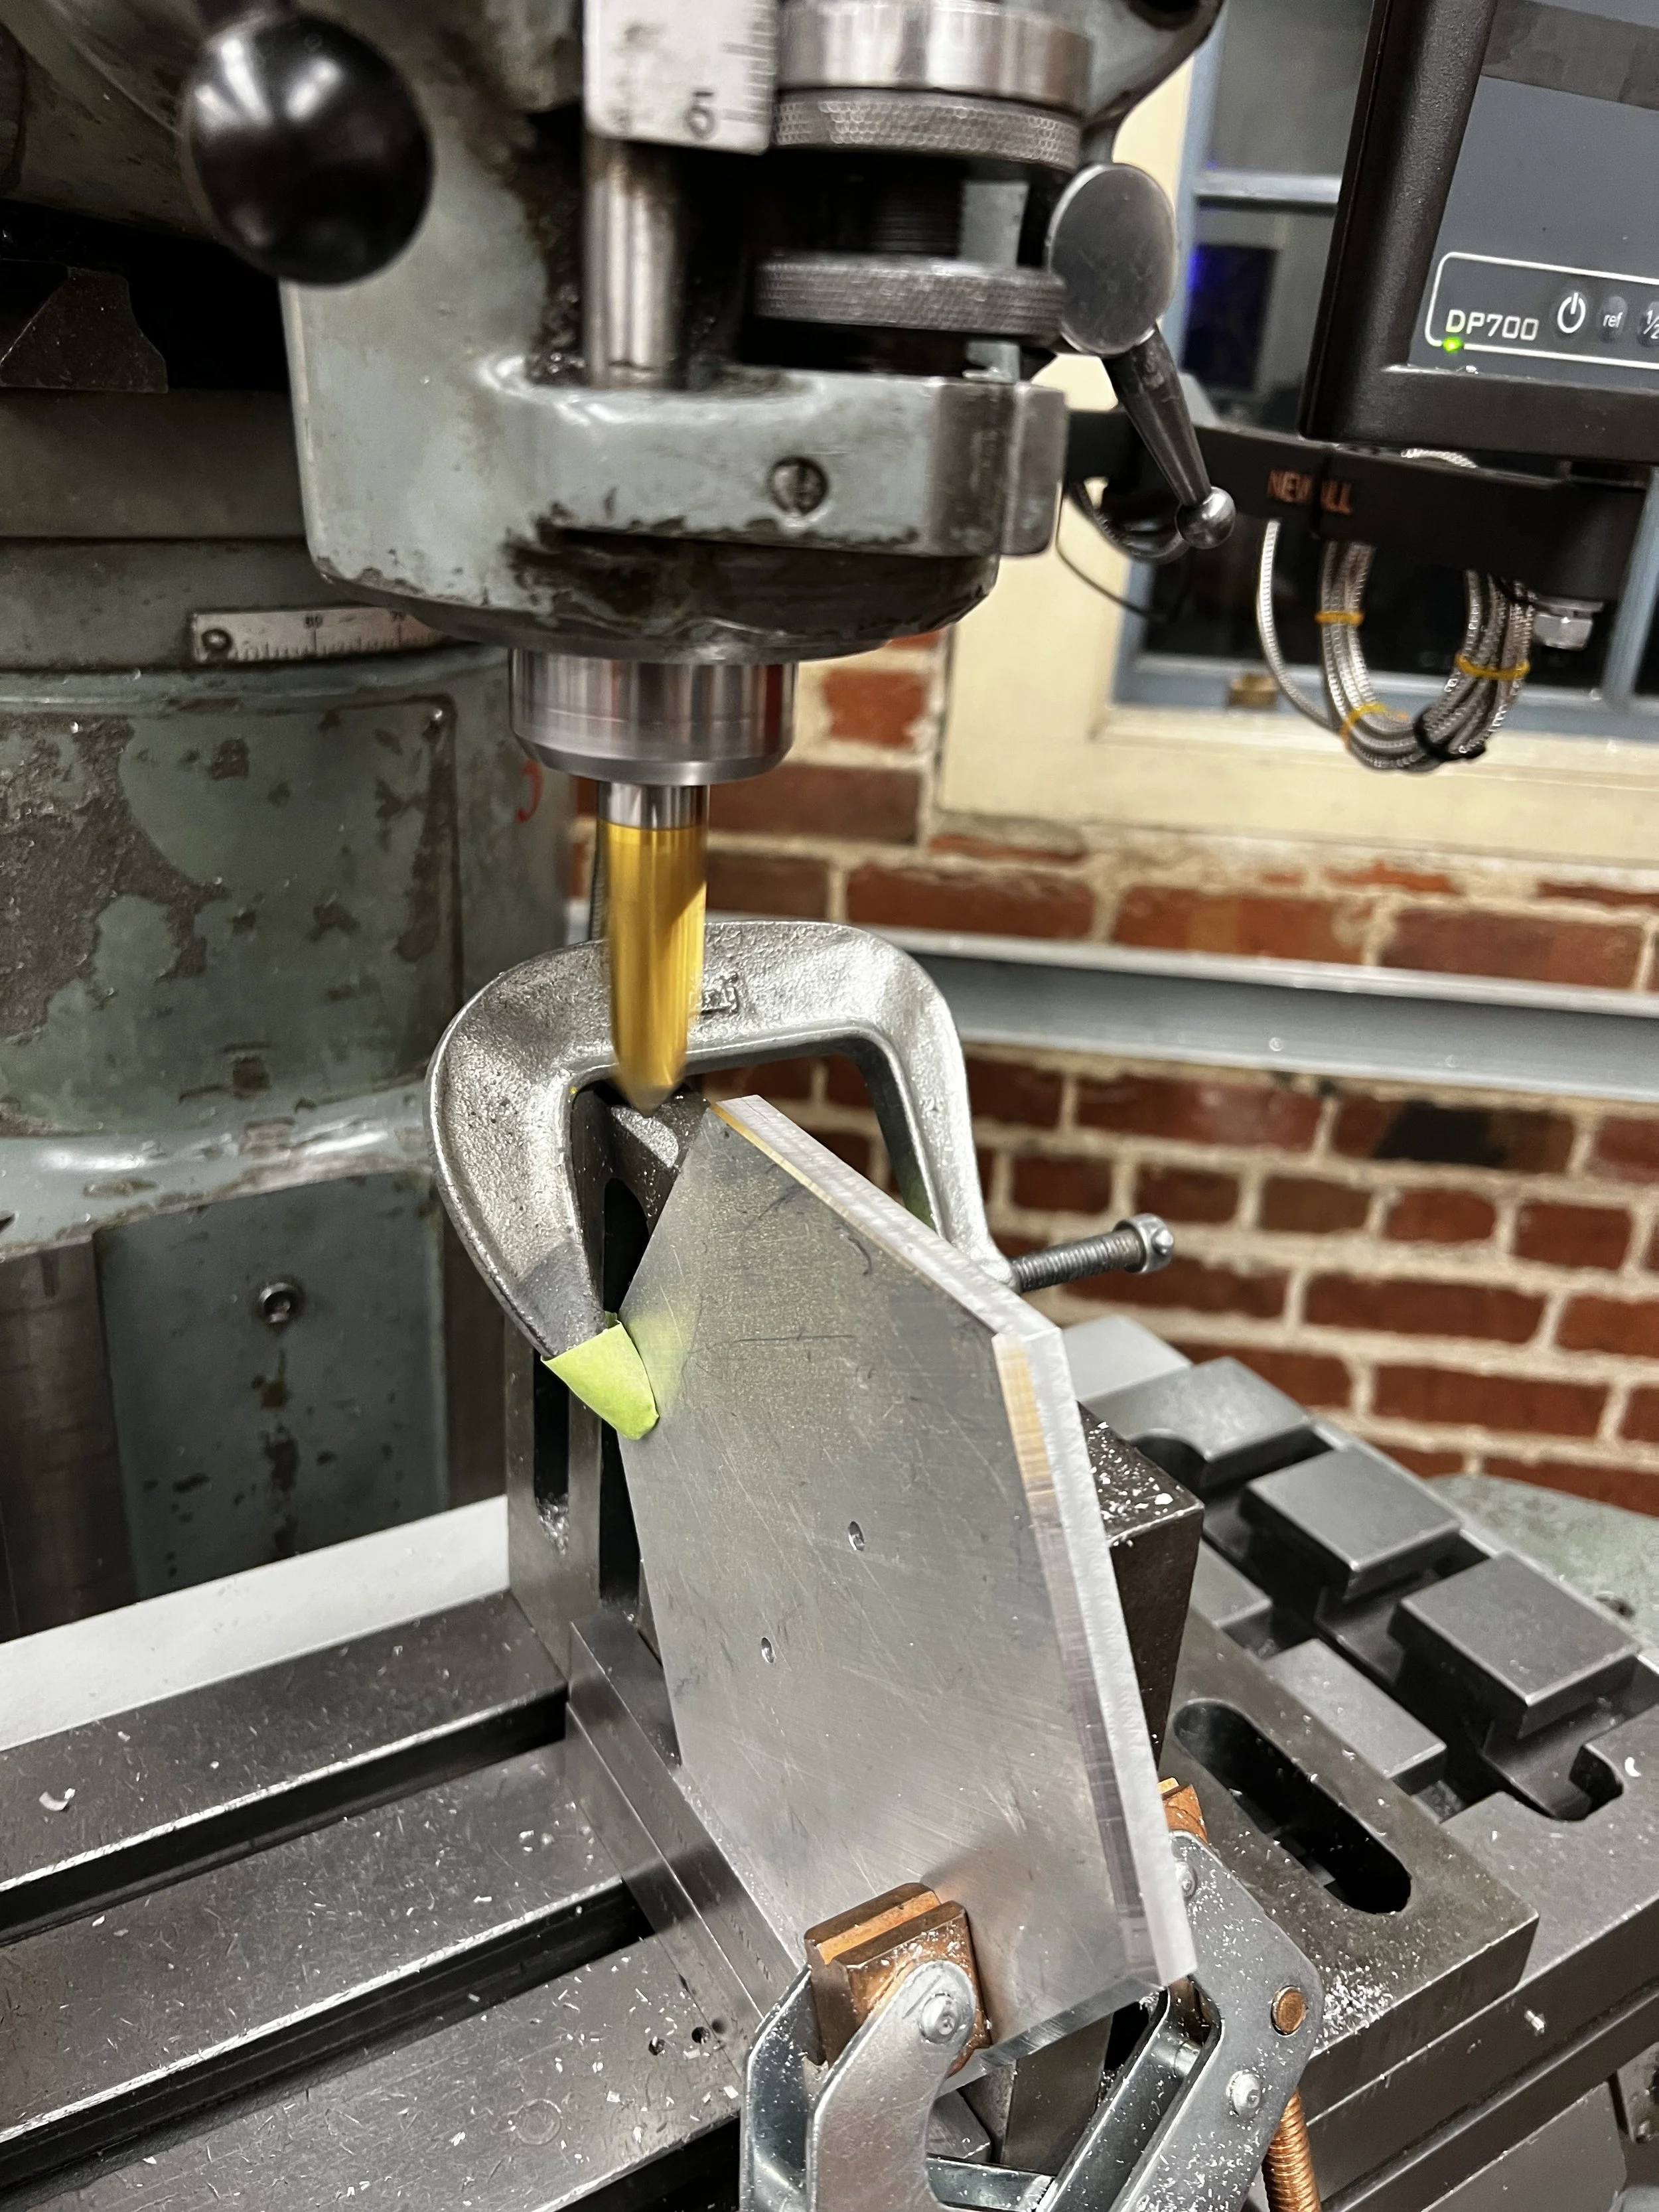
Detailing
Utilizing the Chamfer End Mill
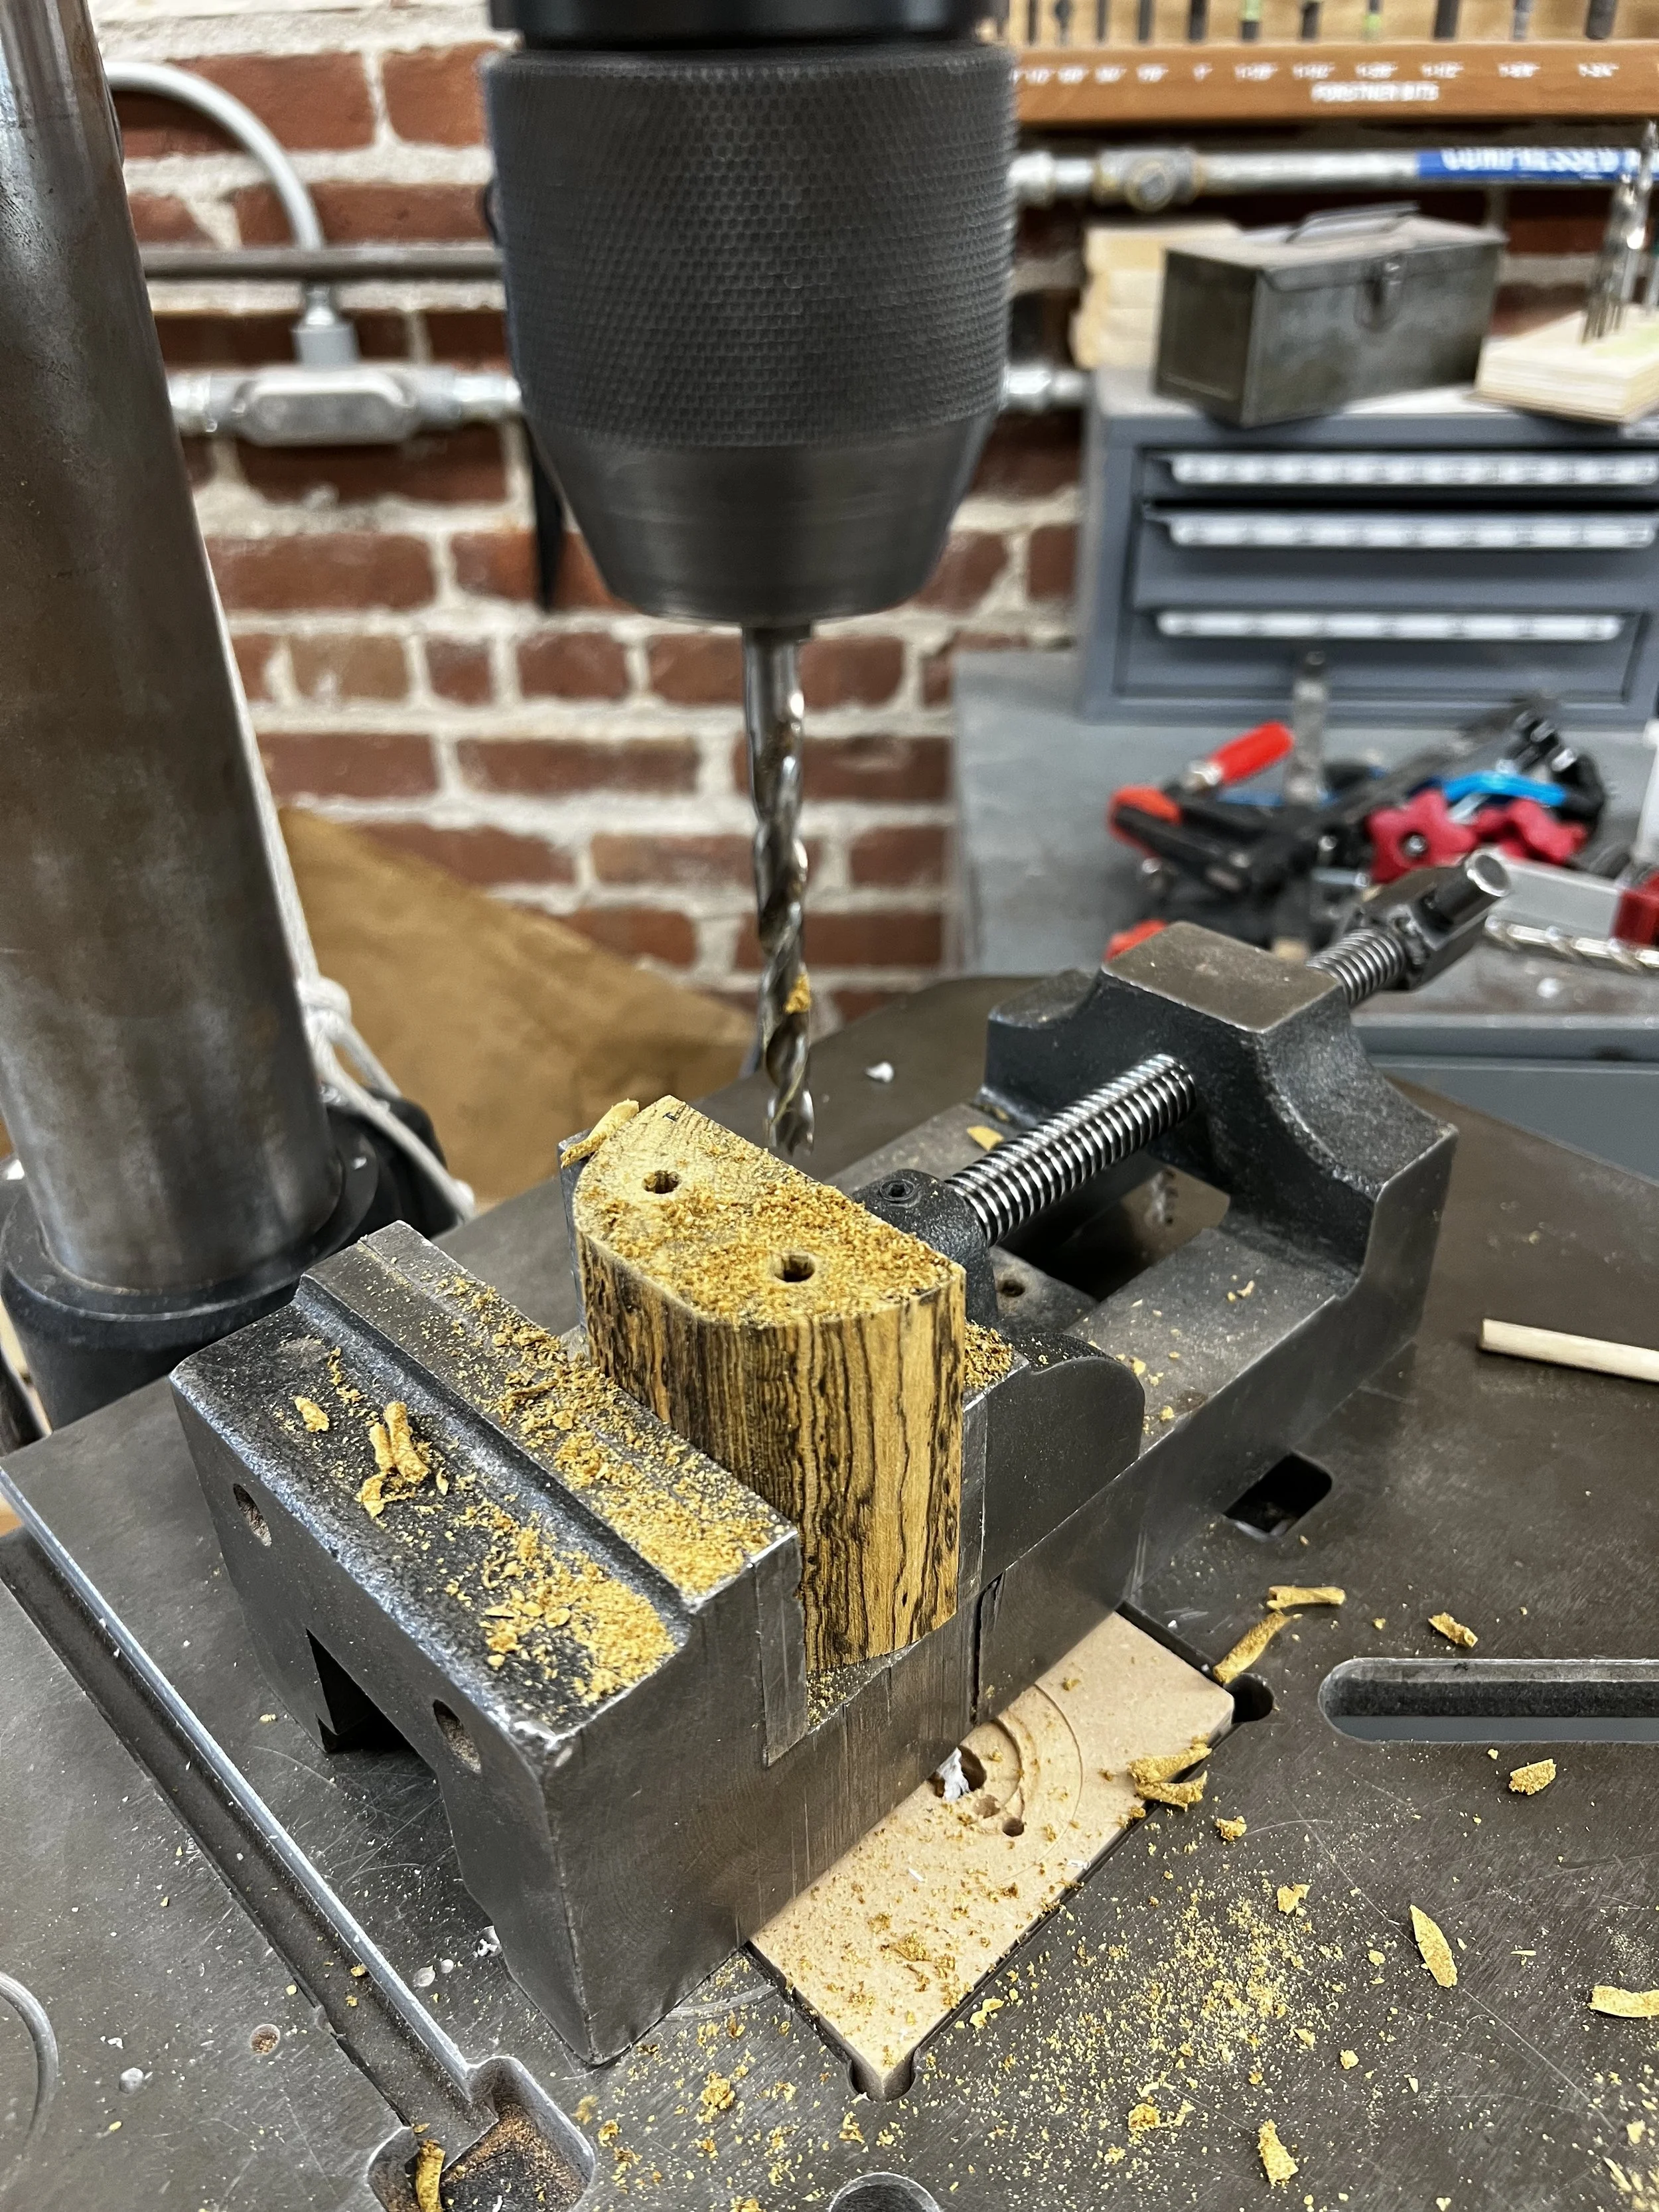
Woodworking
Sawing, Sanding, Drilling “Bocote” Hardwood
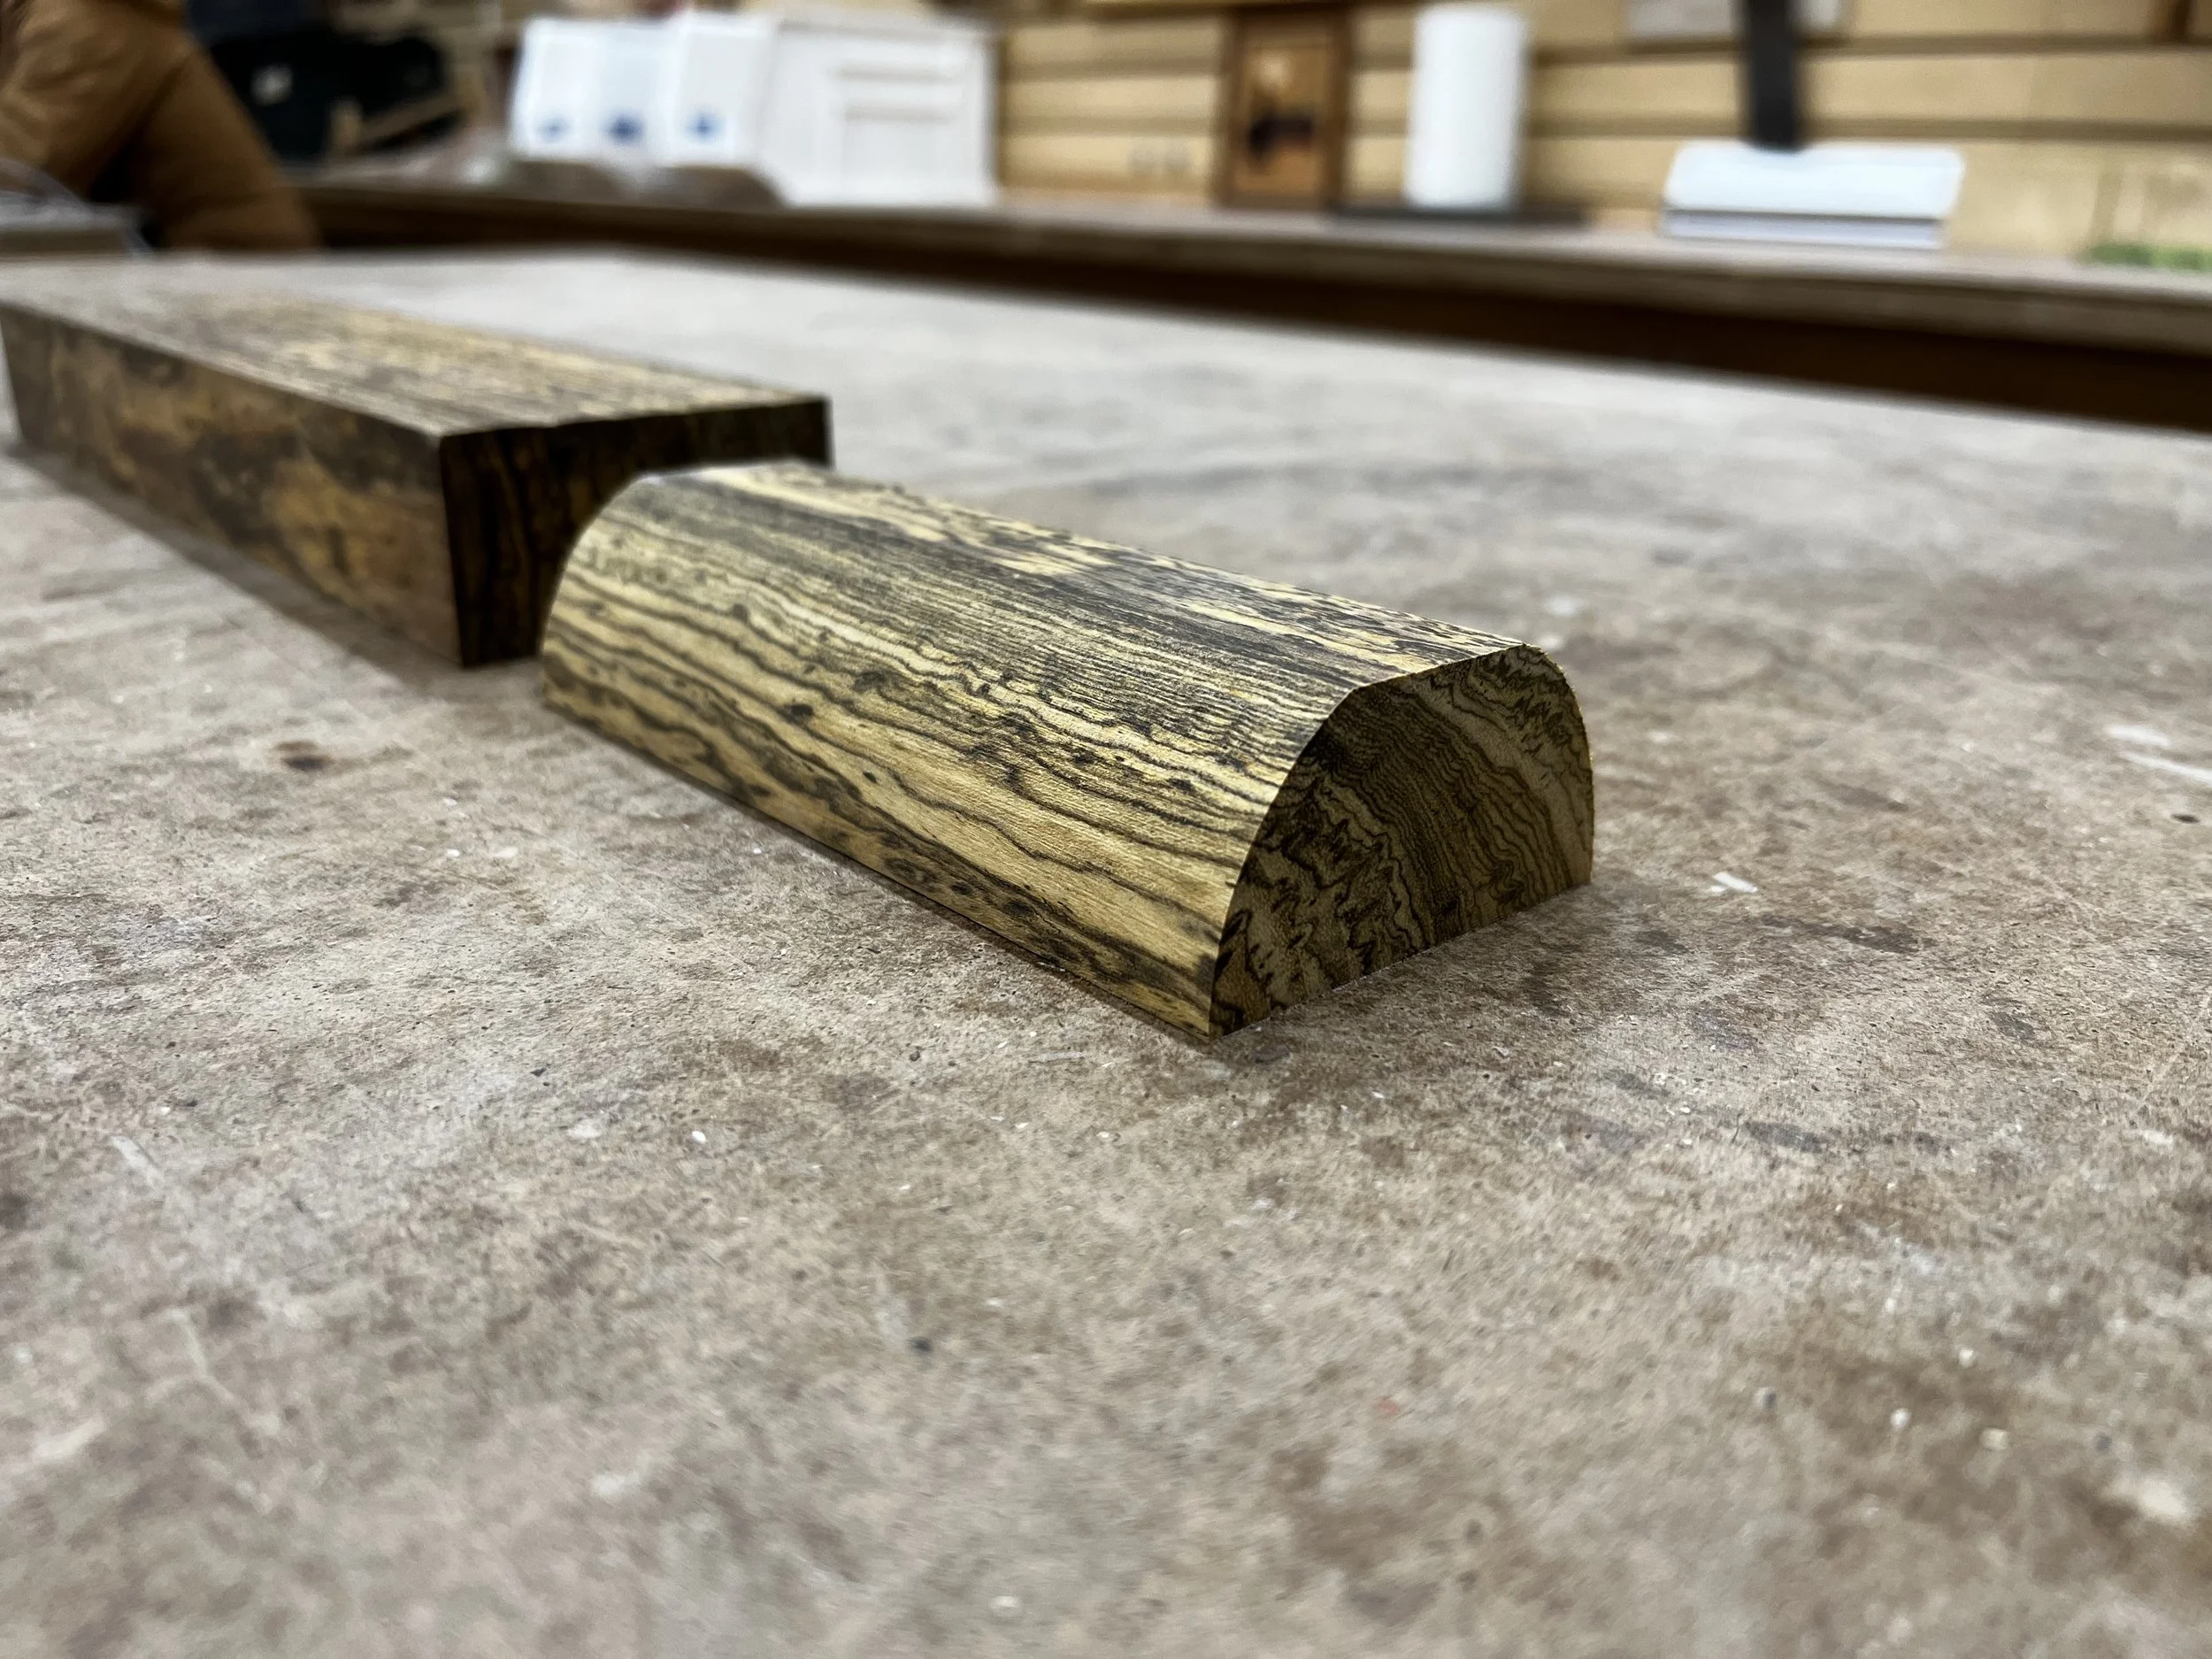
Finishing
Sanding and Polishing the Aluminum, Danish Oil for the Wood

Skills Learned
-
This course was my first time using a mill & lathe, woodworking, sand-casting! Understanding the capabilities of all of these processes gives me an improved understanding of how to design for manufacturing.
-
Having a robust gameplan for fabrication steps and sequences streamlined this project for me. Testing connections helped save time and materials, and prototyping helped plan proper dimensioning so I only had to cut pieces once.
-
As I was designing this piece for visual appeal as well as function, the details mattered. Sanding, polishing and staining each piece made a significant difference in the final look and feel of the product.
The Final Product!